
Page 2 – Installing Your New Recovery Partition and Tidying Up
Installing Your New Recovery Partition
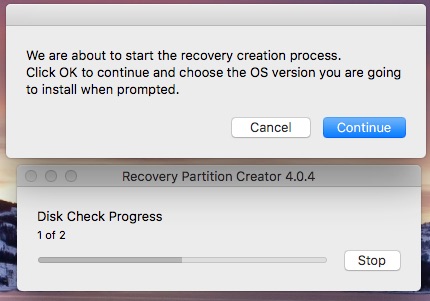
Once the disk scan is done, the recovery creation process can start. Click on Continue to keep moving forward.
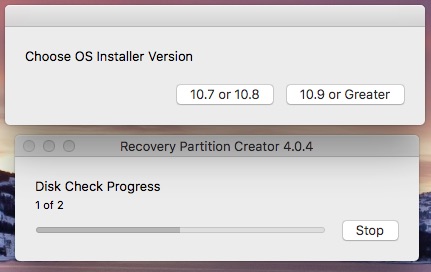
Recovery Partition Creator will ask what version of OS X or macOS you have. Select the correct option to proceed.
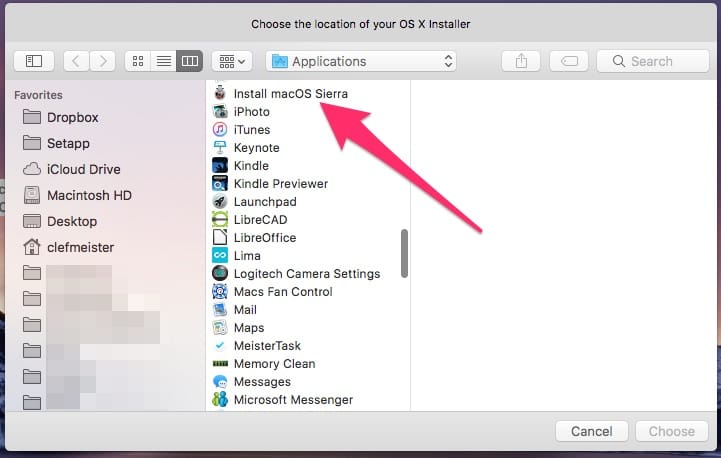
Next, Recovery Partition Creator will ask you to locate your operating system install file. This will usually be in Applications, so find it and click on it. Then you can click Choose.
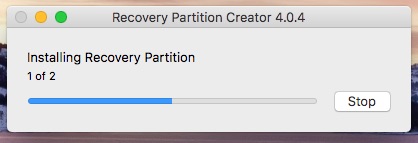
Time for a cup of coffee while Recovery Partition Creator installs the recovery partition.
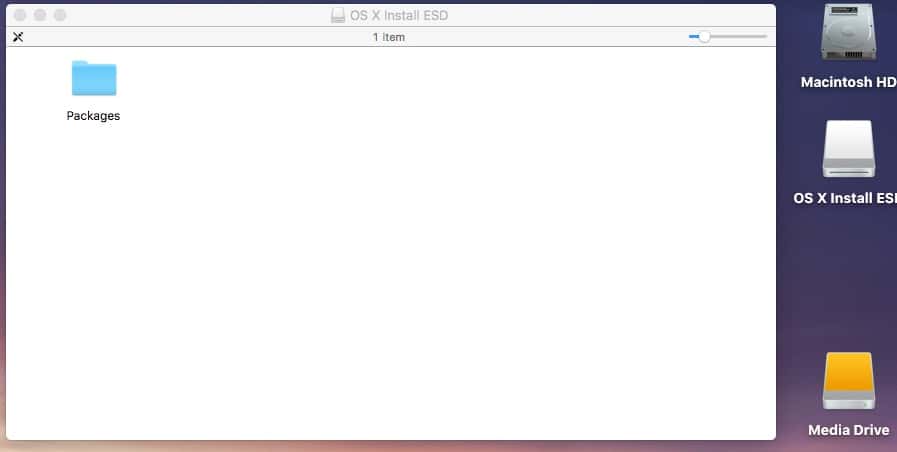
During the installation, you might notice a volume called OS X Install ESD appear on your desktop, along with an open Finder window. This is perfectly normal. Yes, this is called OS X Install ESD even in macOS Sierra.
At last, your recovery partition should be successfully created. Click OK to exit the script.
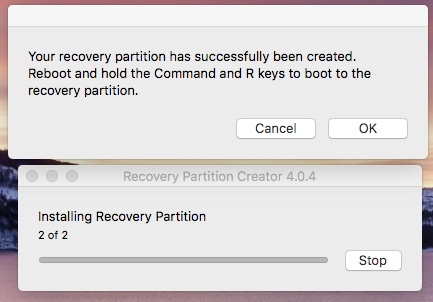
To test whether it’s worked, you can reboot your Mac and hold Command-R to boot into Recovery Mode.
Tidying Up
When you’re in Recovery Mode, let’s tidy up our security and make sure everything stays safe and sound. If you disabled SIP earlier, let’s enable it again. Launch Utilities > Terminal, and enter the following command:
csrutil enable
Then, reboot your Mac and get back to work (or play.)
Special thanks to Dan Frakes at Macworld for his excellent introduction to the Recovery Partition Creator script.
Hi all!
every time I use Recovery Partition Creator 4.0.4, I get the following error message:
Error (async): The given disk is in use by a driver (leaf required) (-69695)
I’m running Sierra. Any suggestions?
Thanks
Also worth noting that, as Dave & John have mentioned in MGG, the Carbon Copy Cloner app has useful tools for creating/recreating/removing recovery partitions though I think you have to be booted from an alternate drive.
Yep, Internet Recovery works just fine for this, albeit slowly. The reason I suggested both options is because there are times when the recovery partition is there, but the Mac doesn’t see it when it’s booted up. I actually ran into this problem; I could boot into Recovery Mode (NOT Internet Recovery) just fine, but Find My Mac said I didn’t have a recovery partition. Somehow the partition type was changed from Apple_Boot to standard HFS+.
It might be a bit hard to shift into Recovery Mode to turn off SIP, since running these steps at all means you suspect your Recovery partition has problems. Luckily:
1) This will work with the Recovery partition from any other MacOS installations you have — including another Mac through Target Disk Mode — as long as they’re from El Capitan or newer.
2) The Internet Recovery boot (cmd-opt-R) will do the job, though it is likely to be very slow, since it’s coming over the Internet from Apple’s servers.