
Govee has always been the go-to smarthome method to spice up your living room. As of late, we have many Apple HomeKit owners scratching their heads and wondering ‘Does Govee Work With HomeKit?’
Yes, it does.
Customizing your home lights has never been easier. You can control Govee devices with Apple Homekit by using three simple solutions with a few quick and easy steps. This quick guide will show you how.
Table of contents
What is Govee and How Does it Work?
Govee is a brand of smart home and smart lighting products, best known for its affordable and feature-rich LED strip lights. The company specializes in creating dynamic, highly customizable ambient lighting experiences, often powered by its proprietary RGBIC technology.

While Govee has a vast product catalog, its connection with Apple HomeKit is primarily managed through the new universal smart home standard called Matter.
Previously, most Govee devices did not work directly with Apple HomeKit and required a “bridge” software like HomeBridge. However, Govee is actively moving to support native integration and hopefully we get easier methods how to set up our lights.
How to Add Any Govee Device to Homekit
Before you do anything, you must first prepare your Govee device.
- Open the Govee Home app and set up your device.
- Ensure it’s connected to your Wi-Fi network (2.4 GHz recommended).
- Find the Homekit setup code (QR or 8-digit) in device settings or on packaging.
The Easy Method: Using AddToHomeKit to Add Govee Devices to Homekit
- Go to the AddtoHomeKit official website.
- Select the Govee ecosystem and choose AddToHomeKit as your Govee Homekit bridge.
- Pick your operating system and install the Govee HomeBridge plugin.
- Tap Add to HomeKit and scan the activation QR code.
- Follow on-screen instructions to connect Govee with Homekit.

Alternative: Using the HOOBS Plugin to Add Govee Devices to Homekit
- Install HOOBS on your device.
- Open the HOOBS dashboard and add the Govee plugin.
- Then, in the Home app, tap the + icon on the top right corner
- Select Add Accessory and select your HOOBS server.
- Scan the QR Code displayed on the HOOBS Bridge page to connect Govee Apple Homekit devices.
- Complete the pairing process, and once done, your devices will automatically appear in the Apple Home app.
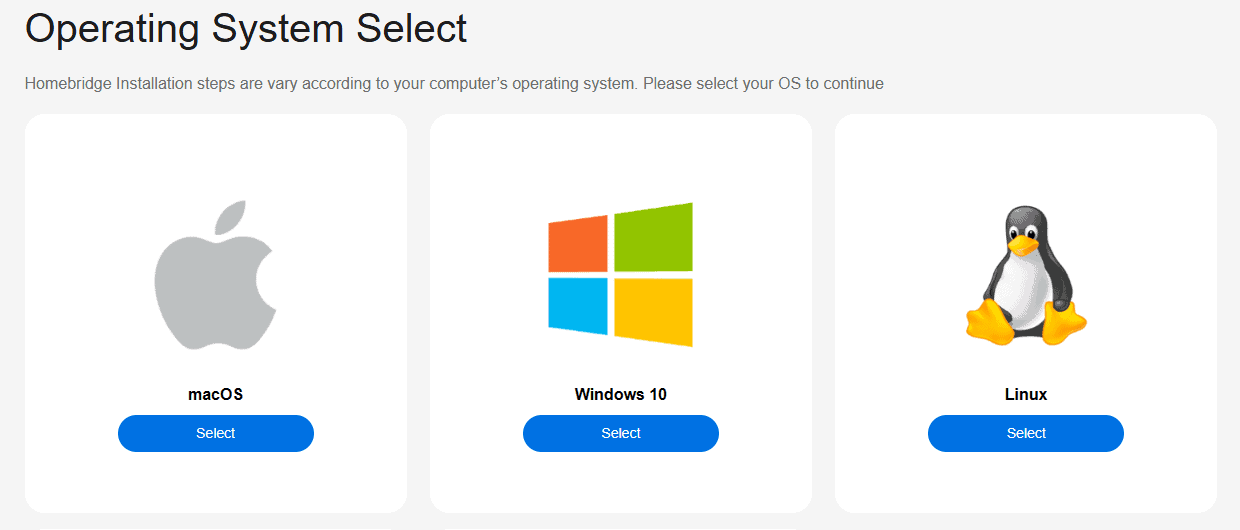
Advanced: Using Homebridge to Add Govee Devices to Homekit
- Install Homebridge.
- In the Homebridge Terminal, type ‘npm install -g homebridge’.
- Install the Govee plugin by typing ‘npm install -g homebridge-govee’.
- Edit config.json to add your Govee email and password under “platform”: “Govee”.
- Restart Homebridge, then open the Home app to connect Govee devices with Homekit.
FAQ
Govee devices don’t support Homekit out of the box. You need a bridge solution like AddToHomeKit, HOOBS or Homebridge to connect Govee with Homekit.
A Govee Homekit bridge is a software or hardware layer—such as AddToHomeKit or HOOBS—that lets you add Govee devices to Apple Homekit.
Yes. The AddToHomeKit service and Homebridge software require only your computer or compatible server—no extra hardware is needed.
Most Wi-Fi Govee smart lights, LED strips, smart plugs, and thermometers work once you set up the bridge solution and provide your Govee account credentials.
After you connect Govee devices with Apple Homekit, you can use Siri to turn lights on/off, change colors, or trigger automations.
Summary
- Set up your Govee device in the Govee Home app and note the Homekit code.
- Choose a bridge: AddToHomeKit for ease, HOOBS for hardware-based integration, or Homebridge for full control.
- Install the plugin or service, then tap “Add to HomeKit” or scan the QR code in the Home app.
- Sign in with your Govee account in the bridge configuration.
- Control Govee devices with Apple Home, automations, and Siri.
Conclusion
As you can see, connecting Govee devices with Apple Homekit can be super easy. Although it has its downsides, whether you pick AddToHomeKit, HOOBS, or Homebridge, Homekit gives you full control to freely customize your smart lights or strips.


