
Back in the days of Office 2011—you know, the five whole years during which “2011” meant “the most recent version of Office”—Microsoft Outlook had a way to schedule your email accounts to delete their trash automatically. With Outlook 2016, this handy feature has disappeared, so if your account doesn’t clean its stuff up on the server side, you’ve gotta do it manually.
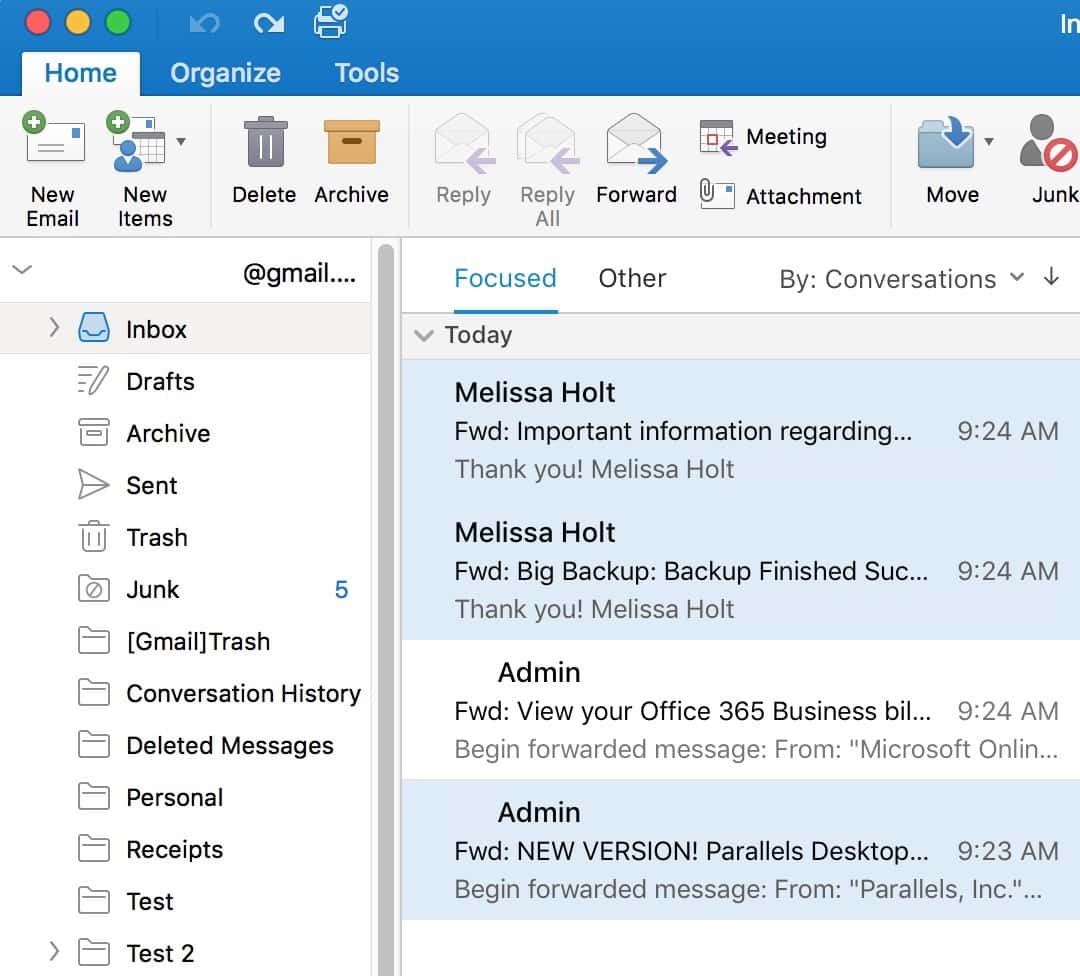
Of course, if you’re familiar with the keyboard modifiers and shortcuts for selecting items, you could use those macOS tricks to do this instead of any Outlook-specific method. First of all, you can click on the Trash folder in Outlook’s sidebar (or any folder that you like) and press Command-A to select everything in that.
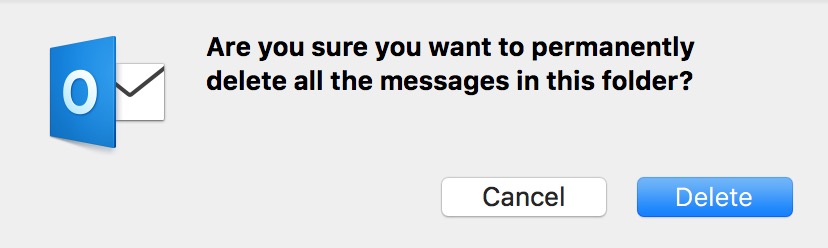
If you then press the Delete key on your keyboard or click the Delete icon on Outlook’s toolbar, you’ll get a warning…
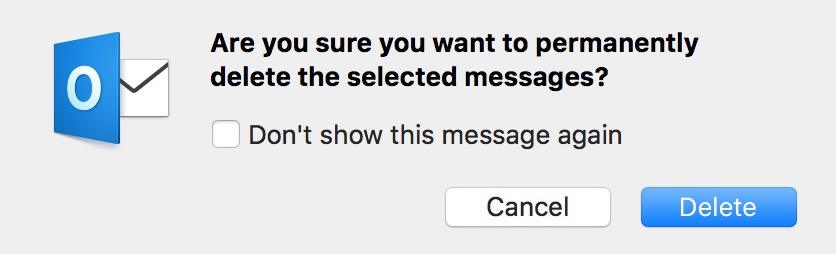
…but if you choose to move forward, the folder will be cleared out. Note that you’ll get this warning if you remove items from Junk or Trash but not your other folders; this is because deleting messages from those locations permanently removes them, so you won’t be able to recover anything. Be aware of that!
Command Click
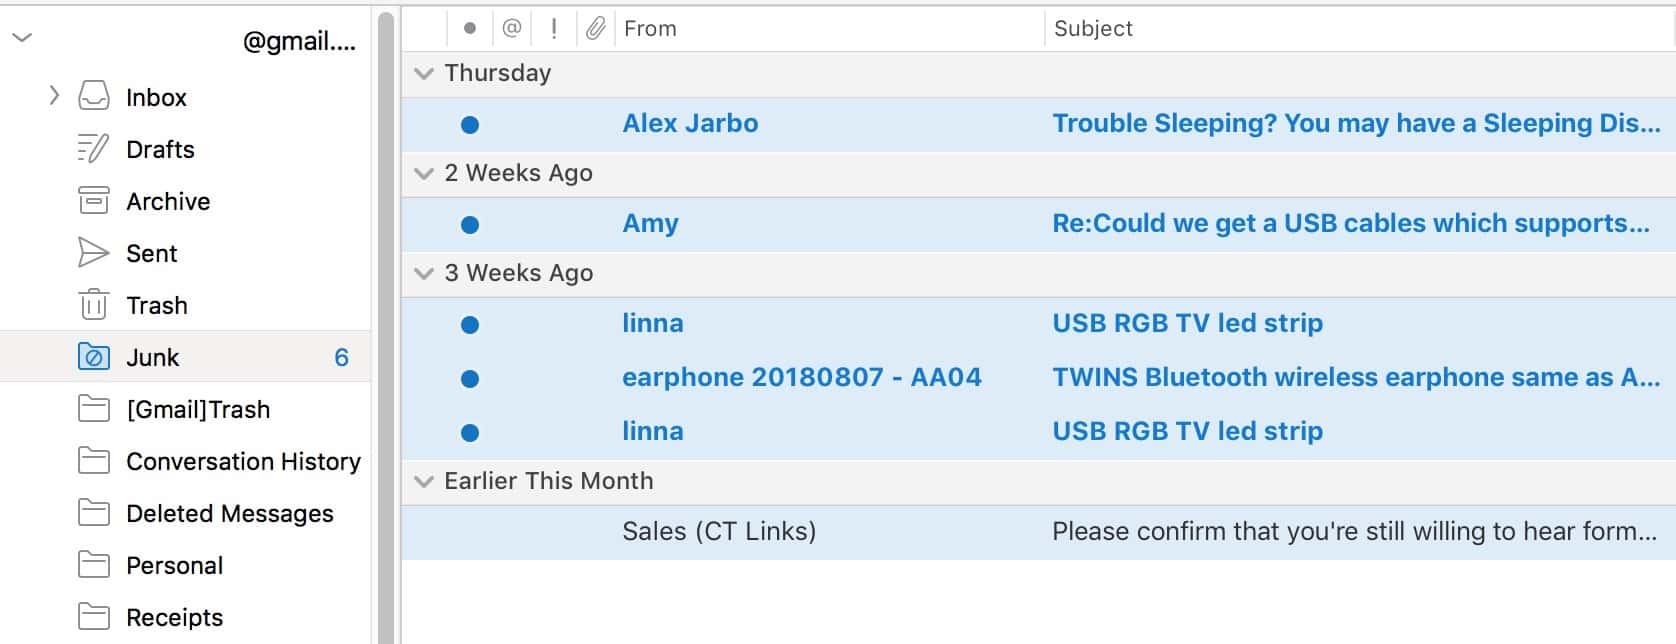
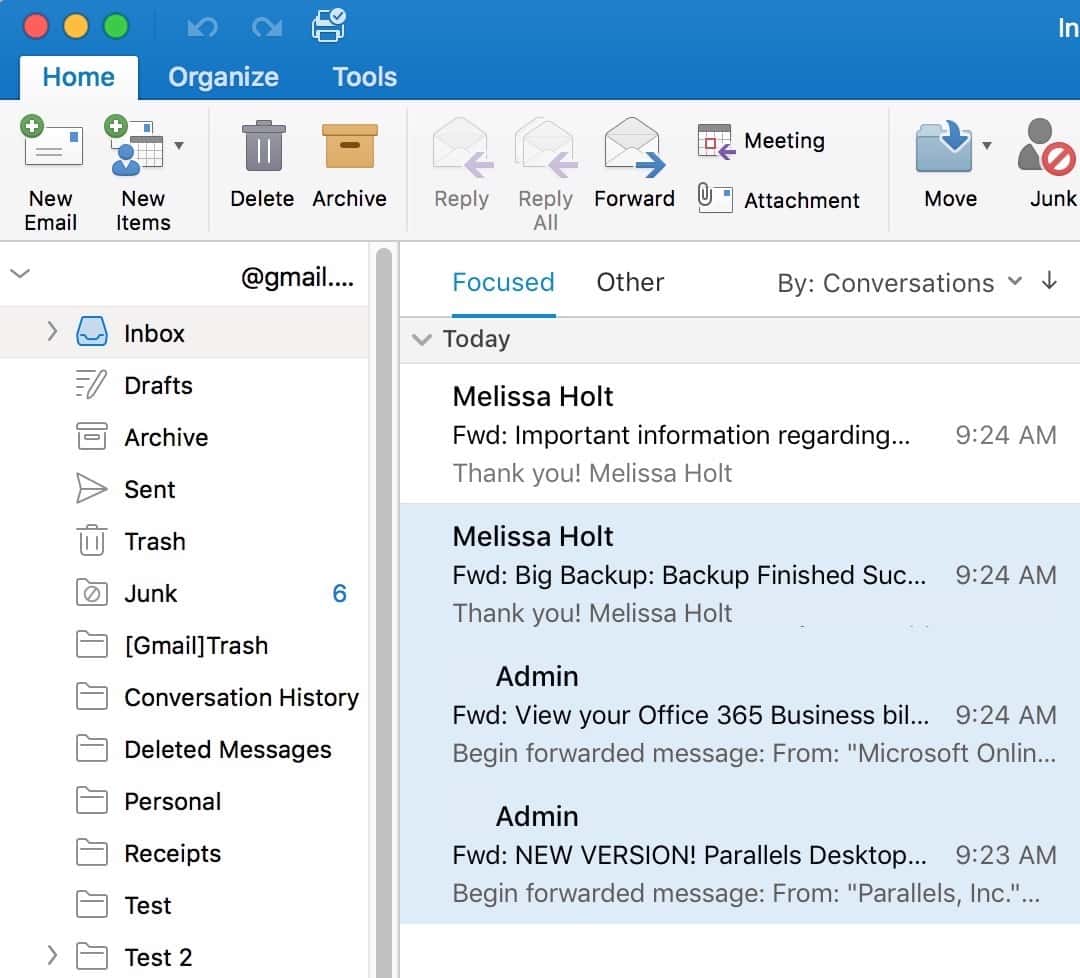
Anyway, another thing you could do is hold down Command and click to select multiple emails within your chosen folder. This works well if you want to select a few items that aren’t right next to each other, as I’ve done below.
Once your selection is made, again you’ll press Delete on your keyboard or use the toolbar icon in Outlook. And if what you want instead is to delete a big chunk of messages that are all together—everything from 2016, say—what you’ll do is click the first item, hold down Shift, and then scroll to and click the last item in the list.
That action will select everything in between the two items you clicked, and you’ll then be free to delete that stuff.
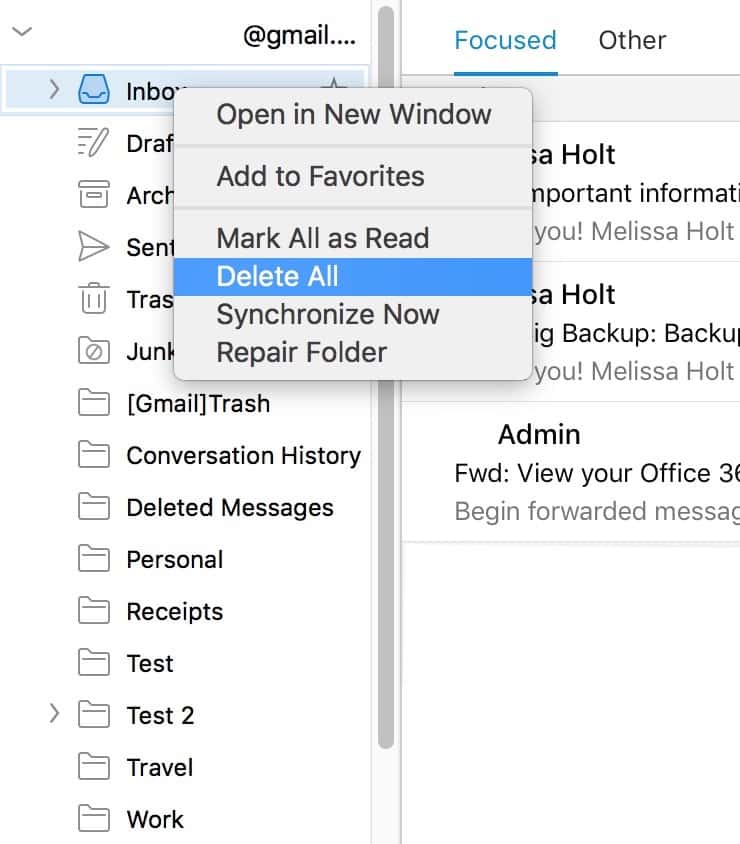
Now, if you don’t wanna mess around with modifiers or shortcuts to just empty out a folder, Outlook does actually have a way to do that. As I mentioned, you can’t schedule this process, but to have it happen manually, what you’ll do is right- or Control-click on the folder in question within the sidebar and choose “Empty Folder”…
![]()
…after which you’ll of course get another warning about what you’re going to do.
If the folder you’ve right-clicked on isn’t Trash or Junk, that “Empty Folder” command will switch to “Delete All” (since its messages will be moved to the Trash first instead of being immediately removed forever).
Take that Preference
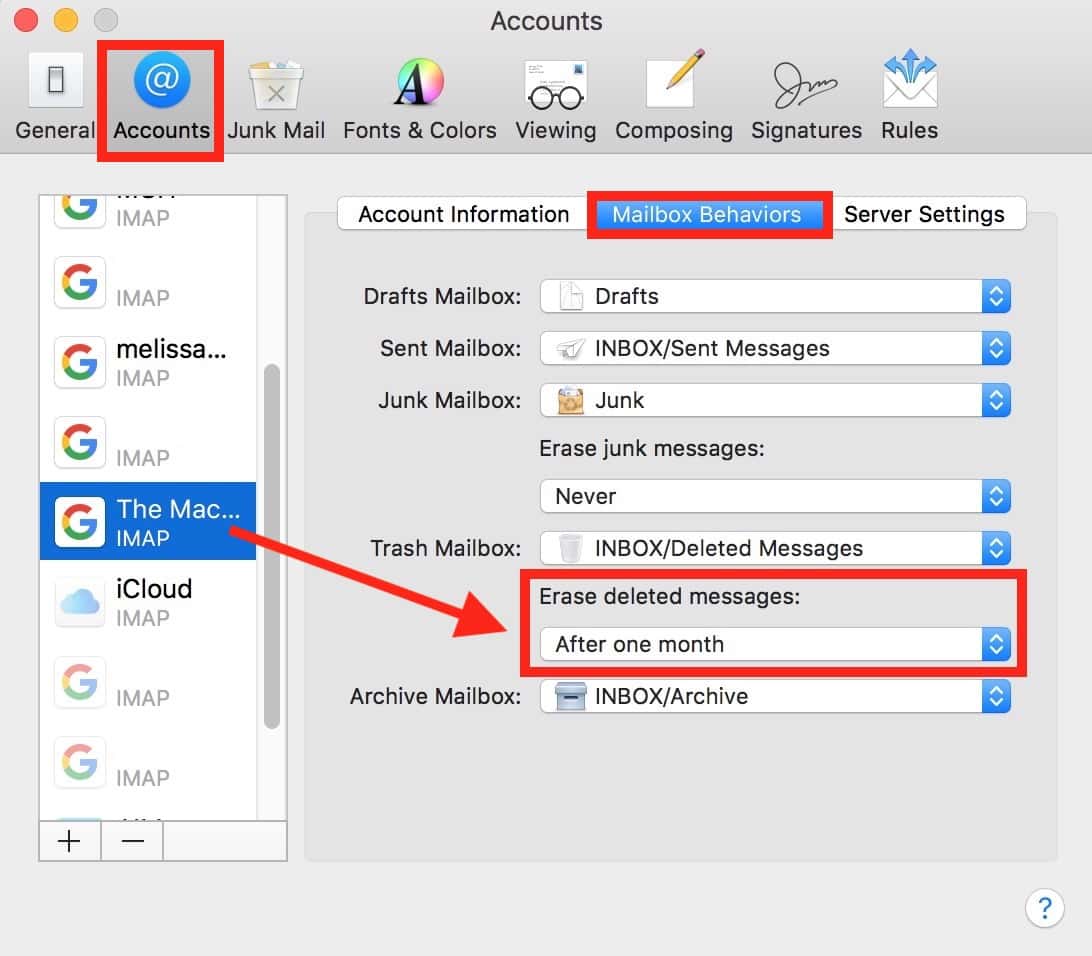
That’s awesome, Outlook! I mean, I wish you’d left the scheduling in, but unfortunately, I can’t always get what I want. And hey, if you fine readers are wondering how you’d schedule trash-emptying within Apple Mail, it’s actually really easy there. Just open the program, choose Mail> Preferences from the menus at the top, and then click the “Accounts” tab. From there, you can select any email account in the left-hand sidebar and then adjust that account’s trash schedule under its “Mailbox Behaviors” tab:
Take that, Microsoft! No, seriously, take that setting and bring it back into Outlook, all right?