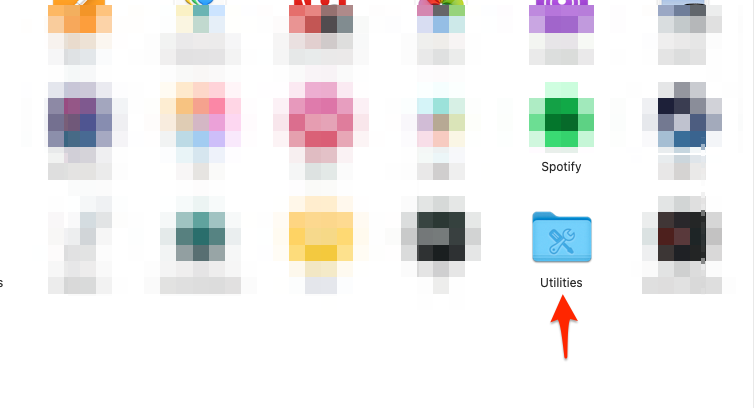
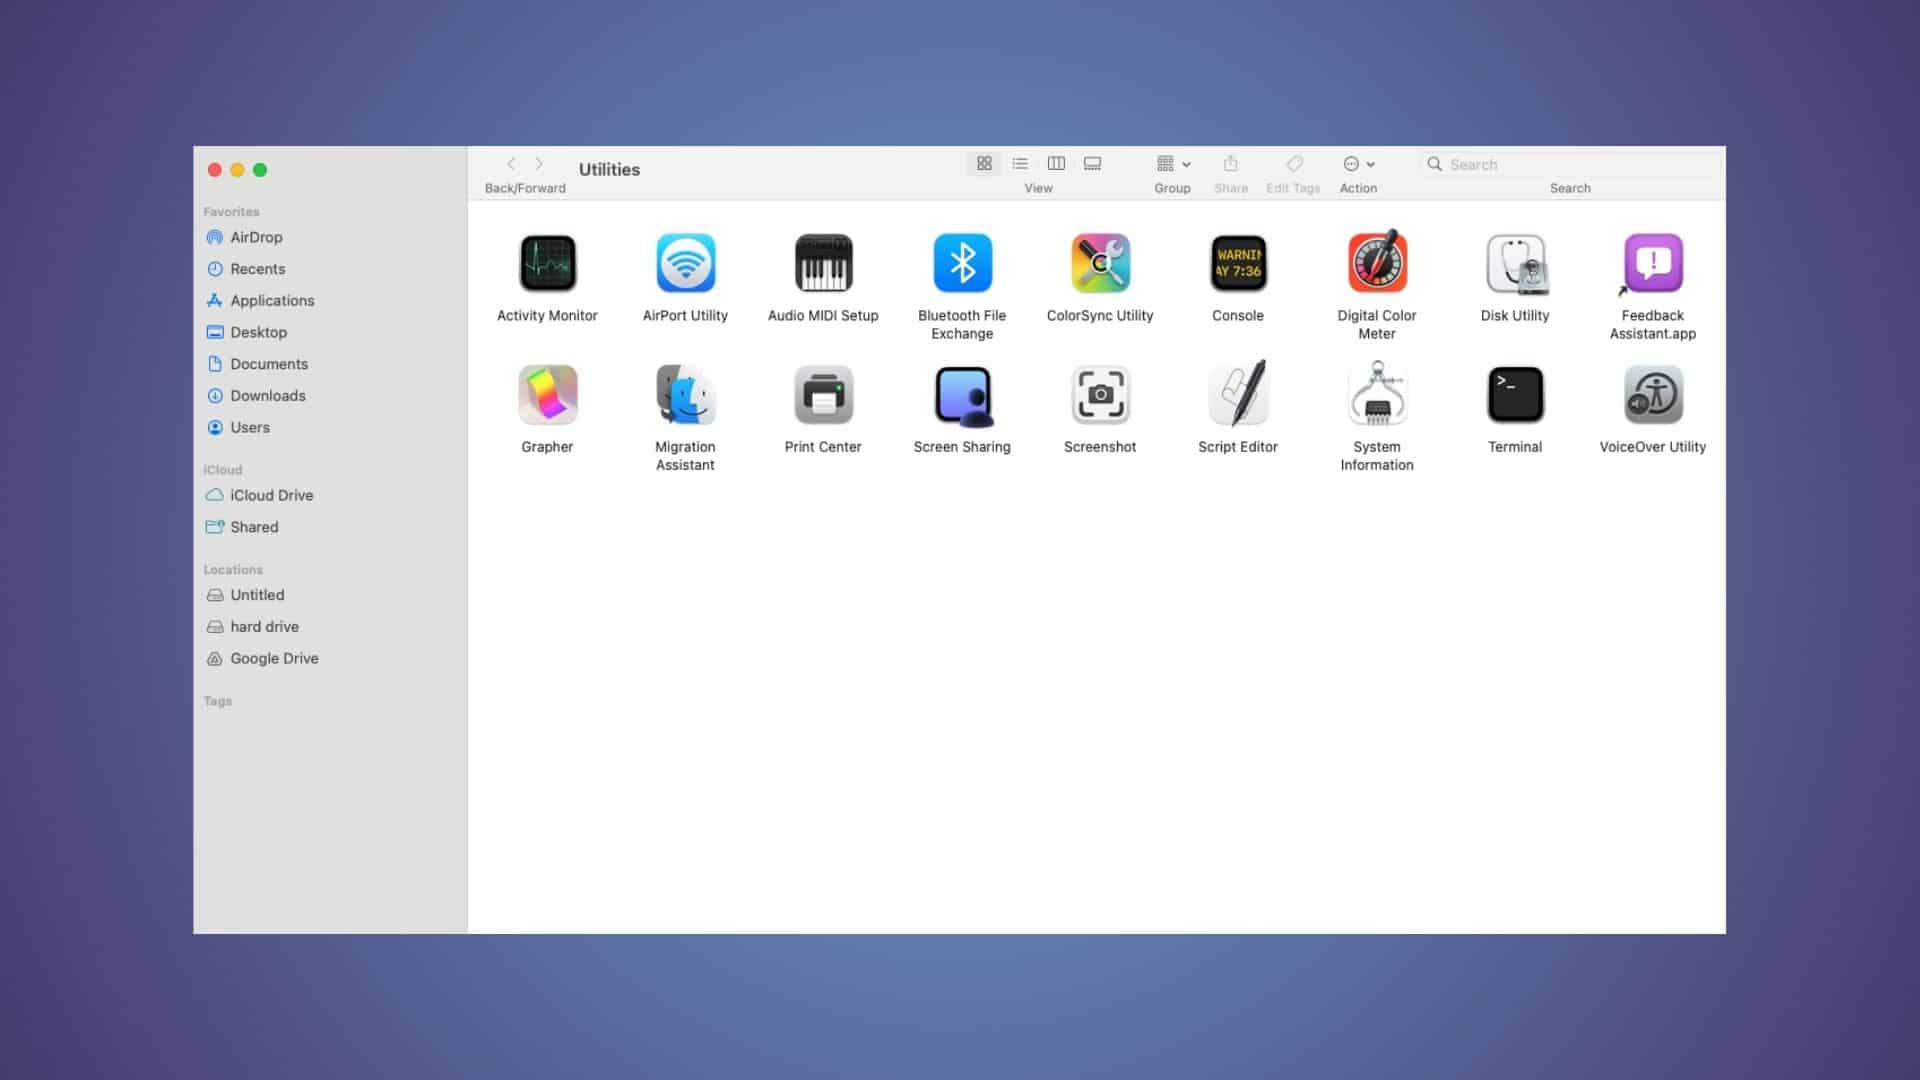
The fastest way to access the Utilities folder on your Mac is by opening Finder, selecting the Applications folder, and then double-clicking Utilities. You can also get there quickly using Spotlight Search or the Go menu in Finder. Inside, you’ll find tools like Terminal, Disk Utility, and Activity Monitor, all essential for troubleshooting, diagnostics, and advanced macOS tasks.
Table of contents
How to Use and Access Your Mac’s Utilities Folder
The Utilities folder is a built-in macOS directory that contains advanced system tools. These tools help users perform maintenance, monitor system performance, manage drives, and access administrative functions.
1. Access via Finder
This is the most direct method for locating the Utilities folder.
- Open Finder from the Dock or by clicking anywhere on your desktop.
- Select Applications from the sidebar.
- Scroll down and double-click the Utilities folder.

You’ll now see all the built-in utility apps in one place.
2. Access via Go > Utilities
This method is quick if you’re already using Finder.
- In any Finder window, click the Go menu in the top menu bar.
- Select Utilities from the dropdown list.
- A new window will open directly to the Utilities folder.
This approach is useful when multitasking or navigating deeper folders.
3. Access via Spotlight
For the fastest keyboard access:
- Press Command (⌘) + Spacebar to open Spotlight Search.
- Type Utilities and press Return.
- You’ll be taken directly to the folder.
This is ideal if you use Spotlight regularly and want to skip clicks.
Regardless of the method, the location remains the same: Applications > Utilities.
Tips for Navigating the Utilities Folder
While the Utilities folder offers powerful tools, not all are beginner-friendly. Here are a few important apps you’ll find inside, along with what they do:
- Terminal – Access macOS’s Unix-based command line for advanced control.
- Activity Monitor – Monitor CPU, memory, and energy usage.
- Disk Utility – Erase, partition, or repair drives and manage storage volumes.
- Console – View system logs to troubleshoot apps or crashes.
- System Information – Check detailed hardware and software specs.
- Keychain Access – Manage saved passwords, certificates, and secure notes.
- Directory Utility – Configure directory services (used mostly by advanced users and network admins).
Safety Tips
- Be cautious when using Terminal as you can alter system behavior with a single command.
- Disk Utility can erase drives; always double-check before formatting.
- Avoid changing settings in Directory Utility unless you’re guided by IT or documentation.
- Use Console for diagnostics, but don’t worry if you see unfamiliar error logs, many are harmless.
Knowing what each utility does can save time and prevent mistakes.
Frequently Asked Questions
The Utilities folder is found inside your Applications folder. To open it, go to Finder > Applications > Utilities.
No. Most apps in the Utilities folder are system tools that are part of macOS. Deleting them could cause system issues.
Go to Finder > Applications > Utilities > Disk Utility, or search for it using Spotlight.
The System folder contains core macOS files. It’s hidden from everyday use for safety. You can view it by opening your Macintosh HD and navigating to System, but you should not modify it unless you’re an advanced user.
Summary
- The Utilities folder is located in Applications > Utilities.
- You can open it via Finder, Go > Utilities, or Spotlight Search.
- It contains powerful tools like Terminal, Disk Utility, and Activity Monitor.
- Be careful when using system-level utilities, as some can alter critical settings.
- The folder is essential for troubleshooting, diagnostics, and system monitoring.
Conclusion
The Utilities folder might seem hidden at first, but it’s one of the most important parts of your Mac. Inside, you’ll find tools that can fix problems, manage resources, and provide insights into how your Mac runs.
For more macOS tips, consider checking out our guide on how to free up storage on your Mac.
