
Want to pay with Apple Pay on your iPhone? Setting up and using Apple Pay is quick and easy, giving you a secure and seamless way to make payments using your iPhone. In this guide, we’ll show you exactly how to set it up and use it to make payments in no time.
Table of contents
How to Set Up Apple Pay on iPhone
Setting up Apple Pay on your iPhone is a straightforward process. Just follow these steps to get started:
Step 1: Add Your Credit or Debit Card
The first thing to do is configure a payment method. Here’s how to do that:
Time needed: 10 minutes
- Open the Wallet app on your iPhone.
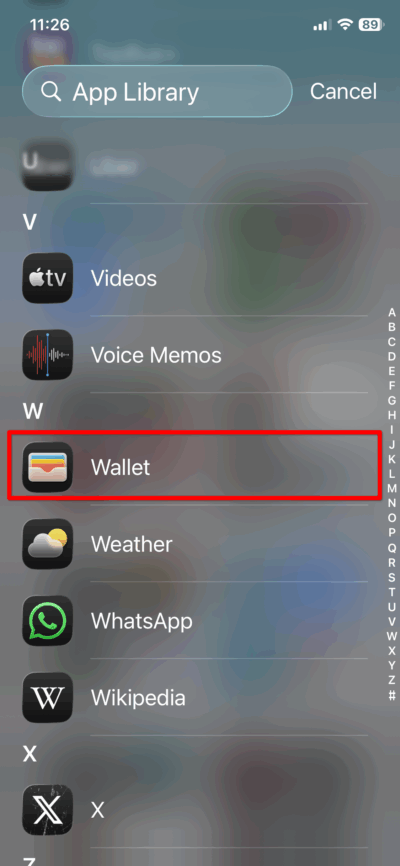
- Tap the “+” sign at the top right corner to add a new card.

- Follow the on-screen instructions to scan your card or enter the details manually.
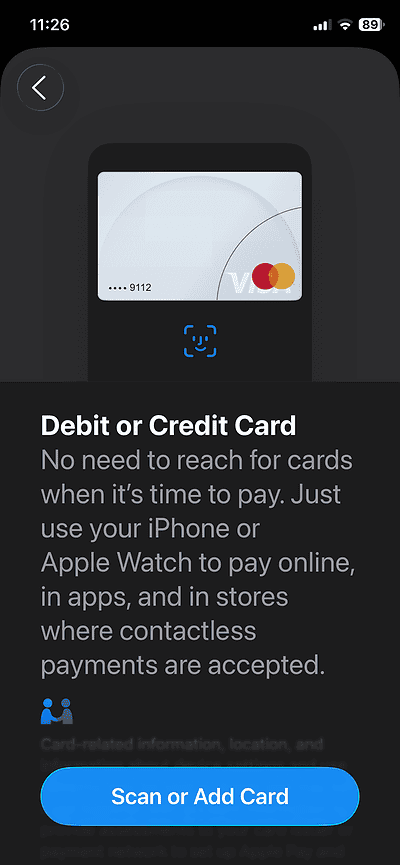
- You’ll need to verify your card through your bank. This may involve entering a verification code sent to your phone or email.


Step 2: Enable Apple Pay
Once your card is added, go to Settings > Wallet & Apple Pay. From here, you can enable Apple Pay for use in Apple services. You can also choose to set Apple Pay as your default payment method for making purchases within apps or on websites.
Step 3: Set Up Face ID/Touch ID
To make payments securely, you’ll need to set up Face ID or Touch ID. These are Apple’s biometric security systems that allow you to authorize payments. Head to Settings > Face ID & Passcode (or Touch ID & Passcode for older iPhones) and follow the prompts to set it up. Once configured, Face ID or Touch ID will be used to authorize payments via Apple Pay.
Step 4: Customize Apple Pay Settings
Now that Apple Pay is enabled, you can adjust its settings. Go to Settings > Wallet & Apple Pay. From here, you can enable features like Express Transit, which allows you to pay for transit without needing to authenticate each time. You can also set a default payment method if you have multiple cards linked.
Step 5: Test Apple Pay
Before using Apple Pay in the wild, it’s a good idea to test it. Visit a store that supports contactless payments, or try paying within an app. Double-click the side button on your iPhone, authenticate with Face ID/Touch ID, and hold your phone near the reader to complete the transaction.
Tips for Using Apple Pay

Apple Pay makes payments easier and faster, but there are a few things to keep in mind for a smoother experience:
- In-App Purchases: Apple Pay can also be used for purchases within apps. Look for the Apple Pay logo during checkout, then double-click the side button to authorize the payment.
- Use with Merchants Supporting Contactless Payments: Many merchants support Apple Pay at the point of sale, so you can make quick and secure payments with just a tap.
- Managing Multiple Cards: If you have multiple cards saved in Apple Pay, you can manage and switch between them directly within the Wallet app. Just open the Wallet, select the card, and tap it to make a payment.
- Track Transactions: You can see your transaction history in the Wallet app, helping you keep track of your purchases.
 NOTE
NOTE
Apple Pay Initial Setup and Usage: Frequently Asked Questions
To make a payment, double-click the side button on your iPhone, authenticate with Face ID/Touch ID, and hold the phone near the reader or tap within an app.
Yes, Apple Pay can be used for online purchases that support it, both within apps and on websites.
You can tap to pay using Apple Pay by holding your iPhone near the reader and using Face ID/Touch ID for authentication. Additionally, you can send cash to friends using Apple Pay Cash.
Ensure your iPhone has the latest updates, check if the card is linked correctly, and ensure that your payment method is supported.
Summary
Here’s a recap of the steps to set up and use Apple Pay:
- Add your credit or debit card to the Wallet app.
- Enable Apple Pay in Settings > Wallet & Apple Pay.
- Set up Face ID or Touch ID for secure payments.
- Customize Apple Pay settings to fit your needs.
- Test Apple Pay by making a transaction at a retail store or within an app.
Conclusion
Apple Pay provides a fast, secure, and convenient way to make payments with your iPhone. By following the steps above, you’ll be ready to start using it for all your purchases—whether you’re shopping online, in-app, or at your favorite stores. Don’t forget to regularly check your Apple Pay settings to ensure everything is up to date. Enjoy the convenience and security that Apple Pay offers!


I stopped all payments in Apple Pay after seeing declines in payment. Now I want to purchase something and my card keeps getting declined
How do I turn off the stop payments ?
Hi Jack, the issue is usually tied to the card status in the Wallet app or a restriction from your bank. First, open the Wallet app, tap the card that’s being declined, then check if it says “Suspended,” “Verification Required,” or “Unavailable.” If it does, tap the notification and follow the steps to reactivate or verify the card again. You should also go to Settings > Wallet & Apple Pay and make sure the card is still added correctly and set as active. If the card looks normal but payments still fail, contact your bank directly because many banks temporarily block Apple Pay transactions after repeated declines or suspicious activity. In some cases, removing the card from Apple Pay and adding it again fixes the problem. Also make sure your iPhone is updated to the latest iOS version before trying again.