I spent countless hours as a kid building empires and commanding armies in Age of Empires. I remember playing it alongside other classics. Like many gamers, the nostalgia and never-ending challenges keep me coming back. It’s a game that hooks you with a strategy-based yet action-packed plot. But when I switched to a Mac, I hit a wall: Age of Empires isn’t natively supported on macOS. It feels disheartening as the game has always been available on Windows.
Of course, I wasn’t about to give up easily. While running Windows-exclusive games on Apple devices isn’t straightforward, it’s possible. I’ve tried different methods, from setting up a virtual machine to booting into Windows through Boot Camp. I’ll share what worked for me so you can conquer civilizations again.
How To Download and Play Age of Empires on a Mac
1. Parallels Desktop
Parallels Desktop is generally the easiest method out of these three. It provides a streamlined, user-friendly experience with minimal technical steps. The software handles much of the configuration.
- Visit the Parallels website. Click Try Free to test the platform, although you can choose to purchase a subscription from the outset.
- Download the installer (a .dmg file) and open it once downloaded.
- Follow the on-screen instructions to install Parallels Desktop. You may have to enter your administrator password during the installation.
- Afterward, launch Parallels Desktop from your Applications folder.
- Parallels will ask you to create a new virtual machine when it first starts.
- Select Install Windows from the available options.
- You have two choices: download a copy of Windows directly from within Parallels or use an existing Windows ISO file.
Image Credits: Parallels | YouTube - If you don’t have one, you can download it from the Microsoft website.
- Choose to download Windows automatically, or if you have an ISO file, select it from your computer and click Continue.
- Follow the prompts to install Windows. You may need a Windows product key for activation.
- After Windows installation is complete, Parallels will automatically configure it to work smoothly with macOS.
- Launch Windows within Parallels by clicking on the Windows icon.
- Open a browser within the Windows environment and navigate to the Microsoft Store.
- Search for Age of Empires or open your Steam account and download Age of Empires if you own it there.
- Download and install the game just as you would on a Windows PC.
2. CrossOver
CrossOver falls somewhere in between when it comes to difficulty. It’s easier than Boot Camp since it won’t require you to partition your hard drive. However, its potential compatibility issues with specific Windows applications can cause roadblocks.
 NOTE
NOTE
- Go to CrossOver website and click on Free Trial, although you can get a subscription from the outset.
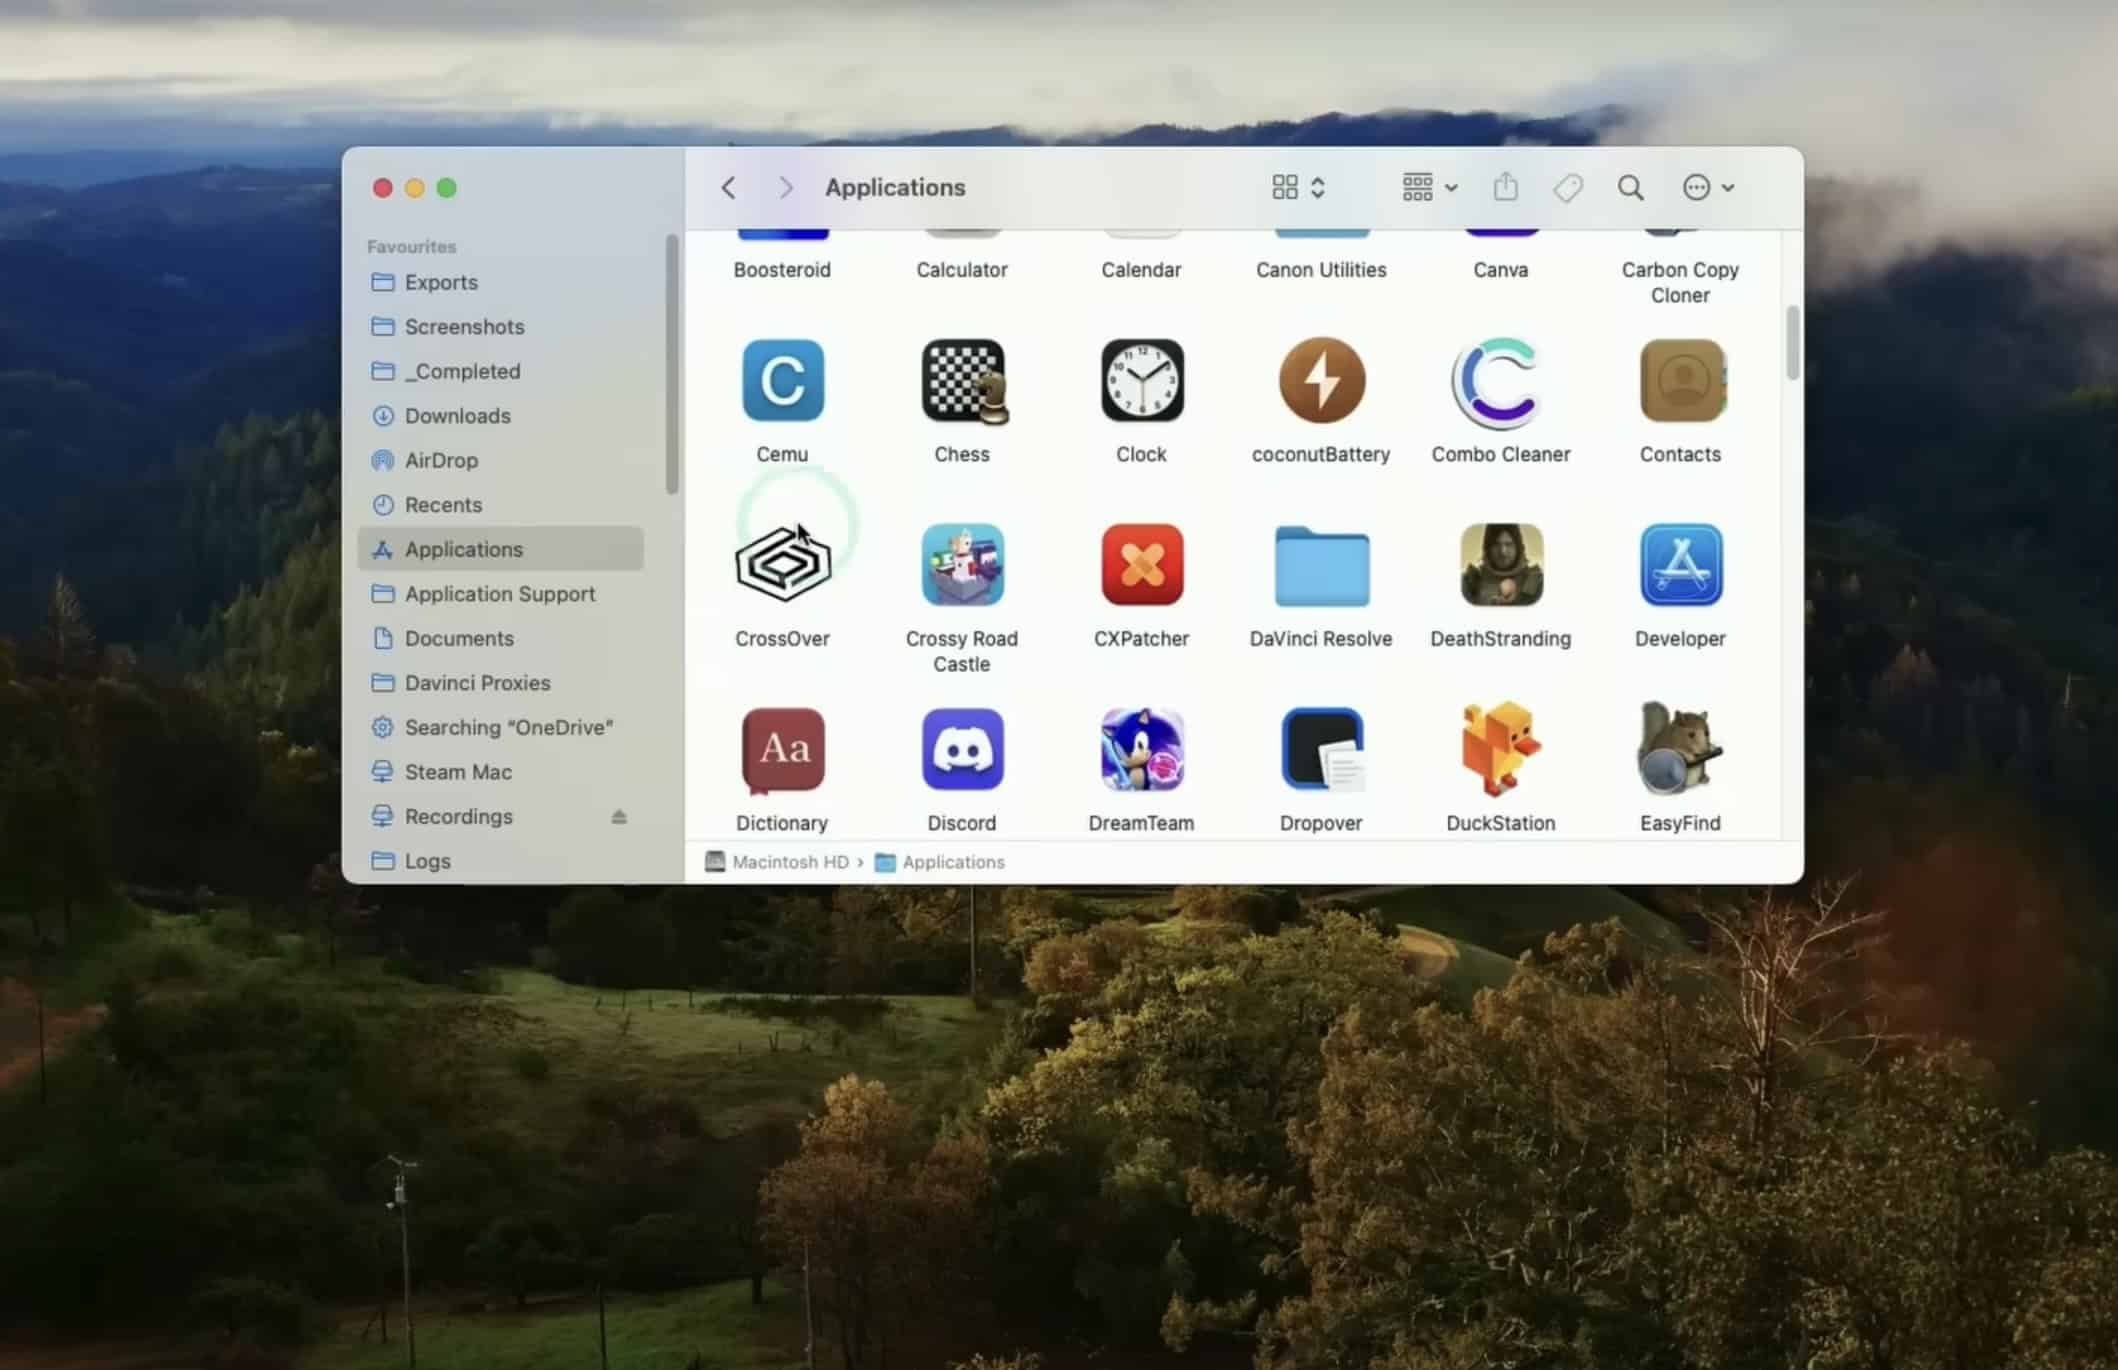
- Download the installer and open the .dmg file to install CrossOver. Drag it to your Applications folder and launch it.
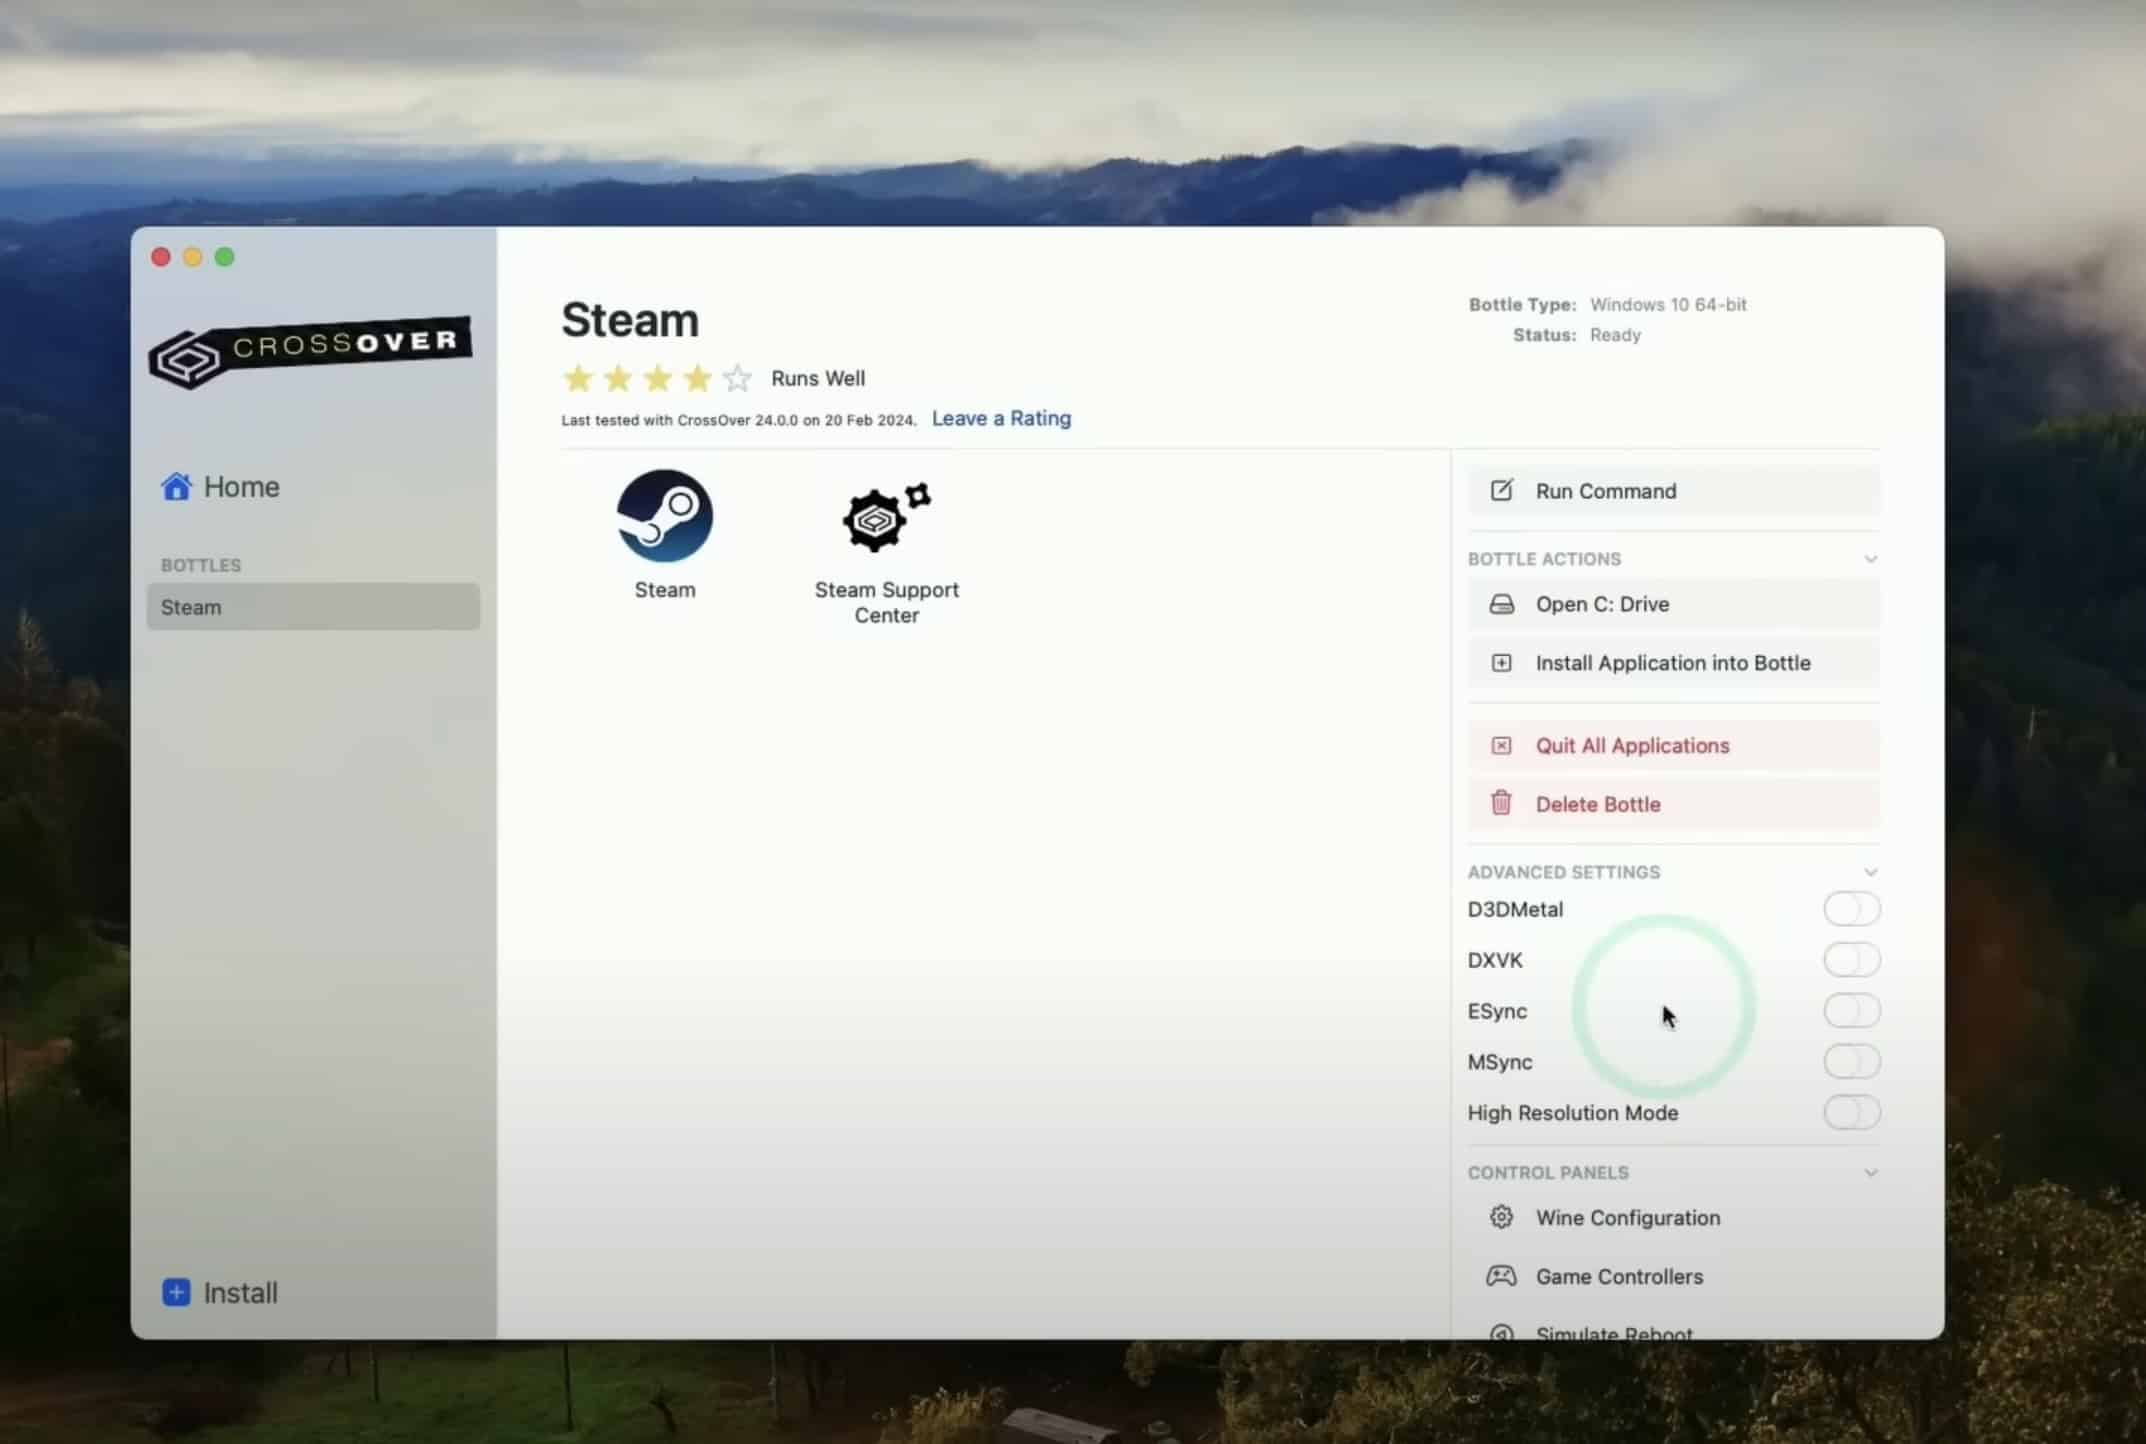
Image Credits: Andrew Tsai | YouTube - Open CrossOver and click on the Install a Windows Application button.
- In the search bar, type Steam and highlight it from the list of supported applications.
- CrossOver will automatically download and install Steam. Follow the on-screen prompts to complete the installation.
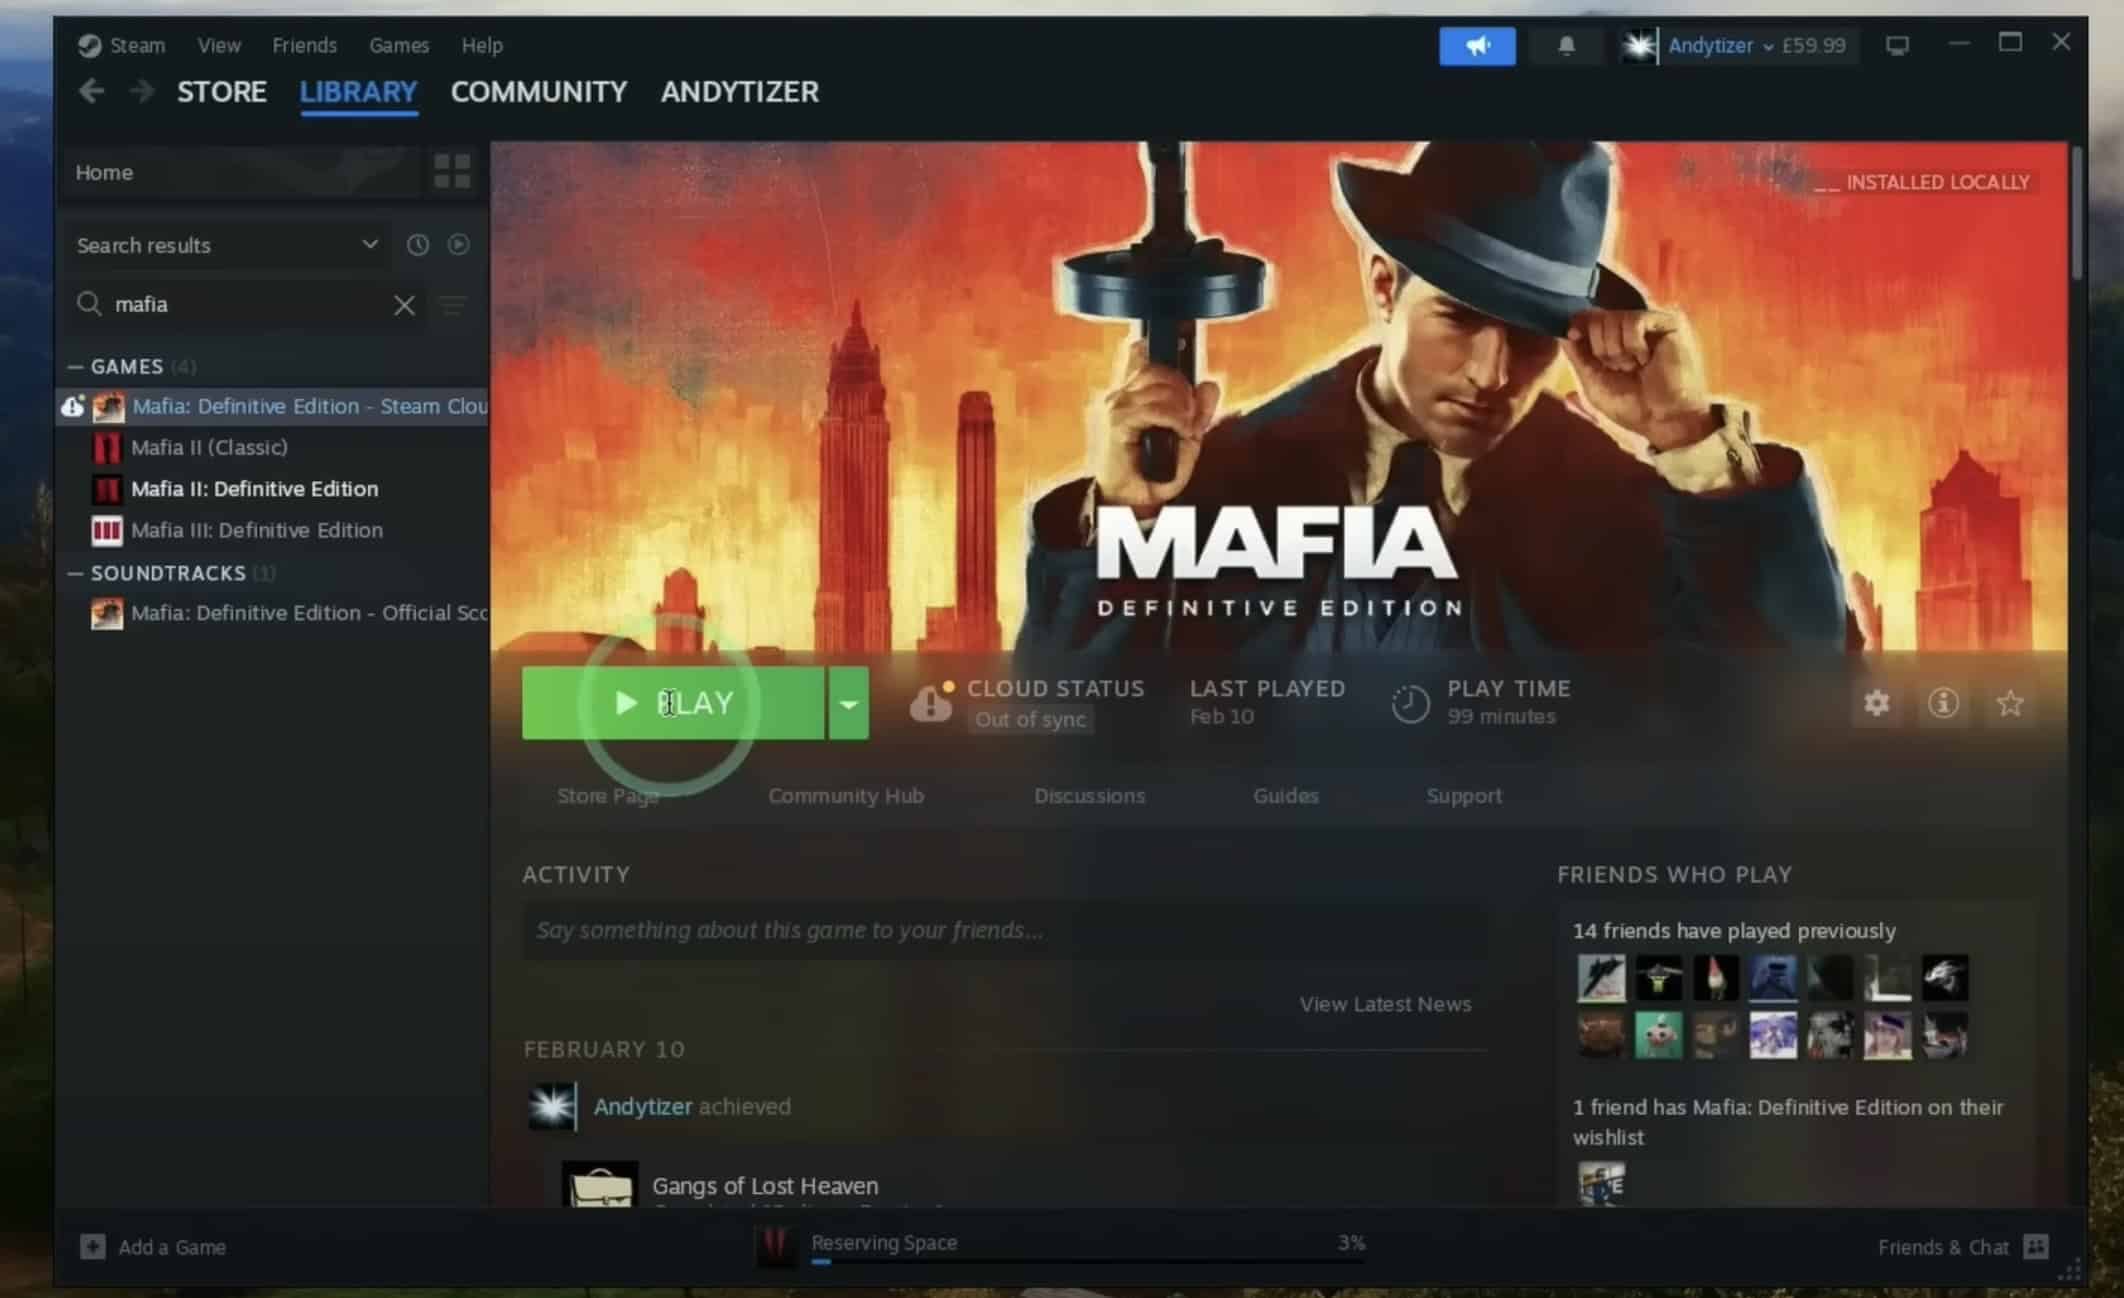
- Launch Steam within CrossOver and log in to your account.
- Search for Age of Empires in the Steam store and download it if you haven’t already. Install the game within Steam.
- Once installed, you can run Age of Empires from the Steam library directly through CrossOver.
3. Boot Camp
Boot Camp is the most challenging platform to master of these three. You’ll at least need intermediate-level coding experience to partition your Mac’s hard drive, install Windows in a dual-boot setup, and manage two operating systems separately.
The process requires multiple restarts and a significant commitment of disk space. Additionally, you’ll have to reboot your Mac whenever you switch operating systems, which is inconvenient.
- Open Boot Camp Assistant from your Applications > Utilities folder. Make sure you have at least 64GB of free space on your Mac’s internal drive since Windows requires a substantial amount of space.
- Download a Windows ISO file if you don’t already have one.
- Boot Camp Assistant will automatically partition your hard drive. You can choose how much space to allocate to Windows. 64GB is the minimum, although I’d recommend 100GB if you plan to install many games.
- Click Install to start the partitioning process. Your Mac will restart during this process.
- Your Mac will automatically restart after partitioning and boot into the Windows installer.
- Follow the prompts to install Windows. You will need to select the Boot Camp partition (usually named BOOTCAMP) and click Format.
- Continue with the installation. Your Mac will restart a couple of times.
- You’ll need to install the necessary drivers once Windows is installed. The Boot Camp installer should open automatically. If not, navigate to the Boot Camp drive and run the setup manually.
- Boot into Windows by holding down the Option key during startup and selecting the Windows partition.
- Open the Microsoft Store or Steam and then install Age of Empires.
Keep in mind that all these methods are merely workarounds. Should you mess up, Apple Support might be able to help—also, the standard one-year warranty won’t cover the damages. Make sure you follow these steps closely. Otherwise, it’s best to opt for games that are natively available on Apple devices.


