
Jump Desktop is one of the most reliable ways to remotely access another computer from your Mac, especially when performance and responsiveness matter. Whether you’re connecting to a work PC, managing multiple machines, or accessing files while traveling, Jump Desktop offers smoother graphics and lower latency than many built-in options.
If you want fast, stable remote access without constant connection issues, here’s how to use Jump Desktop on Mac, set it up correctly, and get the best performance from it.
Table of contents
What Jump Desktop Does on macOS
Jump Desktop lets your Mac connect to another computer remotely using secure protocols. It supports:
- macOS to macOS connections
- macOS to Windows connections
- Remote access from iPad or iPhone
It’s commonly listed alongside other popular tools in roundups of the best remote desktop software for Mac because it balances performance with ease of use.
What You Need Before You Start
Before setting anything up, make sure you have:
- A Mac running a recent version of macOS
- A stable internet connection
- A Jump Desktop account
- Access to the computer you want to connect to
If you’re planning to connect to a Windows PC, Jump Desktop works especially well for users already familiar with tools like Microsoft Remote Desktop, which follows a similar setup flow to what’s described in how to download and set up Microsoft Remote Desktop on Mac.
Step 1: Install Jump Desktop on Your Mac
Download Jump Desktop directly from the official site:
Jump Desktop
Once installed:
- Open the app on your Mac
- Sign in with your Jump Desktop account
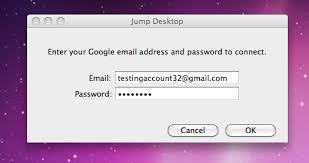
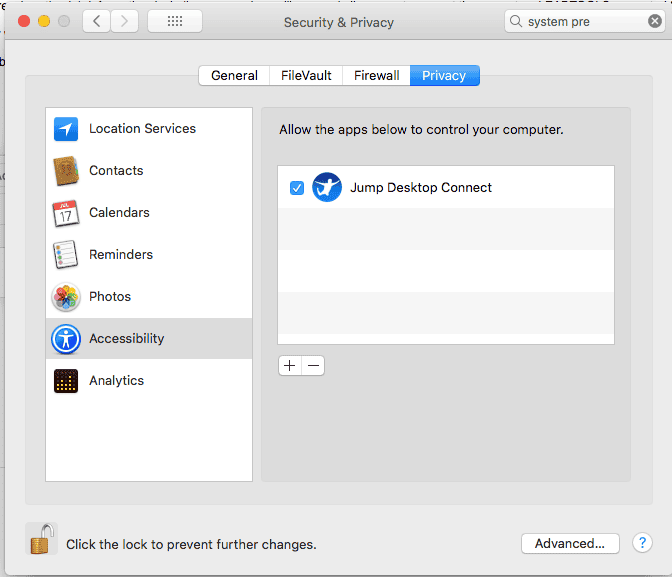
- Allow the required macOS permissions (Screen Recording, Accessibility, and Input Monitoring)

These permissions are essential; without them, keyboard input and display sharing won’t work correctly.
Step 2: Set Up the Computer You Want to Access
On the computer you want to control remotely, you’ll need to install Jump Desktop Connect.
The official Jump Desktop Quick Start Guide walks through this process step by step, but in short:
- Install Jump Desktop Connect
- Sign in with the same account
- Leave the computer powered on and connected to the internet
Once connected, the computer will appear automatically in Jump Desktop on your Mac.
Step 3: Connect and Start Using Jump Desktop
To connect:
- Open Jump Desktop on your Mac
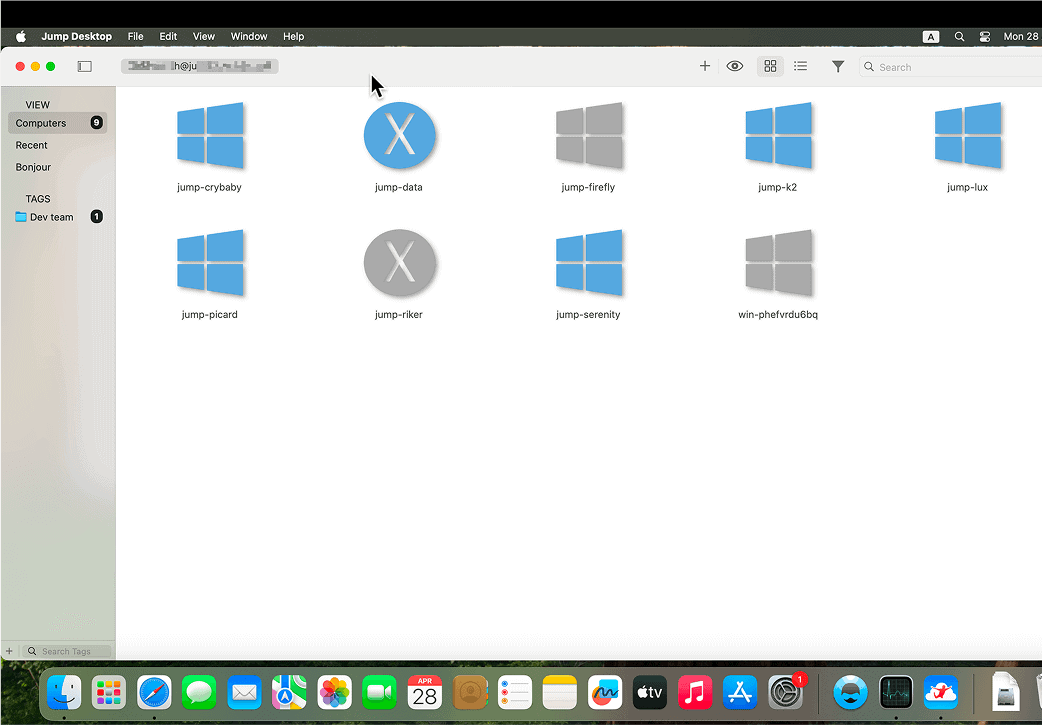
- Select the remote computer from the list
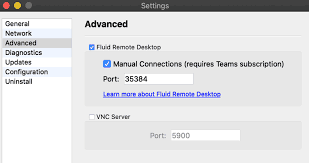
- Choose the connection type (Fluid or RDP, depending on the system)


After connecting, your Mac will display the remote desktop in a resizable window or full screen. You can:
- Use your Mac keyboard and trackpad normally
- Switch between monitors on the remote system
- Copy and paste text between devices
Performance is generally smooth, even over moderate internet connections.
When Jump Desktop Is the Better Choice
Jump Desktop is especially useful if you:
- Work remotely or travel often
- Need access to a work PC from your Mac
- Want better graphics performance than basic screen sharing
- Use multiple platforms (Mac, Windows, iPad)
It’s often preferred over built-in macOS Screen Sharing for professional workflows, particularly when latency and responsiveness matter.
Common Issues and Tips
Connection feels slow
- Switch to the Fluid protocol
- Reduce display resolution temporarily
Keyboard shortcuts don’t work
- Recheck Accessibility permissions in macOS
- Restart Jump Desktop after permission changes

Can’t see the remote computer
- Confirm Jump Desktop Connect is running
- Check firewall or VPN settings
The Bottom Line
If you’re looking for a reliable way to remotely access another computer, Jump Desktop on Mac is one of the best options available. It’s easy to set up, works across platforms, and delivers consistent performance once properly configured.
For Mac users who frequently work remotely or need access to multiple systems, Jump Desktop is a practical upgrade over basic screen-sharing tools.


