
Mac error code 8076 is one of the oldest macOS issues around, and it typically relates to files and folders that you don’t have permission to edit. How much control you have over the problem depends on whether you can contact the original author and various things with your device. This error code impacts both Intel and Apple Silicon Macs.
Today, I’ll provide seven tips — with walkthroughs — to help you solve this issue and get back to work more quickly.
How to Troubleshoot MacBook Error Code 8076
1. Check if the File Is Compatible With Your macOS
Time needed: 2 minutes
Before trying some of the more complex solutions to this problem, check if the files and folders causing this issue are even compatible with your software. This message appears more frequently on older macOS versions for this reason. Here’s what to do:
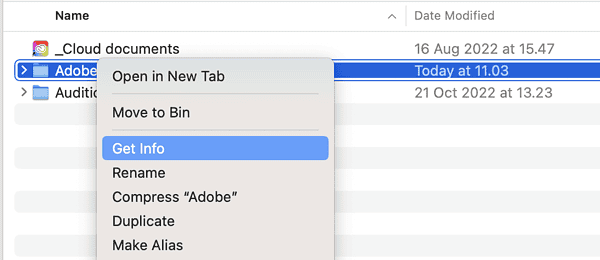
- Go to the file or folder that’s causing problems on your device.
- Click the Ctrl key and your trackpad simultaneously, and select Get Info.

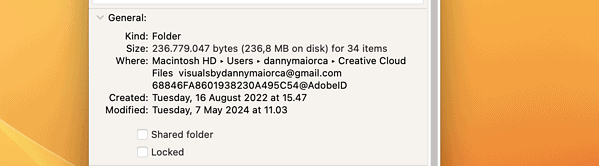
- Look for aspects related to versions, software editions, and other similar information. What you see varies from file to file.

2. Change File and/or Folder Ownership
If you’ve verified that you don’t have software compatibility problems, try changing ownership permissions for your files and folders. To do this, you’ll need to open them again, but this time, you have to scroll to the bottom of the window.
- Go to the affected files or folders, hit Ctrl + trackpad, and select Get Info.
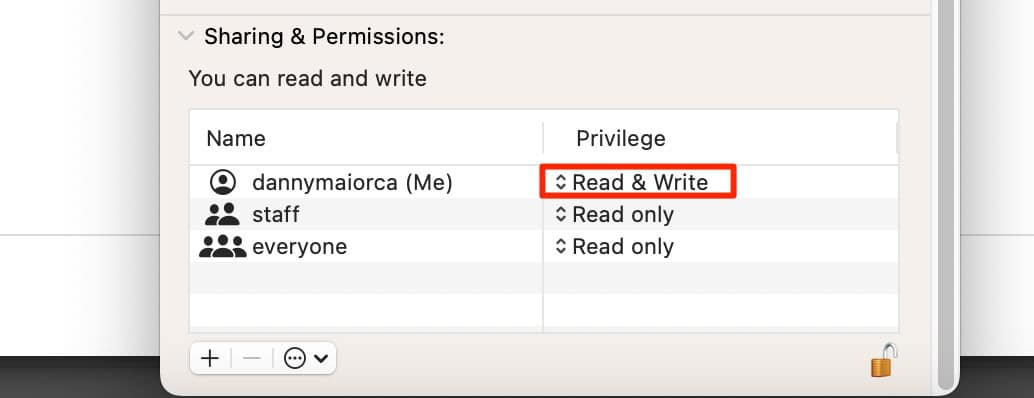
- Expand Sharing & Permissions at the bottom if it isn’t already.
- Click the padlock icon and enter your password or unlock with Touch ID.

- Click the arrows under Privilege and, if possible, choose Read & Write for your account.

You can also change file ownership by going to the software you originally downloaded (e.g. Google Drive). The current owner will probably need to transfer ownership to you; contact them to finalize these steps.
 NOTE
NOTE
3. Close All of Your Apps and Folders
When I’m running multiple apps and programs at the same time, I notice that my Mac sometimes fails to complete requests. For example, I’ll receive notifications saying I can’t eject an external hard drive because another app is using it (even if it isn’t). In these cases, closing your apps and folders may let you move the programs you want to.
There are several ways to approach this step. The first is to manually close each of them with your keyboard and trackpad.
- Hover your cursor over each open app, file, and folder (do this one at a time).
- Select Quit when the dropdown menu appears.

- Repeat the process for all of your open apps and folders.

If that doesn’t work, try force-quitting instead.
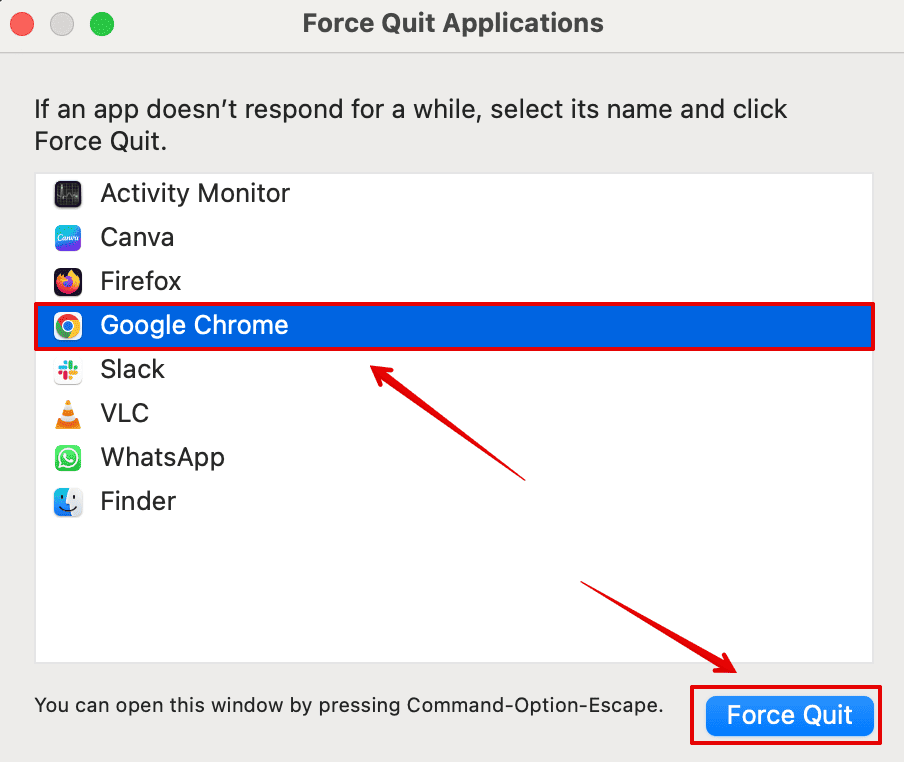
- Click the Apple menu icon and select Force Quit.

- Highlight all of your open apps and select Force Quit. If only Finder is open, click Relaunch instead.

- Try moving the files and folders again.
4. Request Editing Permissions From an Editor, Author, or Owner
When trying to change your editing permissions in Step 1, you’ll notice “Read only” or “Read & write” next to your username. If you were unable to change editing permissions yourself, you should try requesting changes from someone with more file or folder privileges. In most cases, contacting the person who sent you the file is your best choice.
Reach out to the sender and see if they or someone on their team can grant you the necessary access. You might also want to ask if they can share an online version (i.e. a Google Doc) and set you as an editor. After obtaining the necessary permissions, you should be able to re-download your content and move it around without problems.
5. Check Your Account Permissions
Sometimes, you may not be able to move files and folders around on your Mac because your account doesn’t have the necessary permissions. As a general rule, it’s worth making yourself an admin on your personal devices, or any computer that you use for work or school. You’ll normally do this when signing up for an account, but it’s worth checking if you need to update your device privileges.
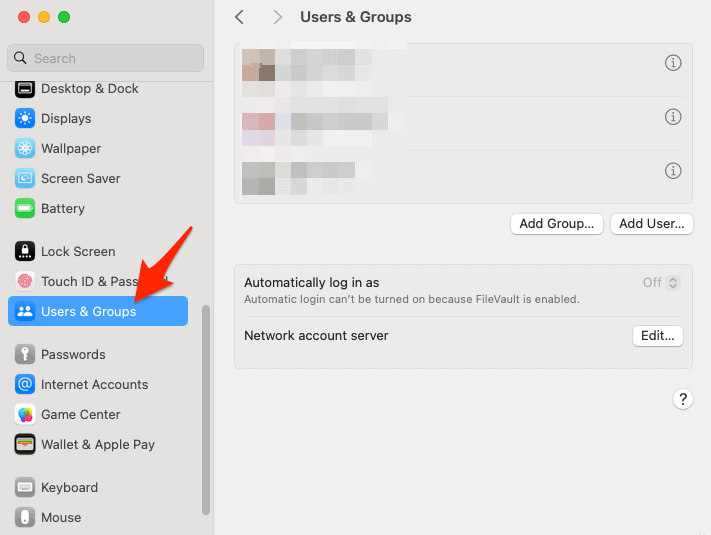
- Open System Settings and go to Users & Groups.

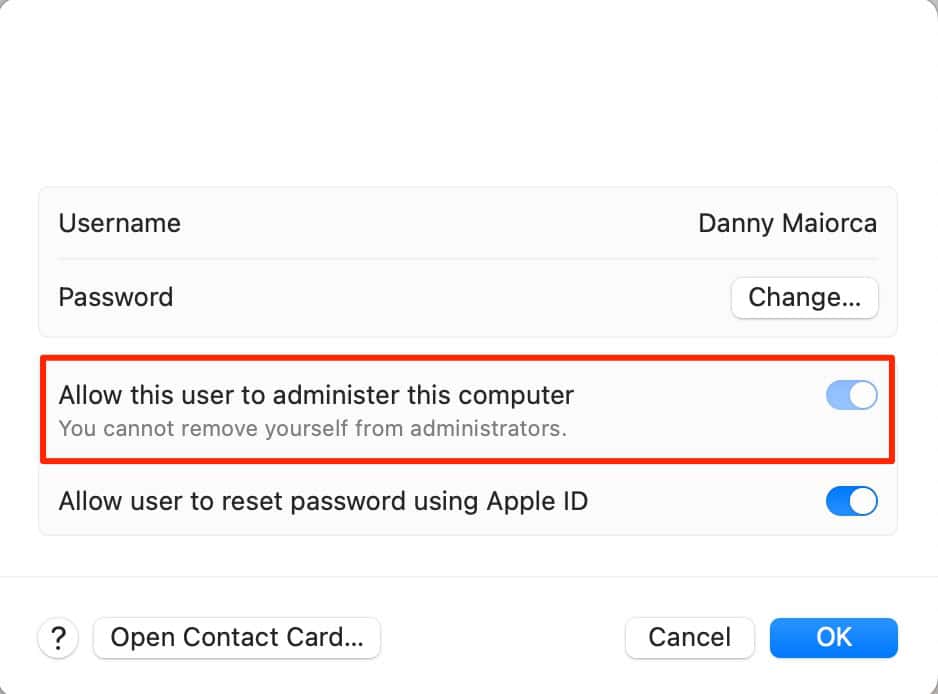
- Click the information icon (i) next to your name.
- Toggle Allow this user to administer this computer on. If the feature is grayed out, you’re the default admin and would need to add a new account to change these permissions.

If you have problems signing into your account, consider checking out these tips on how to unlock your MacBook when you’ve forgotten the password.
6. Run First Aid Disk Utility
You may still not be able to move files and folders with the correct permissions, and if this happens to you, it’s probably an issue with the program itself. Identifying and fixing issues with First Aid is the next best thing you can try if none of these tips have worked so far.
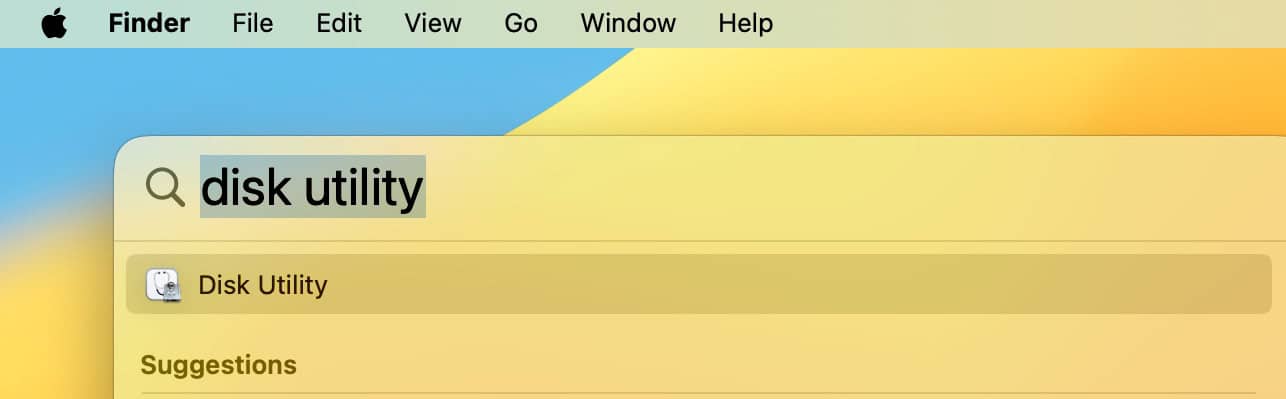
- Search for Disk Utility in Spotlight and hit the Enter key when it appears.

- Click First Aid in the right-hand corner.

- Press Run when you see the pop-up window.

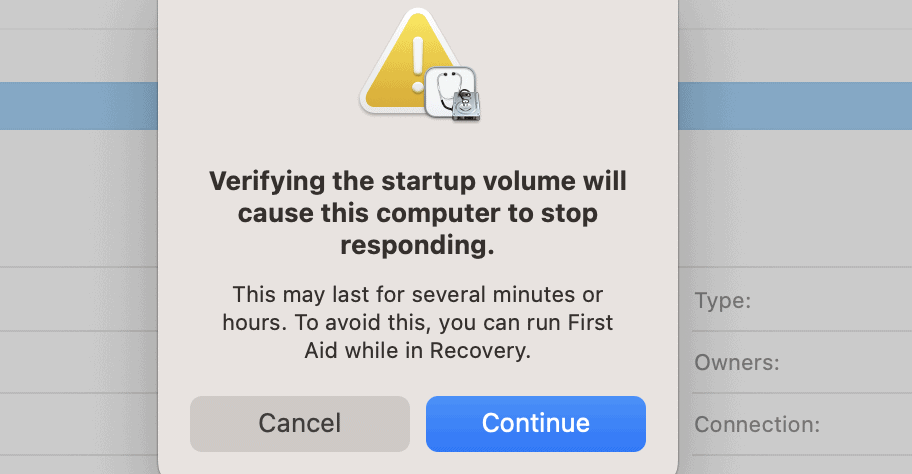
- Another pop-up window will appear. When it does, press Continue.

- Wait for your Mac to fix any problems it finds with your disk. Then, try moving your files and/or folders again.


You can normally fix error code 8076 on your Mac by changing disk permissions, but you sometimes have to dig deeper for a solution. It could be a sign of issues you need to fix on your computer, and restarting your device or updating your software could also potentially work. Having read this guide, you should hopefully have been able to solve this issue and prevent it from re-occurring. If not, contact Apple Support.