
We all know that to connect to the internet, you need to type in the Wi-Fi password on Mac, which is also known as the WPA2 password and there are two ways to do it. Typically most of us save WiFi passwords on our devices. This is the reason why we tend to forget the password and are worried when our devices ask for the same.
Let us take a closer look at how to set a WPA2 password
Why is Mac Asking for a WPA2 Password?
When joining a network, Mac will ask for a WPA2 password for security reasons. No matter which device you use, you will need a WPA2 password to join a Wi-Fi hotspot. There are occasions when you can join the Wi-Fi network without needing a WPA2 password. These are often public networks and relatively unsafe.
If you don’t know the password and you’re accessing your network, the password is often located at the internet router. But if you already accessed the network using your iPhone or iPad, you can share your Wi-Fi password with your Mac. This way, the password gets entered automatically. But if you have to manually add the password, here’s the easiest way to do it.
How to Enter the Wi-Fi Network WPA2 Password on Mac
There are two ways to enter the Wi-Fi network WPA2 password on a Mac. The first option is to open the settings and find available Wi-Fi access points, and the second one is to use the Mac’s menu bar.
Time needed: 2 minutes
Steps to entering the Wi-Fi network WPA2 password on Mac:
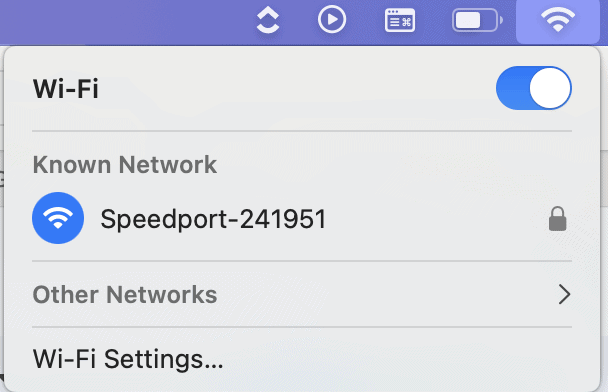
- Open System Settings.
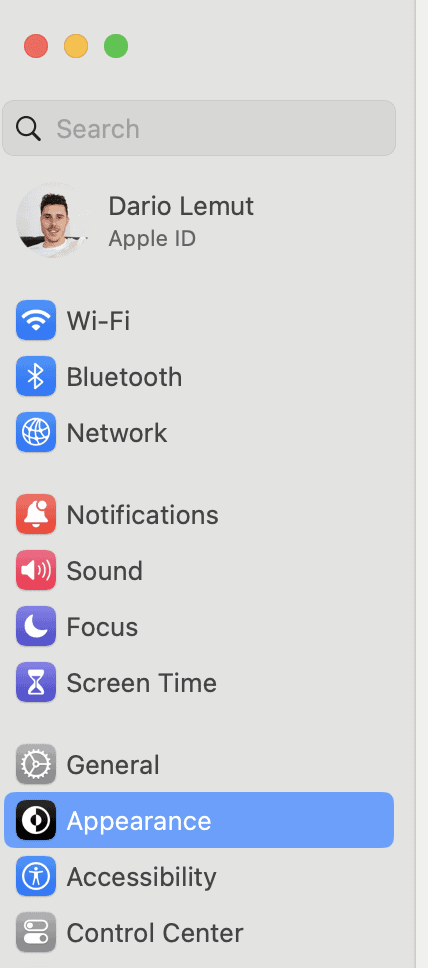
- Visit the Wi-Fi Tab.
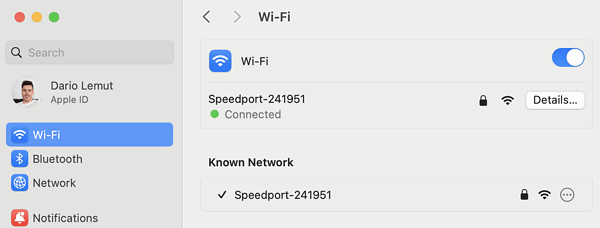
- Select a network from the list of available networks.
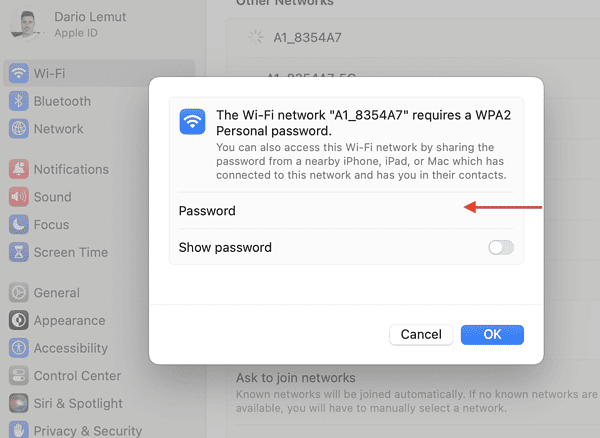
- Type in the WPA2 password to connect.
”“


However, if you’d like a quicker way to do this, here’s what you need to do:
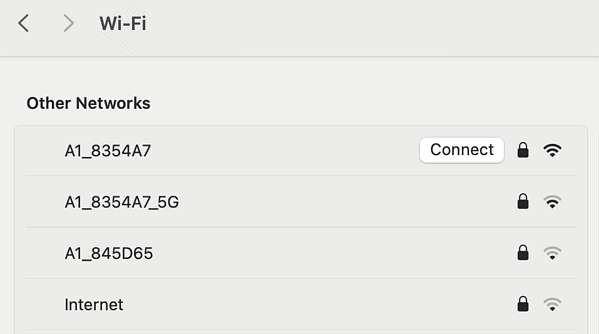
- Click on the Wi-Fi icon in the Mac’s top menu.
- Click on the Other Networks tab.
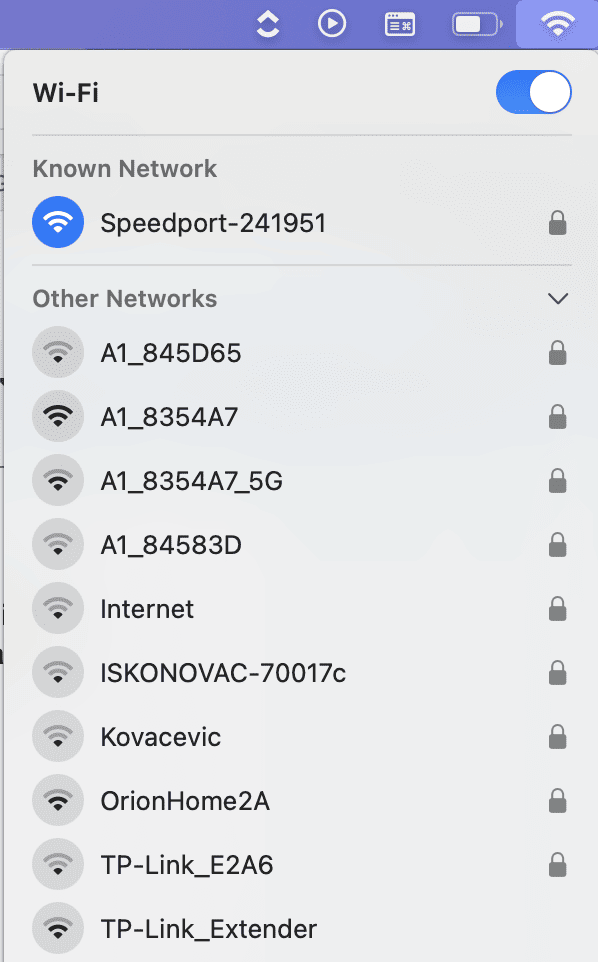
- Choose a network you’d like to connect to.
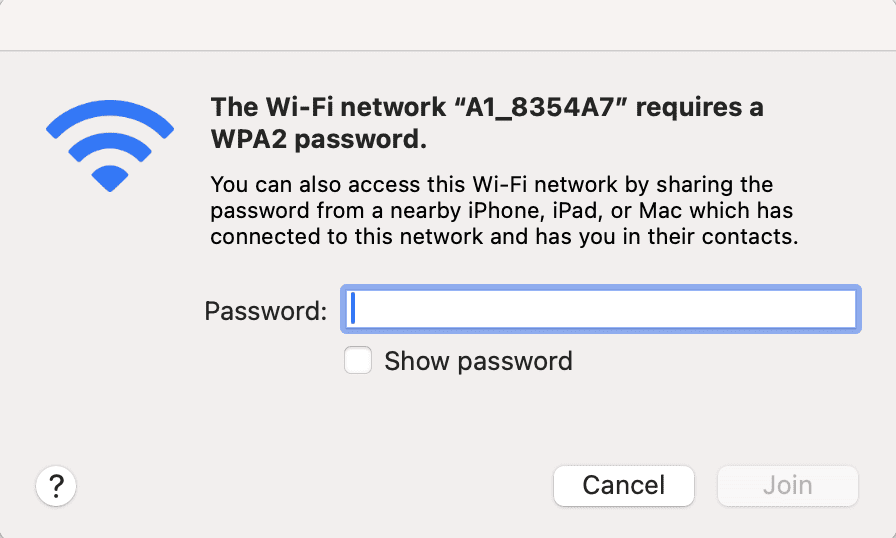
- Type in the WPA2 password.


The Wi-Fi icon should be visible in the Mac’s menu top corner by default. If it’s not there, you will have to open Settings and follow the steps above.
How to Set a New WPA2 Password on Mac
One good thing about Macs is that they remember the WPA2 password after you enter it for the first time. This means that you won’t have to enter the WPA2 password everytime.
Changing the WPA2 password on Mac is going to make things a lot more convenient but there are a couple of things you should know. You should be connected to the Wi-Fi network and own the network. Once you change the password, all devices will be signed out of the Wi-Fi access and will have to re-enter the password again.
To change and set a new WPA2 password on a Mac, here are the steps to follow:
- Make sure you’re connected to the Wi-Fi network.
- Open Safari browser.
- Visit the router’s address (192.168.1.1 in most cases).
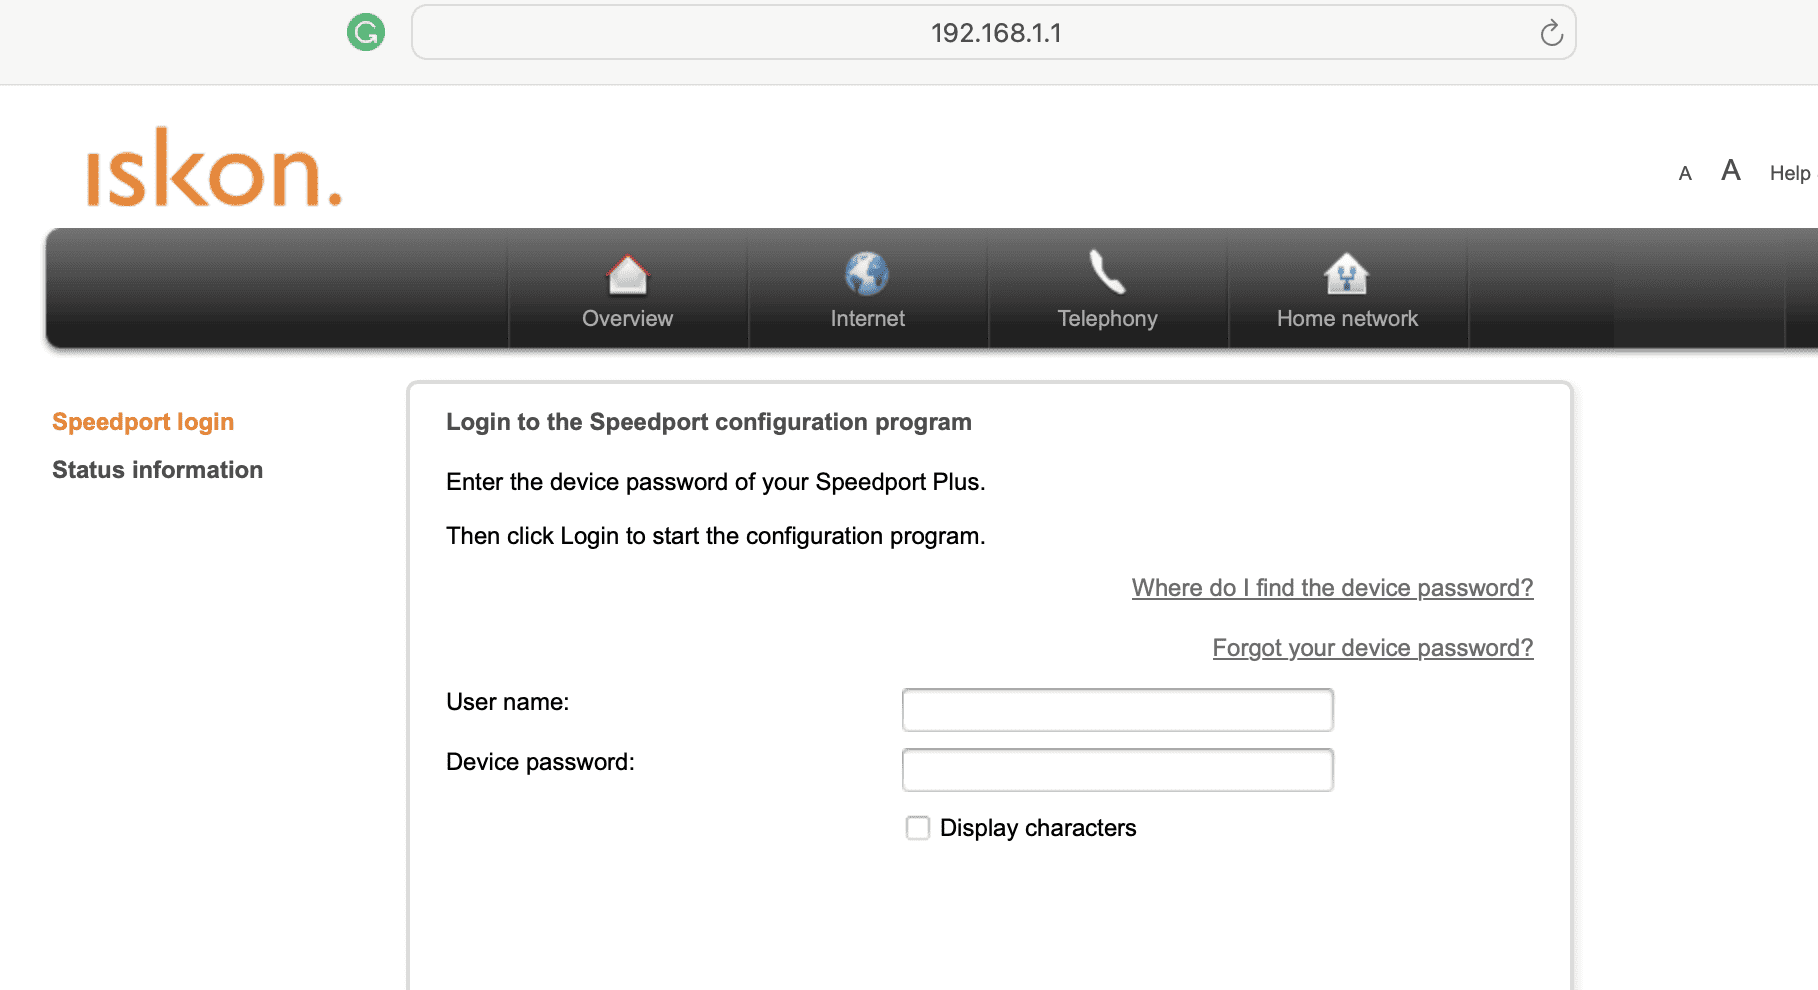
- Log into the router’s backend.
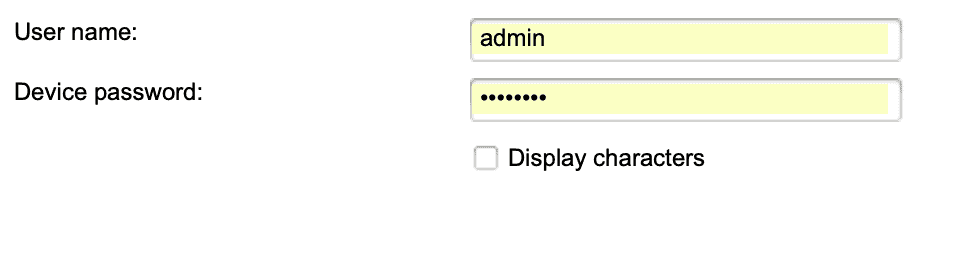
- Find WLAN settings.
- Change the encryption password.
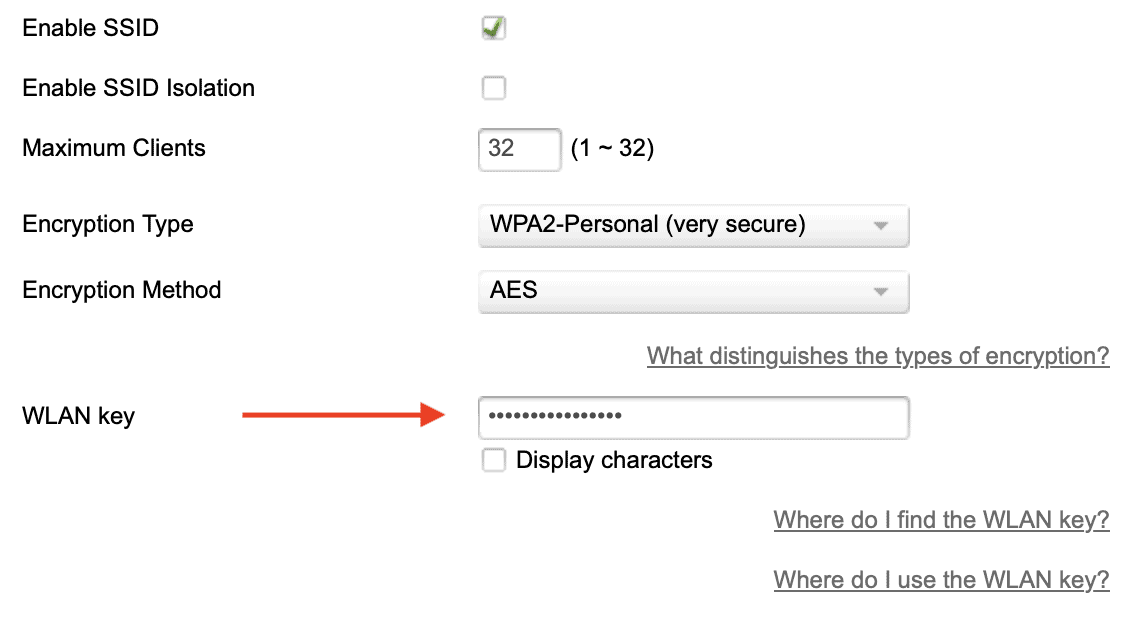
- Save the settings and let your router restart.


If you’re not a fan of the Safari browser, you can use any other browser you have installed on your Mac. The router’s address is often 192.168.1.1, but if it’s not you can find the actual address on the backside of your router. That’s also where you will find the login credentials for your router.
Most modern routers have WPA2 encryption set by default, and to set a new password, only change the key to something you’ll remember. Entering the WPA2 password is fairly simple on a Mac and changing the WPA2 password has a couple of additional steps.


