
Your internet connection not working in macOS Sonoma 14/14.6.1 can be a pretty major issue. If you’ve gone without the internet for even a short period of time, you may have noticed how necessary it is to do anything in today’s times. Considering it is such a vital component, let’s take a look at restoring your connection.
How to Fix Your Internet Connection in macOS Sonoma 14/14.6.1
1. Perform Your Basic Checks
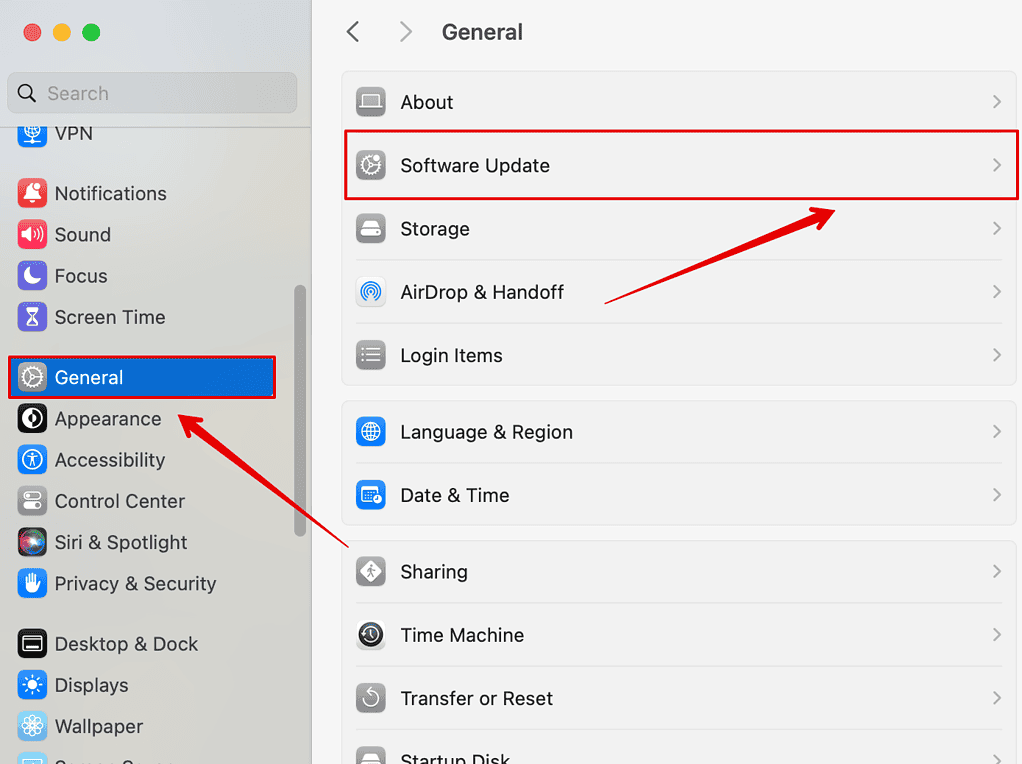
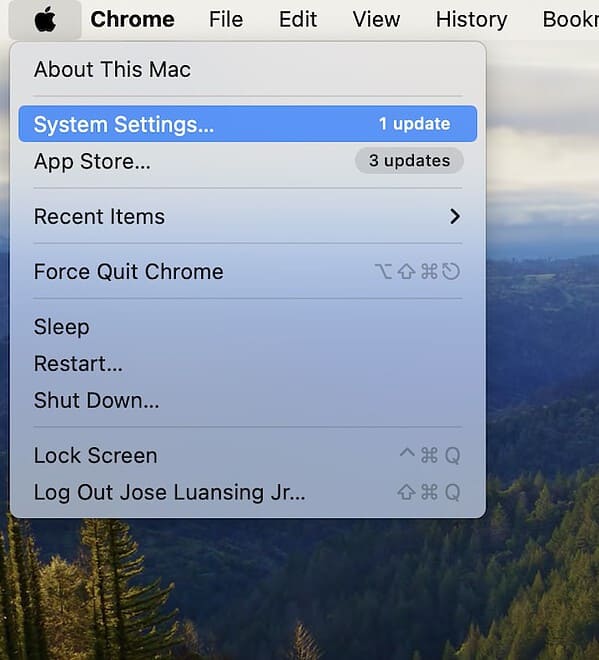
Before diving into some more complex solutions, there are a couple of things you should do if you’re having issues with your connection. First, be sure to check for an update via Apple menu > System Settings > General > Software Update.
The second thing you should do is reset your modem and router. Personally, this happens to me all the time when I’m at home, and usually unplugging the power for both of them for thirty seconds and then plugging the power back in does the trick. Your devices may have special reset instructions, so be sure to consult the manual for each device. You should also unplug any extra peripherals from your Mac at this time.
After this, your next step should be to disable your VPN and antivirus. Disable each of these one at a time to see which is causing the issue. You can turn off your VPN via Apple menu > System Settings > Network > VPN & Filters. For your antivirus, there should be an option to disable it somewhere within the app.
Lastly, try restarting your Mac, especially after performing each of these steps (Apple menu > Restart). Should none of these work, try the solutions below.
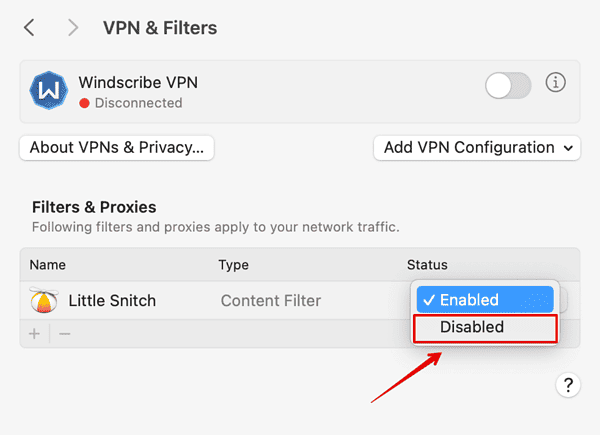
2. Disable Little Snitch
Little Snitch is a handy little feature that helps monitor network traffic. While it can be useful, it can also prevent you from accessing the internet. Let’s try disabling it. Should this not be the issue, remember to turn it back on.
Time needed: 1 minute
Follow these steps to disable Little Snitch:
- First, navigate to Apple menu > System Settings.

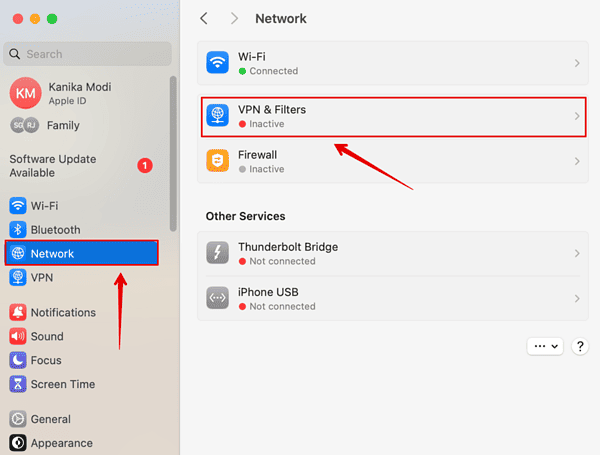
- Select Network.
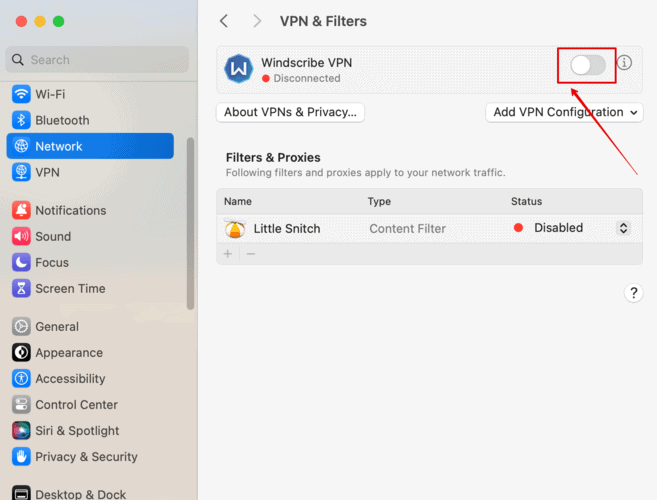
- Choose VPN & Filters from the right column.

- Under the Filters & Proxies section, locate Little Snitch. Click Enabled and change it to Disabled.

3. Fix Your Date & Time Settings
It may just be that your Date & Time settings are incorrect. This can happen for a variety of reasons, but getting it back to the correct time may solve your issue.
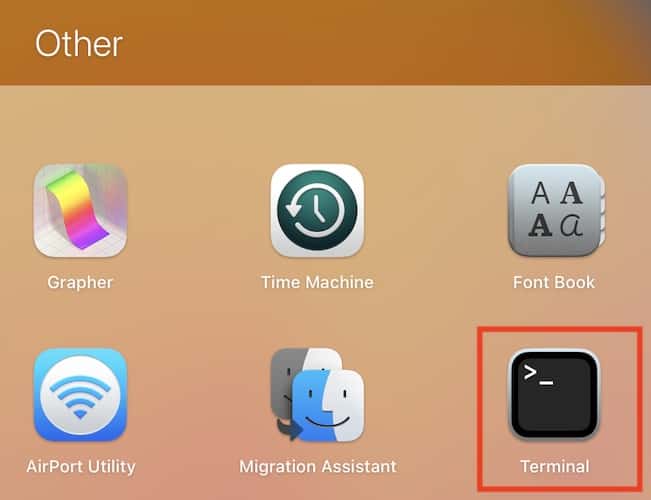
- First, you’re going to need to open the Terminal app. It should be located in Applications > Utilities.

- From Terminal, enter this command:
sudo rm /var/db/timed/com.apple.timed.plist - Hit enter, you may need to enter your device’s password into Terminal.
- Restart your machine.
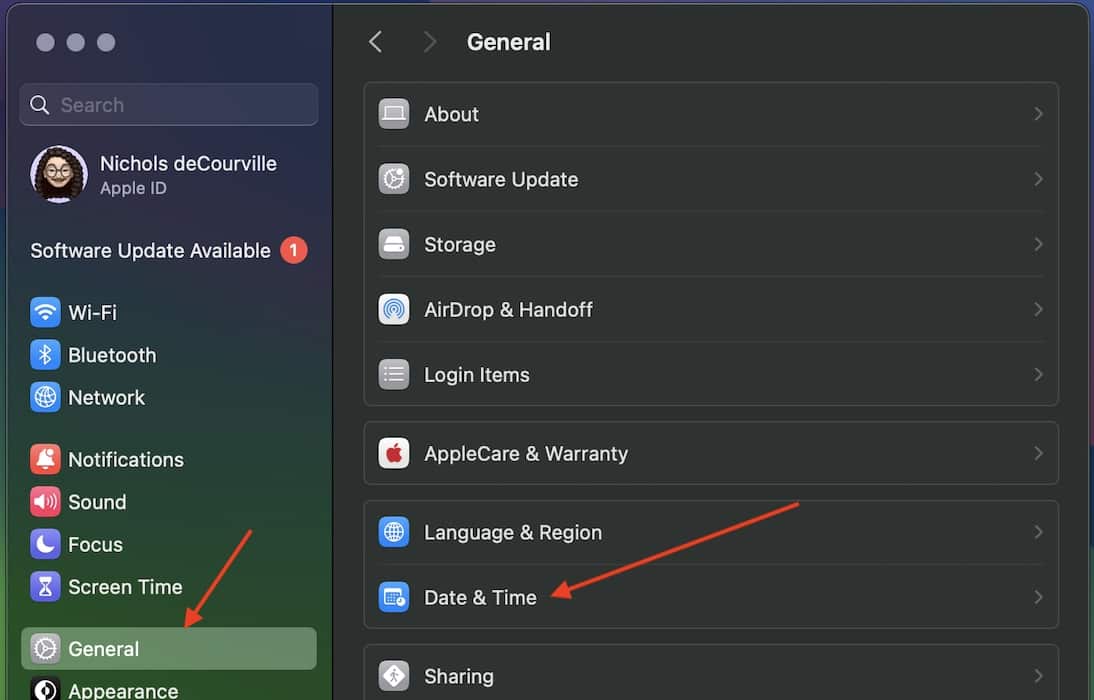
- With your machine booted up, navigate to Apple > System Settings > General > Date & Time.

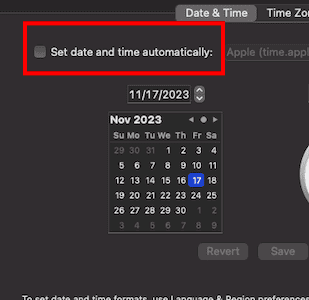
- Make sure that Set date and time automatically is enabled.

4. Forget Your Wi-Fi Connection
It may just be that you need to forget your Wi-Fi connection and then reconnect to it again.
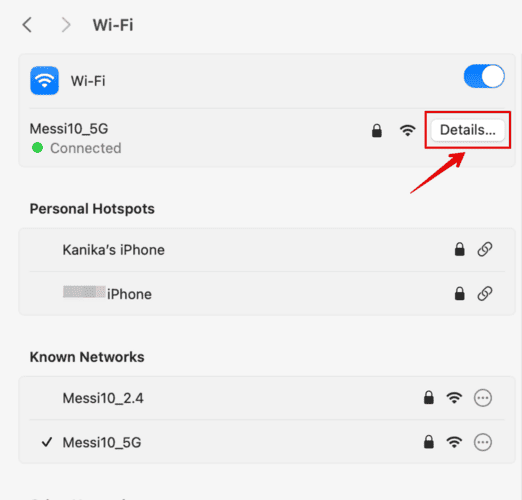
- Click the Wi-Fi icon in the right-hand corner of your menu bar and select Wi-Fi Settings.

- Select Details next to your Wi-Fi connection.

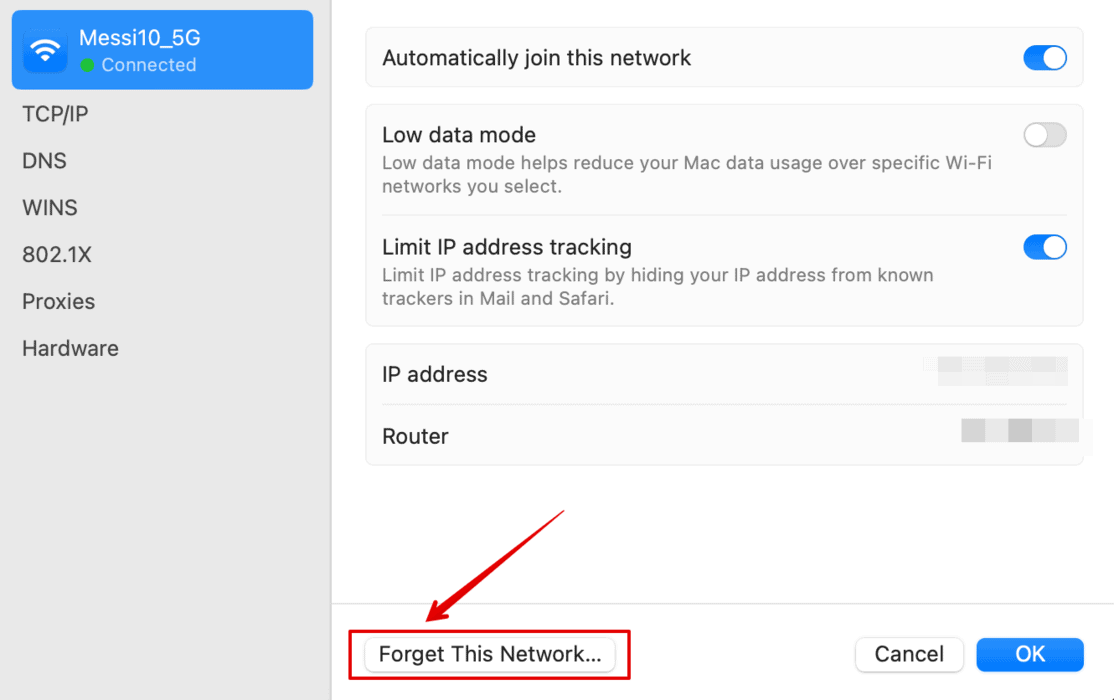
- Select Forget this Network.

- Reconnect to the network.

5. Boot Your Mac into Safe Mode
Should none of the above solutions work, you can try booting your Mac into Safe Mode. This only loads necessary components your Mac needs to function, so this can help diagnose the issue.
On Apple Silicon Macs
- First, shut down your Mac (System Settings > Shut Down).
- Wait a couple of minutes.
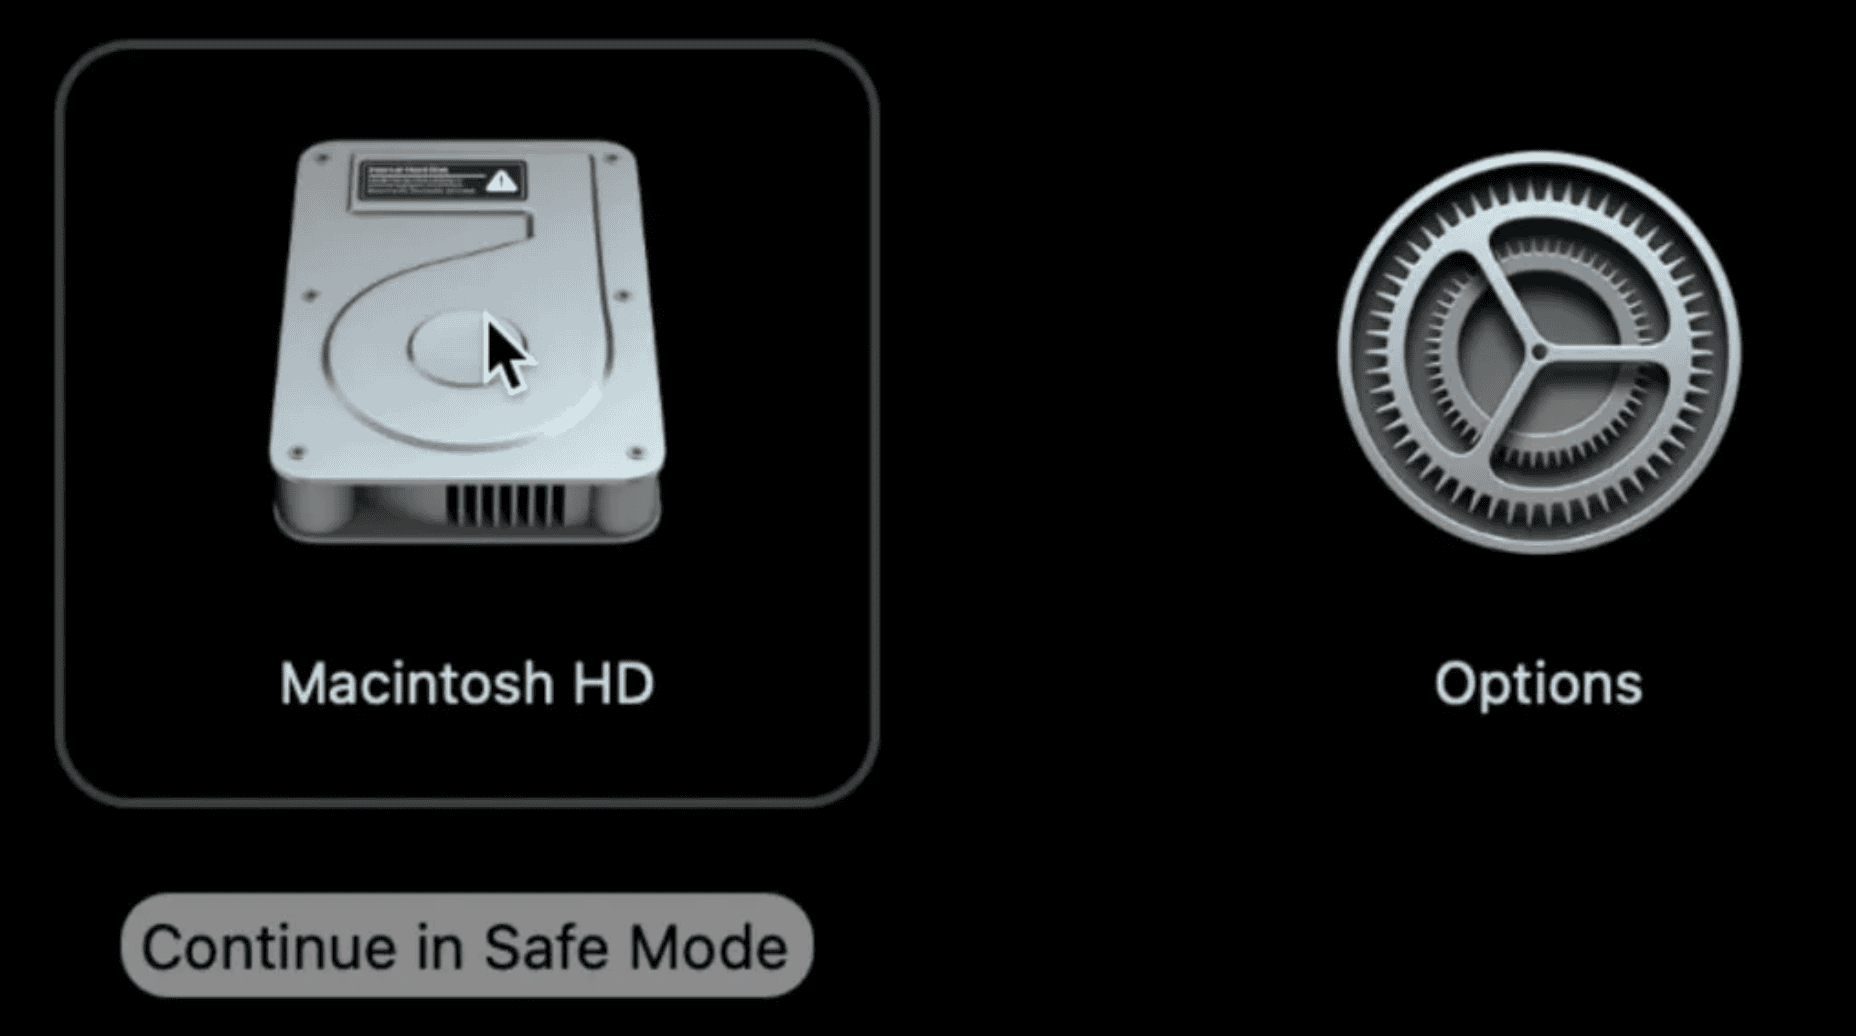
- Press and hold the power button until you see Loading startup options on your screen.
- Select your disk drive volume.
- Press the Shift key and then select Continue in Safe Mode.

On Intel-based Macs
- Shut down your Mac.
- Power it back on and hold down the Shift key while the system boots.
- Continue to hold this key until you see a login window.
6. Reset DHCP Lease
DHCP Lease assigns IP addresses to your device. It may be that an IP address was assigned to two different devices. This can create a conflict. Let’s fix it.
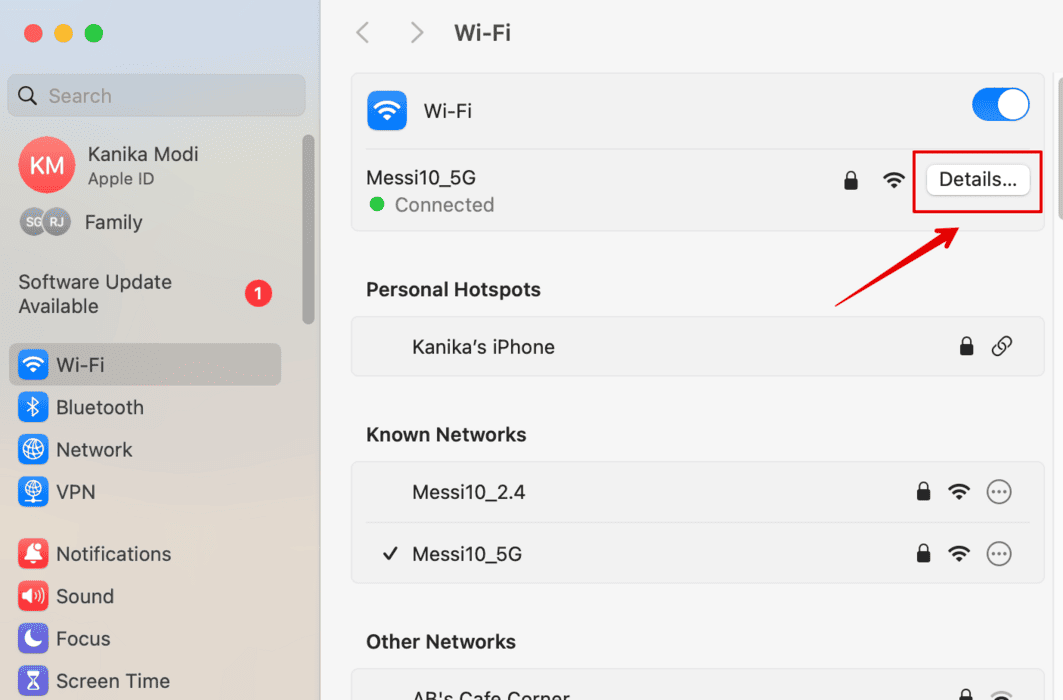
- Navigate to System Settings > Wi-Fi.
- Near your internet connection, select Details.

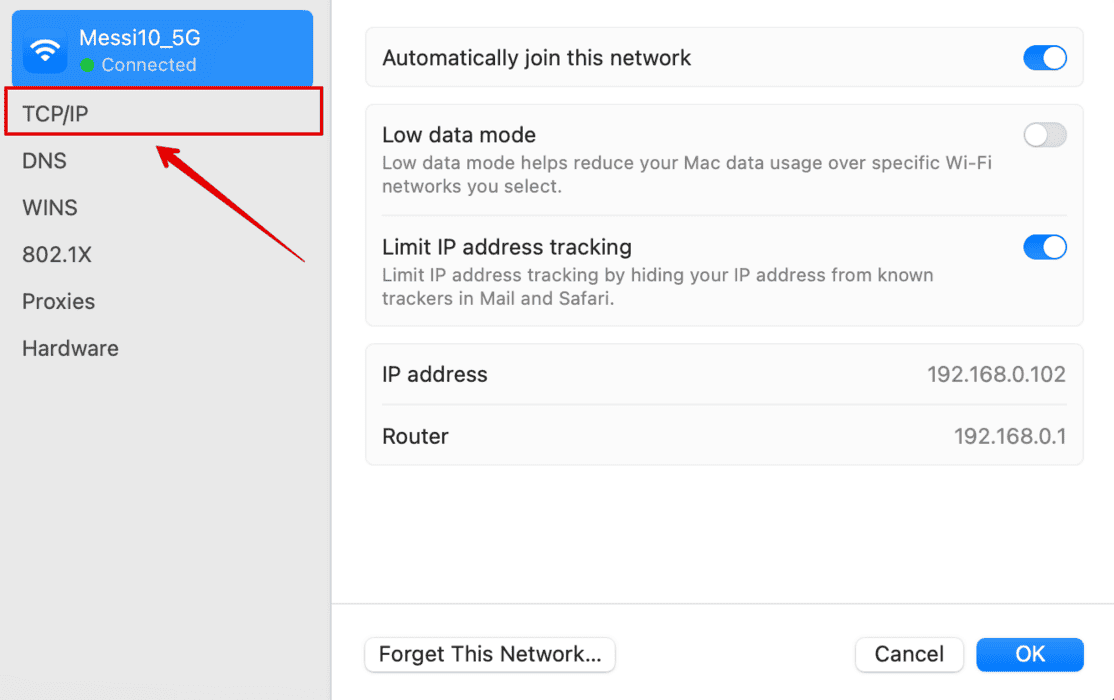
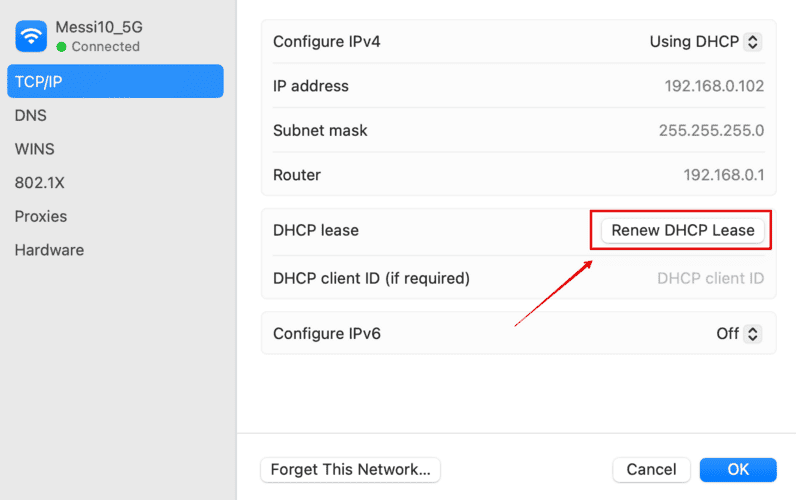
- Choose TCP/IP from the left-hand column.
- Select Renew DHCP Lease.

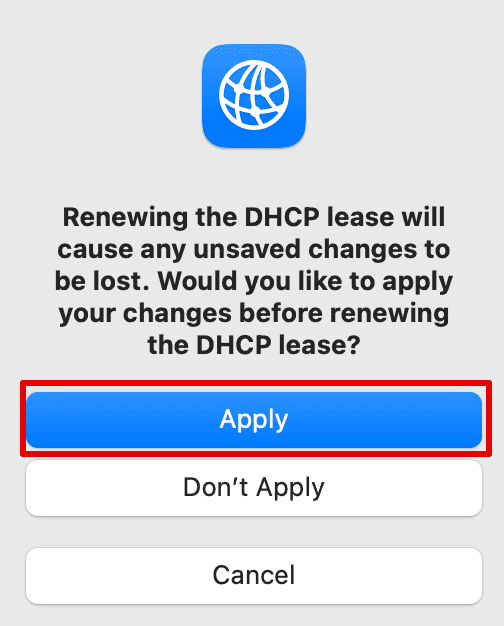
- Choose Apply.

- Your Wi-Fi will then reconnect.
One of the solutions should be able to restore your connection. If you continue to have problems, it may be time to consult Apple Support regarding your Mac. You can also check out our guide on what to do if macOS Sonoma is running slow after an update.