
If your Apple Pencil tip is worn out, it’s time to replace it. In case you didn’t know, you can replace just the tip of your Apple Pencil, and that too, at home without any support.
This short guide walks you through the steps for all Apple Pencil versions and includes clever tricks when the tip gets stuck.
How to Replace the Tip on your Apple Pencil
 NOTE
NOTE
- Hold the pencil body firmly in one hand.
- Grip the tip with your other hand. Using a thin sheet of rubber or cloth can help if it’s slippery.
- Turn counterclockwise to unscrew the worn tip.
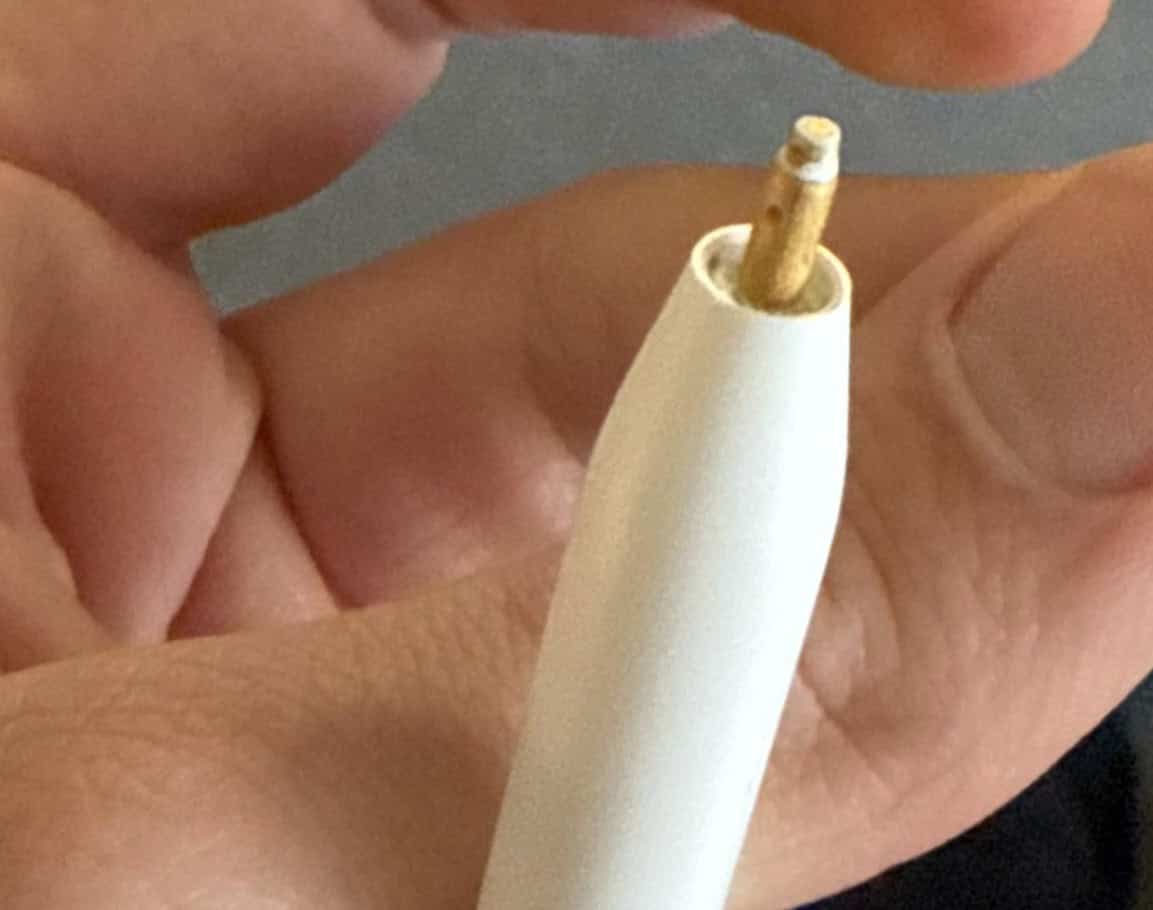
- If the tip is stuck, press down gently and twist. The friction may loosen it.
- Once removed, screw in the new tip clockwise until it is snug.
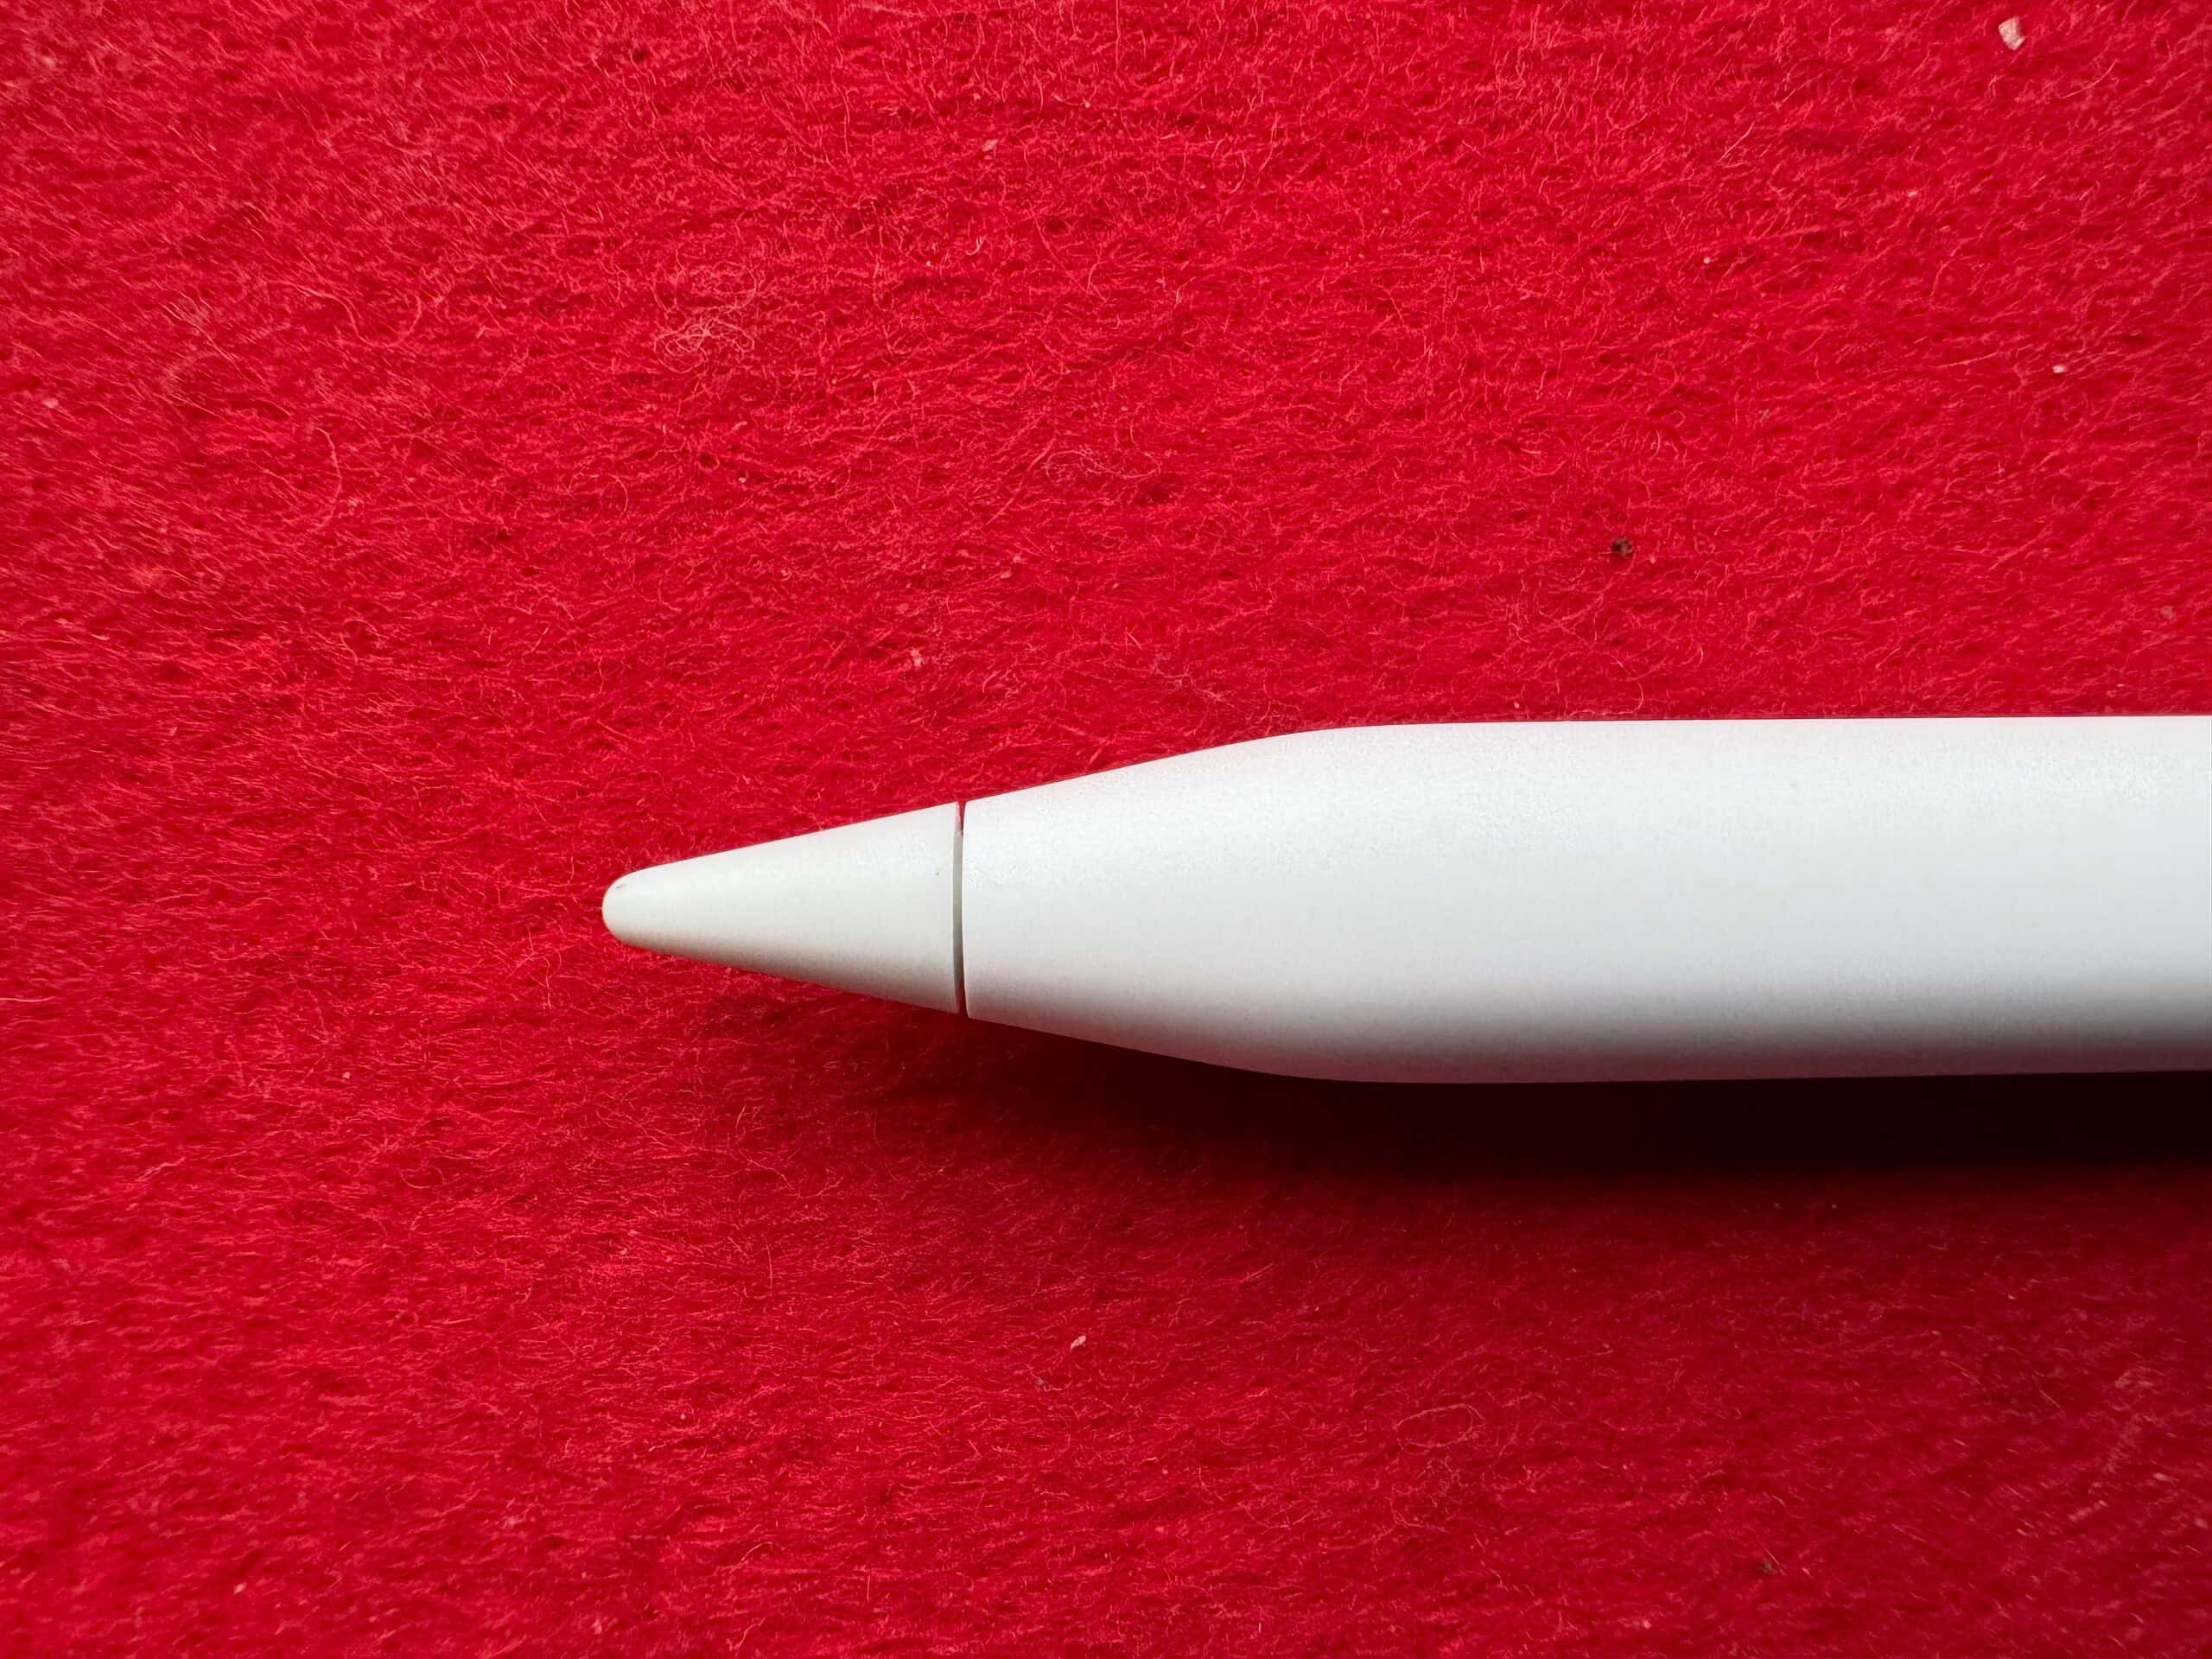
- Aim for a tiny gap about the thickness of paper between the body and tip. This ensures it’s tight but not over-tightened.


That’s it. You can now use the Apple Pencil. Official Apple tips typically cost about $5 per tip when bought in a 4-pack from the Apple Store.
Tips
- Use a rubber sheet or a small cloth to improve grip when turning the tip.
- Avoid applying side pressure to the tip, which could damage the sensor beneath.
- If the tip breaks and a piece remains inside, try pushing a new tip over the broken fragment, then twist to remove it with friction.
- Keep a pack of replacement tips ready. Apple sells four packs, and they work with all Pencil types.
- Watch for symptoms like scratchy drawing, missing strokes, or visible wear. That means it’s time to change the tip.
Frequently Asked Questions
Light users may only need to change once every 1 to 2 years. Heavy users, such as artists or note takers, may need to replace tips every 4 to 6 months.
Yes, but to protect the warranty, it’s best to use real Apple tips, especially if you might make an AppleCare claim later.
Make sure it’s screwed in firmly but not too tight. A small paper-thin gap is normal. If loose, tighten gently. If too tight, back it off just a bit.
If the tip or pencil doesn’t work even after replacement, or if internal parts break, you should contact Apple Support. Repair may cost around $29 and may use an AppleCare incident.
Summary
- Hold the pencil, grip the tip, and turn counterclockwise to unscrew.
- If stuck, push the new tip on the broken part and twist off.
- Screw in the new tip until snug, leaving a small paper-thin gap.
- Swap tips every 4 to 24 months, depending on usage.
- Replace only the tips, not the whole pencil.
- Contact Apple only if tip replacement doesn’t fix the issue.
Conclusion
Replacing the tip on any Apple Pencil is quick, easy, and cost-effective, with no fancy tools required. With just a bit of care and the right grip, you can keep your pencil drawing smoothly for months or even years. Keep spare tips around, twist gently, and enjoy that perfect glide back onto your iPad screen.
Before you leave, learn how to check the battery level of your Apple Pencil and avoid running into low charge issues!


