
Apple’s Mail app makes it simple to keep all your inboxes in one place—whether you’re using iCloud, Gmail, Outlook, or a custom domain. The setup process is straightforward, but the steps vary a bit depending on your device and email provider. Let’s break it down so you can get your inbox running without any guesswork.
Table of contents
Add an Email Account on iPhone or iPad
If you’re using a common email provider like iCloud, Google, Microsoft Exchange, or Yahoo, the Mail app can handle most of the setup for you automatically.
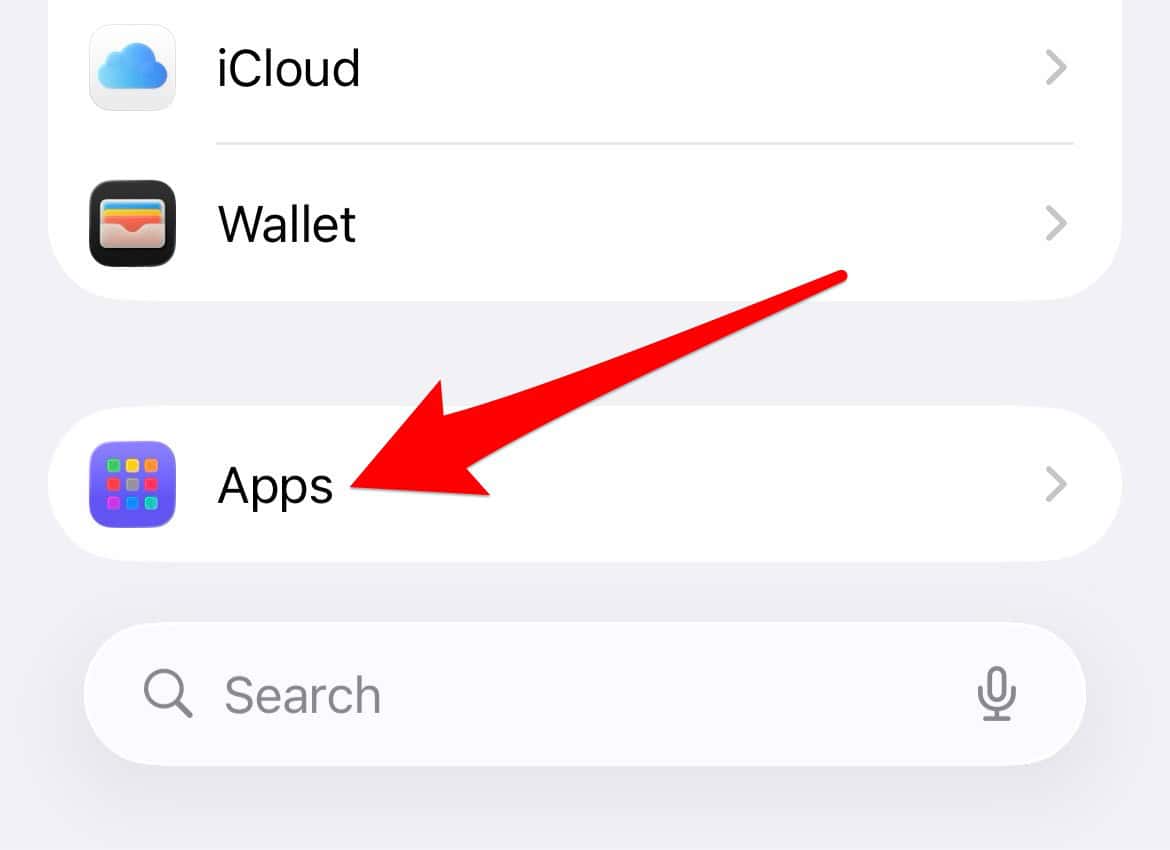
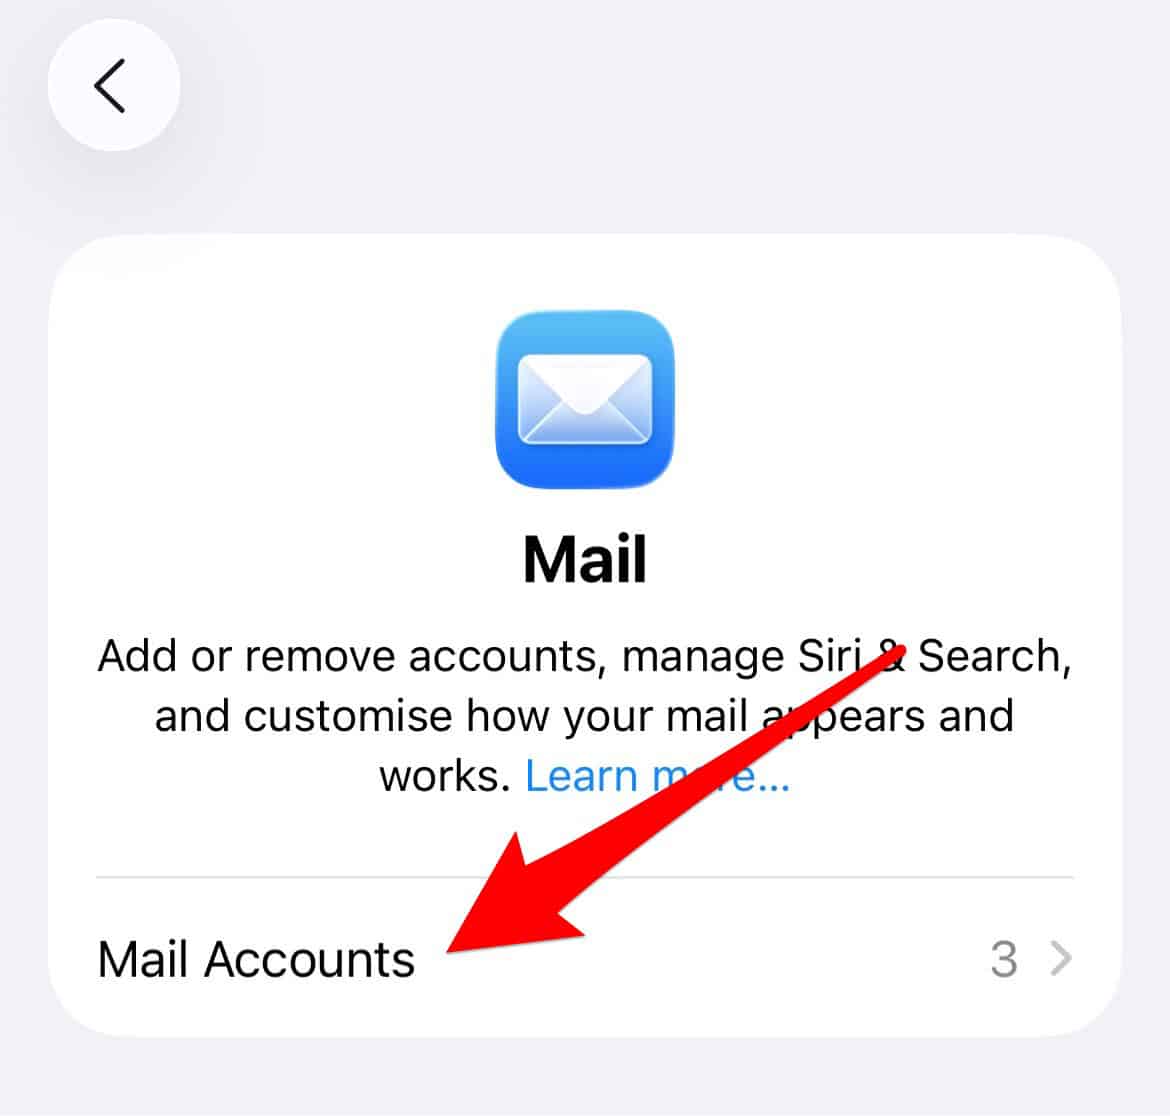
- Open Settings, then scroll down and tap Apps > Mail > Mail Accounts.
- Tap Add Account and enter your email address.

- Choose your email provider from the list.
- Enter your email password and follow the prompts.


If you see a Next button, tap it and wait while Mail verifies your account. If you see Save, tap that instead. Once verified, your inbox will appear in the Mail app automatically.
Tip: If you’re not sure which option to pick when choosing your provider, look at the end of your email address. For example, “@gmail.com” belongs under Google, and “@yahoo.com” belongs under Yahoo.
Set Up Manually for Other Email Providers
Not every email service appears in Apple’s default list. If yours isn’t there, you can still add it manually—it just takes a few extra steps.
- Go to Settings > Apps > Mail > Mail Accounts again.
- Tap Add Account, then select Add Other Account > Mail Account.
- Enter your name, email address, password, and a short description (something like “Work Email”).
- Tap Next. Mail will try to locate your server settings automatically.

If it doesn’t, you’ll need to enter them manually. Choose IMAP or POP—your provider can tell you which one to use—and fill in the details for the Incoming and Outgoing Mail Servers. Once the settings are correct, tap Save.
Add an Email Account on Mac
If you’re setting up Mail on your Mac, the process feels just as simple.
- Open the Mail app. If it’s your first time using it, you’ll be prompted to add an account.
- Enter your email address or click Choose from a list to see common options like iCloud or Gmail.
- Click Continue and follow the instructions to finish setup.
To add more accounts later, go to Mail > Add Account in the menu bar and repeat the steps above.
Pro tip: If your Mac already has an account signed in for Contacts or Messages, you can enable Mail for that same account. Go to Mail > Accounts, click your account, and make sure the Mail checkbox is selected.
Wrap-Up
Adding an email account to Apple Mail—whether on your iPhone, iPad, or Mac—takes just a few minutes. The automatic setup covers most major providers, and the manual option ensures even custom domains work fine. Once you’re done, your emails, contacts, and calendars will sync neatly across all your Apple devices. Simple, reliable, and ready to go.


