

If you’ve already added your Digital ID to Apple Wallet, you’re halfway there. The part people still get hung up on is using it from the Apple Watch. The watch is supposed to make things easier, not more confusing, so let’s walk through how it actually works in real life—at TSA checkpoints, in apps, and anywhere else Digital ID is supported.
Table of contents
What You Need Before You Even Try
Before you raise your wrist at a TSA reader and hope for the best, make sure you’ve got the basics covered. Apple is strict about the requirements, and if something is missing, your Digital ID simply won’t show up on the Watch.
You need:
Don’t miss the best of The Mac Observer
Set us as a preferred source and our Apple reporting ranks higher in your Google Search results and Discover feed — one tap, no account changes.
- Apple Watch Series 6 or later
- watchOS 26.1 or later
- An iPhone 11 or later paired to the watch
- Face ID or Touch ID enabled on the iPhone
- Bluetooth on
- Two-factor authentication on your Apple Account
- A valid, unexpired U.S. passport (for creating Digital ID)
- Region set to United States
If you don’t have a passport, you can still add an eligible driver’s license or state ID, but the passport-based Digital ID is the big new upgrade.
Step 1: Make Sure Digital ID Is Added to Your iPhone First
Here’s the thing: You can’t create a Digital ID directly on the Apple Watch. Apple funnels everything through the iPhone.
Do this on the iPhone:
- Open Wallet.
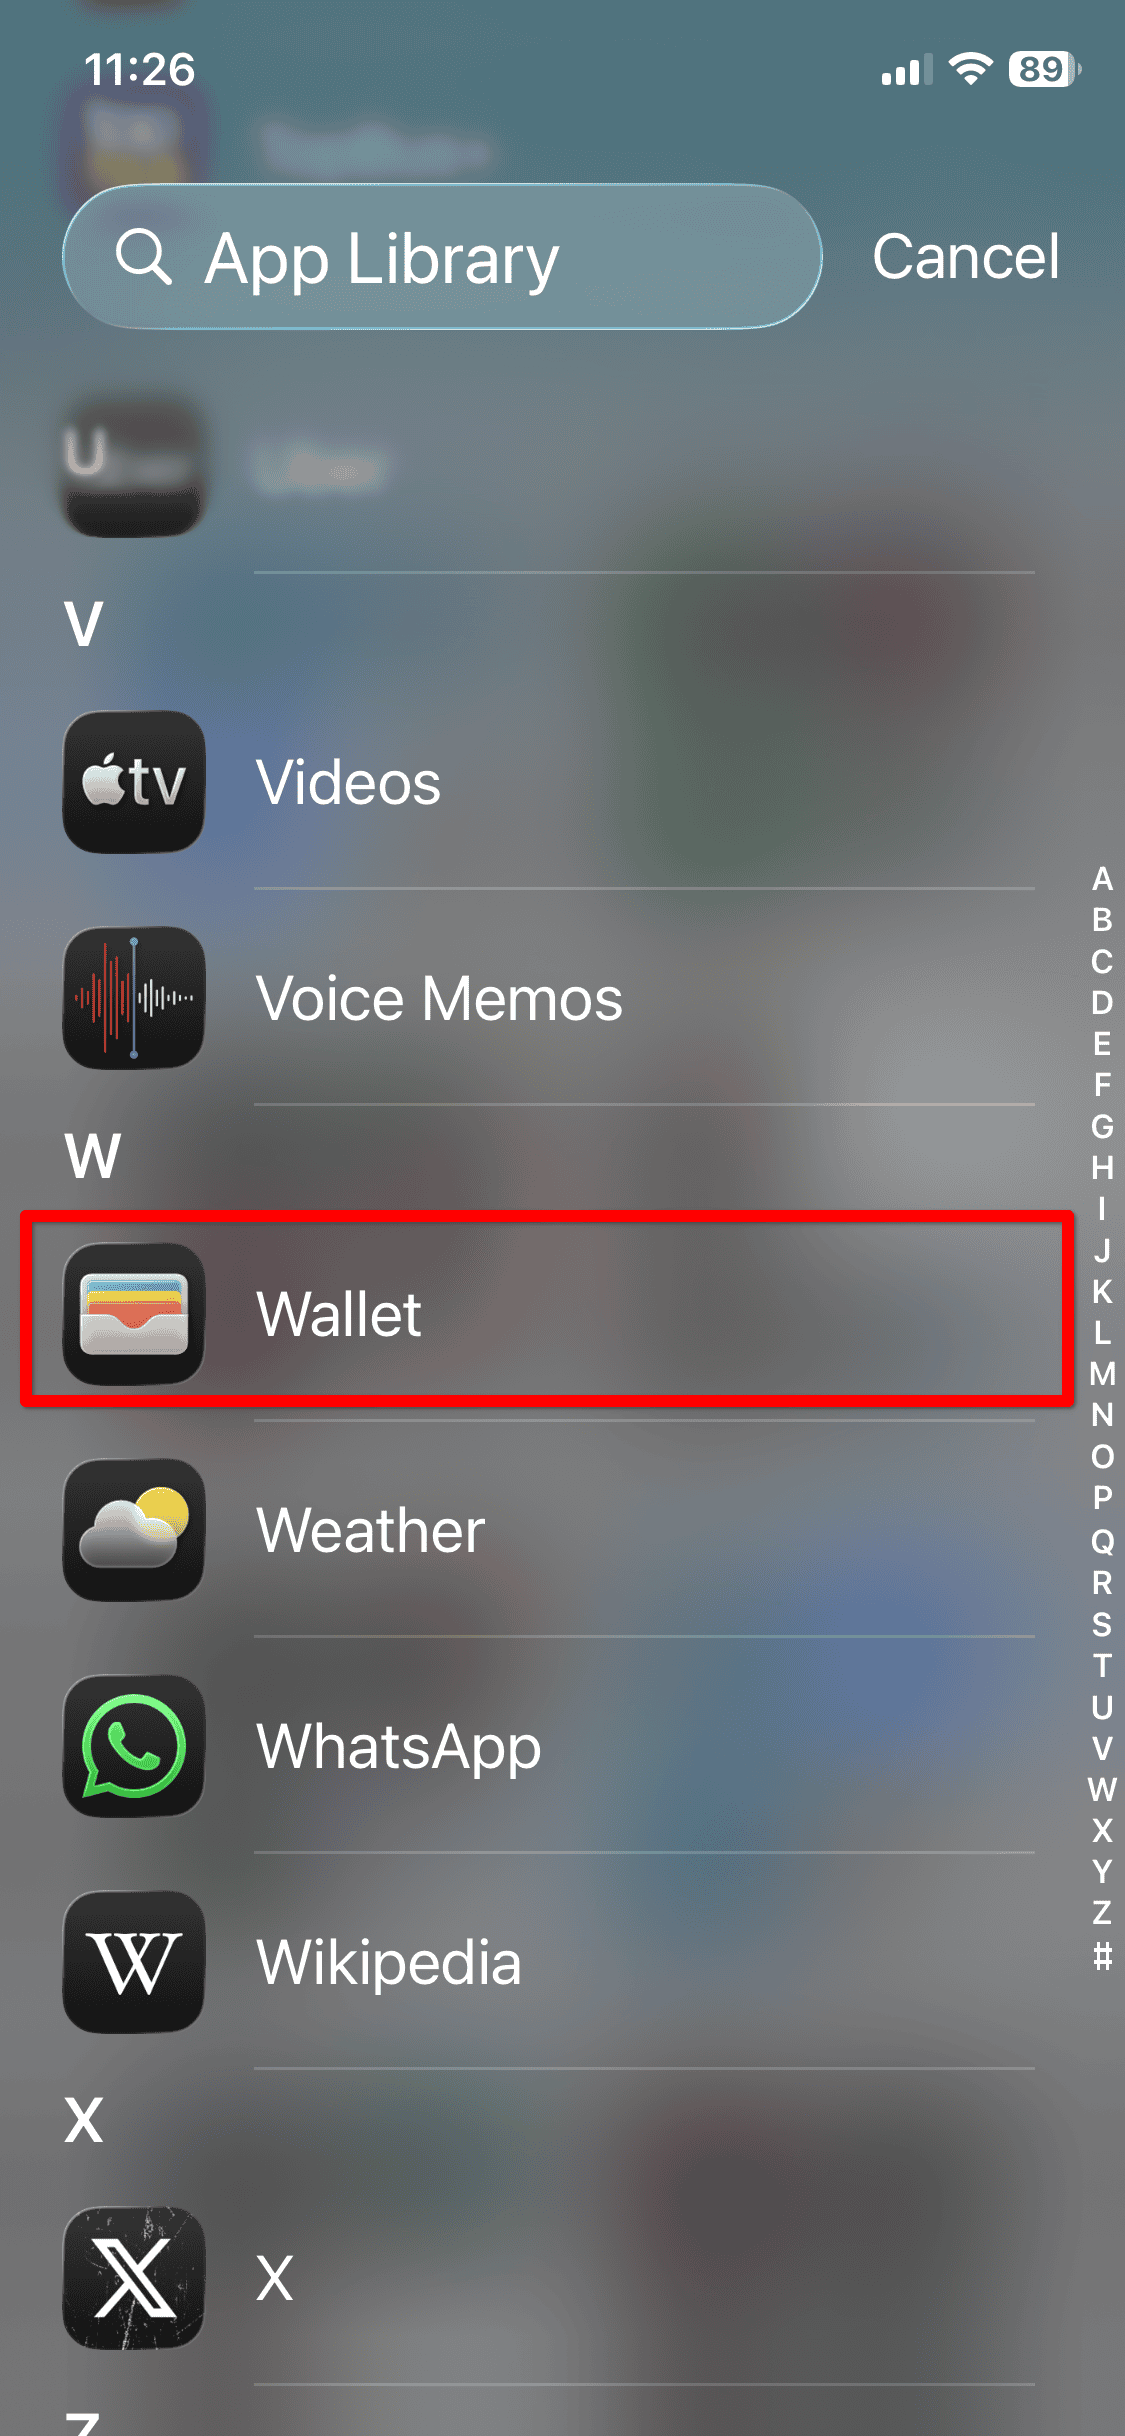
- Tap the Add Card (+) button.
- Choose Driver’s License or ID Cards → Digital ID.
- Select whether you want the ID on iPhone only or iPhone + Apple Watch.
- Scan the machine-readable zone of your passport.
- Read the passport chip by placing the iPhone on the chip area.
- Take a live selfie and complete the short movement sequence.
- Authenticate with Face ID or Touch ID and send the info for verification.

Once it’s approved, the Digital ID appears in Wallet—and if you chose to add it to Apple Watch, it’ll sync automatically.
(If you didn’t select the Watch during setup, don’t panic. You can add it later in the Watch app → Wallet & Apple Pay → Other Cards on Your Phone → Add.)
Step 2: How to Pull Up Your Digital ID on Apple Watch
This part is simple.
On your Apple Watch:
- Press the Side button twice.
- Scroll if needed and tap your Digital ID.
- Hold your Watch near the TSA identity reader.
At this point, your Watch shows you exactly what info is being requested. Nothing is shared until you confirm.
To approve: Just double-click the side button again.
A checkmark appears when everything goes through.
That’s it. No handing your Watch to anyone. No unlocking. No digging for a wallet.
Step 3: Using Digital ID at TSA Checkpoints

When you step into the TSA line, this is what actually happens:
- A TSA identity reader will be waiting at the podium.
- You double-click the Watch’s side button and select your Digital ID.
- Hold the Watch a couple of inches from the reader.
- The Watch shows what you’re about to share—usually name, date of birth, and ID photo.
- Approve by double-clicking.
Behind the scenes, TSA’s reader takes a photo of you for facial comparison. It’s optional; if you want to skip it, just tell the officer before presenting your ID. Opting out doesn’t send you to the back of the line.
Your photo and data are deleted after verification. They’re not stored, not used for surveillance, and not shared with other agencies.
Important reminder:
You still need to carry a physical ID. Digital ID isn’t a replacement for your passport or license. If the TSA system is down, you’ll be glad you have the real thing.
Step 4: Using Digital ID in Apps
This part is still rolling out, but some apps and app clips already support it.
The workflow:
- Tap Verify with Apple Wallet when the app asks for ID.
- Your Watch will prompt you to confirm.
- Double-click the side button and authenticate.
The same privacy rules apply—you see exactly what you’re sharing, and only what you approve leaves your device.
Step 5: Using Digital ID Online

If you’re browsing in Safari and a site supports ID verification through Apple Wallet, you’ll see a Verify Identity prompt.
If you’re on a Mac or iPad: The request pops up on your nearby iPhone or Watch.
Confirm on your Watch just like you would at TSA.
What Digital ID Still Can’t Do

A few important limitations so no one gets embarrassed in an airport line:
- It cannot replace your passport for international travel.
- It cannot be used at border crossings.
- It only works at select TSA checkpoints for now.
- One Apple Account per Digital ID—no sharing between devices or family members.
Final Thoughts
Once you’ve set it up, using Digital ID on Apple Watch is surprisingly smooth. The verification step is quick, the privacy controls are transparent, and you never have to hand your watch—or your personal info—to anyone. Just double-click, hold your wrist up, and you’re through.


Discussion