

If you’re using Apple’s Digital ID, sooner or later you’ll hit a moment where you need to remove it, update it, or move it to a new device. Maybe you’re upgrading your iPhone. Maybe your Apple Watch took an unexpected swim. Or maybe you’re sending a device in for repair and don’t want your ID sitting on it. Whatever the reason, managing your Digital ID is straightforward once you know where everything lives. Let’s break it down so you don’t have to hunt for anything.
Table of contents
When You Should Remove or Update Your Digital ID

There are a few situations where taking your Digital ID out of Apple Wallet isn’t just helpful, it’s smart. If you’re switching to a new iPhone or Apple Watch, clearing the old device speeds up the setup process. If you’re giving a device away, selling it, or sending it in for repair, removing your ID protects your identity. And if the device has been lost or stolen, wiping your Wallet cards is one of the fastest ways to shut down access.
The key thing to remember: anything tied to identity should stay in your hands, not floating around on devices you no longer control.
Don’t miss the best of The Mac Observer
Set us as a preferred source and our Apple reporting ranks higher in your Google Search results and Discover feed — one tap, no account changes.
How to Remove Your Digital ID on iPhone
Start with the Wallet app. It takes less than a minute:
- Open Wallet on your iPhone.
- Tap your Digital ID, driver’s license, or state ID.
- Hit the Info button.
- Scroll down and tap Remove This ID.
- Confirm.
That’s it. The card disappears from Wallet, and it’s no longer accessible from your device.
How to Remove Your Digital ID from Apple Watch
Your Apple Watch doesn’t store the ID independently from your iPhone, so the process loops through the Watch app:
- Open the Apple Watch app on your iPhone.
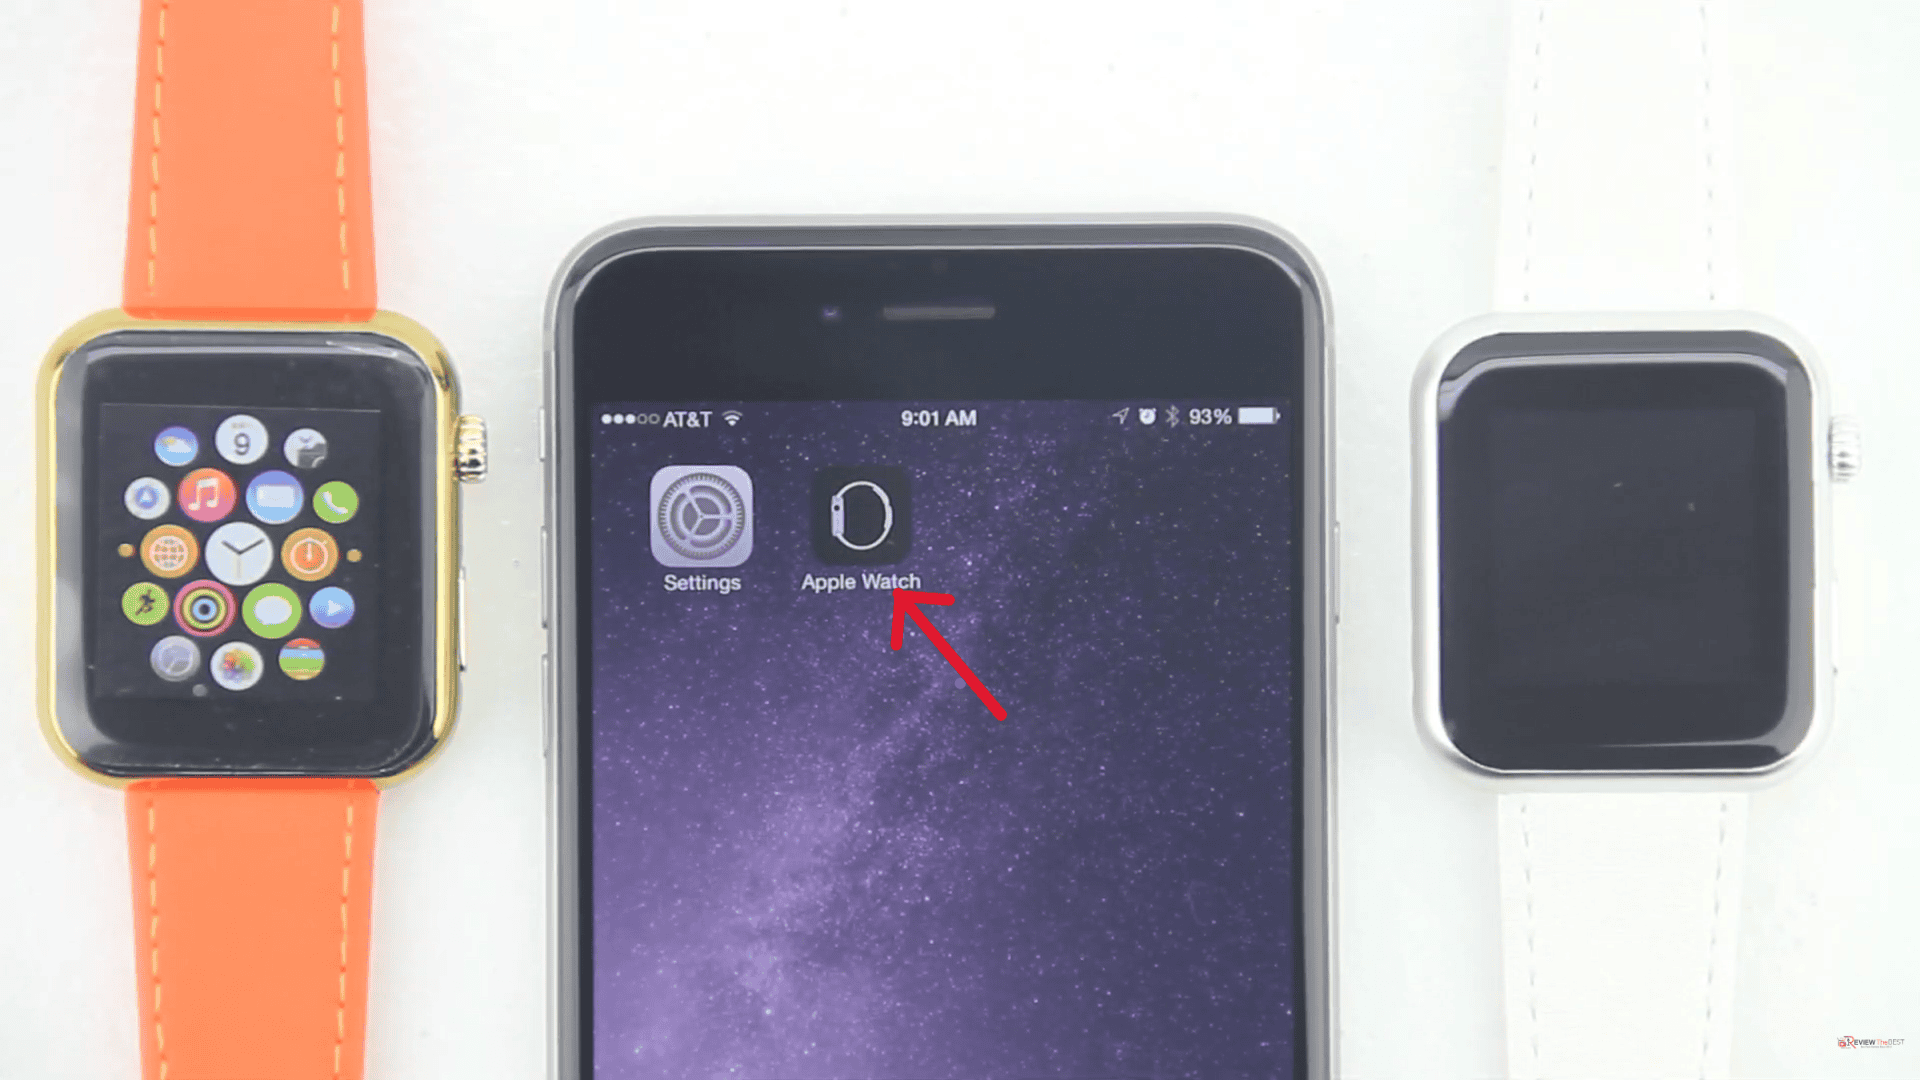
- Go to My Watch.
- Tap Wallet & Apple Pay.
- Select the ID you want to remove.
- Tap Remove Driver’s License or Remove ID.


If you unpair your Watch entirely, Apple automatically removes your ID from it, so you don’t have to do anything extra.
What If Your Device Was Lost or Stolen?
Here’s where Find My saves you. The moment a device disappears, you should erase it remotely:
- Open the Find My app or go to iCloud.com.

- Choose your missing device.
- Select Erase This Device.

This clears everything from Apple Wallet, including your Digital ID. After that, reach out to your issuing authority to report the physical ID as lost or stolen if needed.
Updating Your Digital ID
Unlike credit cards, your Digital ID can’t be “edited.” If something changes or you need it refreshed, you remove the existing one and go through the setup again. The process is the same as the first time:
- Open Wallet
- Tap Add Card
- Choose Driver’s License or ID Cards
- Select Digital ID
- Scan your passport or eligible ID
- Take the Live Photo
- Authenticate with Face ID, Touch ID, or your passcode
Your ID is rebuilt with updated verification, and you’re good to go.
Final Thoughts
Managing your Digital ID isn’t complicated once you know where everything lives. The Wallet app gives you full control, and Apple wipes IDs automatically when devices are erased or unpaired. Treat your Digital ID the same way you treat your physical one—keep track of where it lives, remove it when necessary, and re-add it when you shift to a new device. The whole point is convenience, but that only works if you stay in the driver’s seat.


Discussion