
Apple Notes is a powerful tool for organization. It goes far beyond simple text lists. Adding visual context, like images, is crucial for capturing and remembering information. This includes whiteboard snaps, receipts, and location markers. Learning to embed photos transforms your note-taking. It moves documents from basic text to rich, multimedia files. This process works across all your Apple devices.
Table of contents
Essential Methods for Enriching Your Notes with Images
1. Directly Adding from Your Photo Library on iOS/iPadOS
The quickest way to add an existing picture is simple. First, use the dedicated media button. This button sits right above the keyboard. Consequently, this action integrates your current photo library into the note. You can quickly select multiple images at once. Thus, you easily include visual data in your document.
- Open the desired Note on your iPhone or iPad.
- Tap the paper clip icon above the keyboard.
- Select Choose Photo or Video.
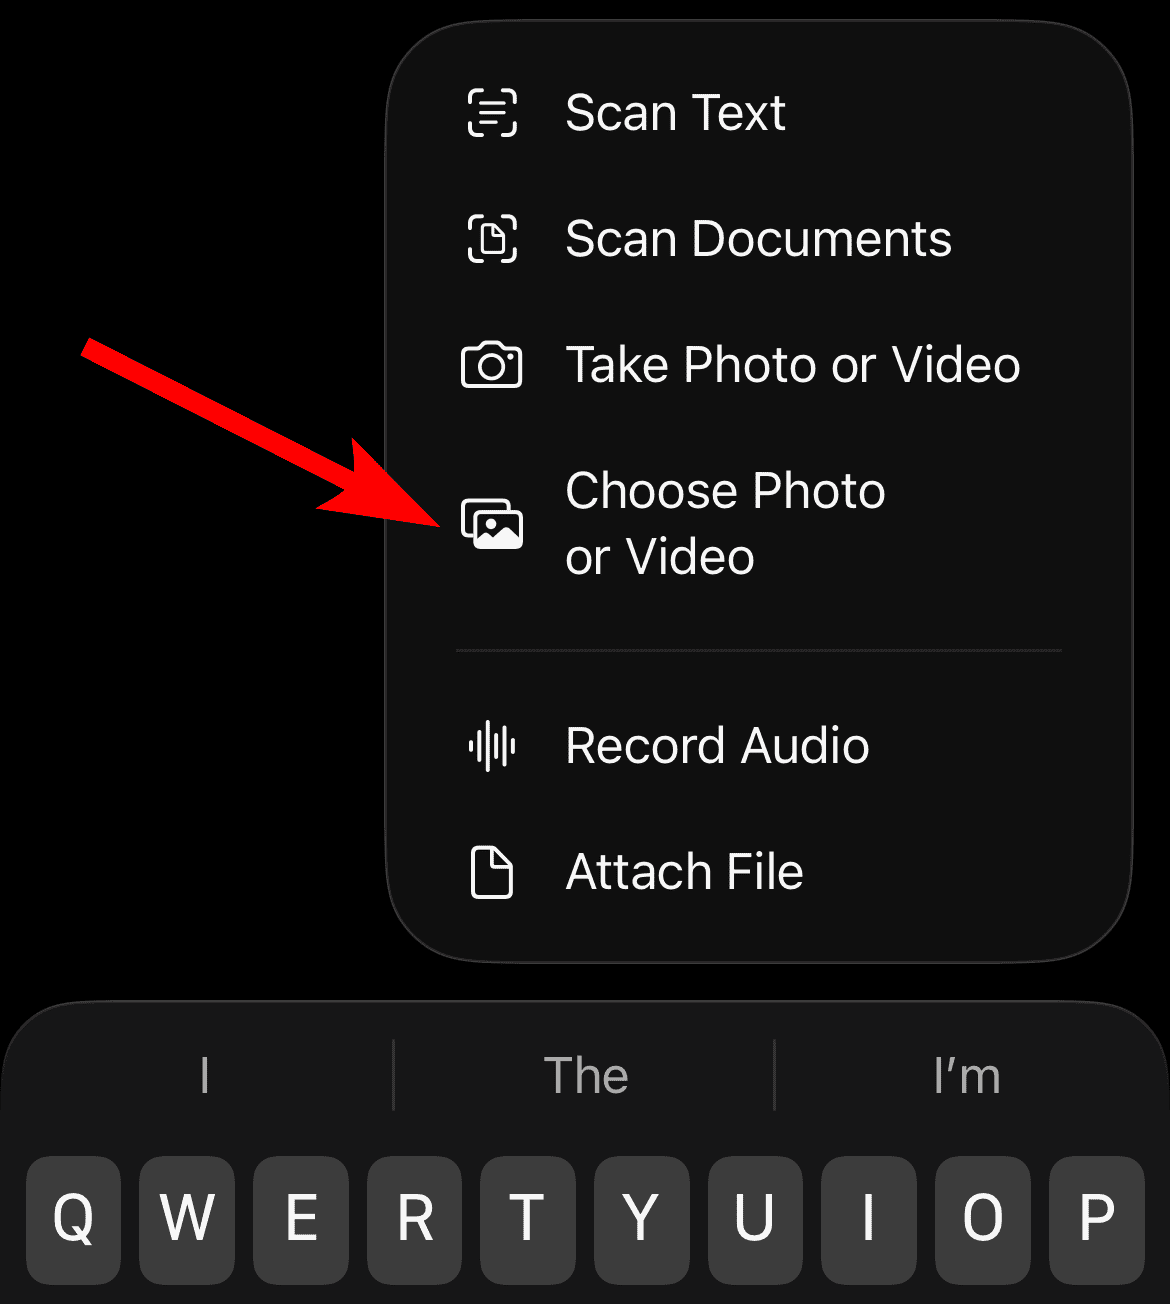
- Browse and tap the images you want to insert.
- Tap Add once you finish your selection.

2. Utilizing Drag and Drop on macOS
Desktop users find the process streamlined on a Mac. They often work with multiple windows open. Dragging and dropping images is the fastest method. You can drag files from your desktop or Finder window. You can also drag from your Photos application. Therefore, you place the image directly into an open note. This approach is highly efficient for quick insertions. For a broad overview of the application’s potential, start by learning how to use Apple Notes effectively.
- Open the Note and arrange your windows.
- Make sure the image source (e.g., Finder) is visible.
- Click and hold the image file you wish to add.
- Drag the image directly over the body of the Note.
- Release the mouse button to drop the image there.

3. Using the System Share Sheet Across Apple Devices
The universal Share Sheet provides a consistent way to send content. This menu moves content from one application to another. You might view a photo in the Photos app. Maybe you see an image on a webpage in Safari. In either case, you can send it straight to a new or existing note. This works seamlessly with advanced features. For instance, you can create tags in Notes for better categorization.
- Locate the image in the source app (e.g., Photos, Safari).
- Tap or click the Share icon.
- Select the Notes app icon from the options list.
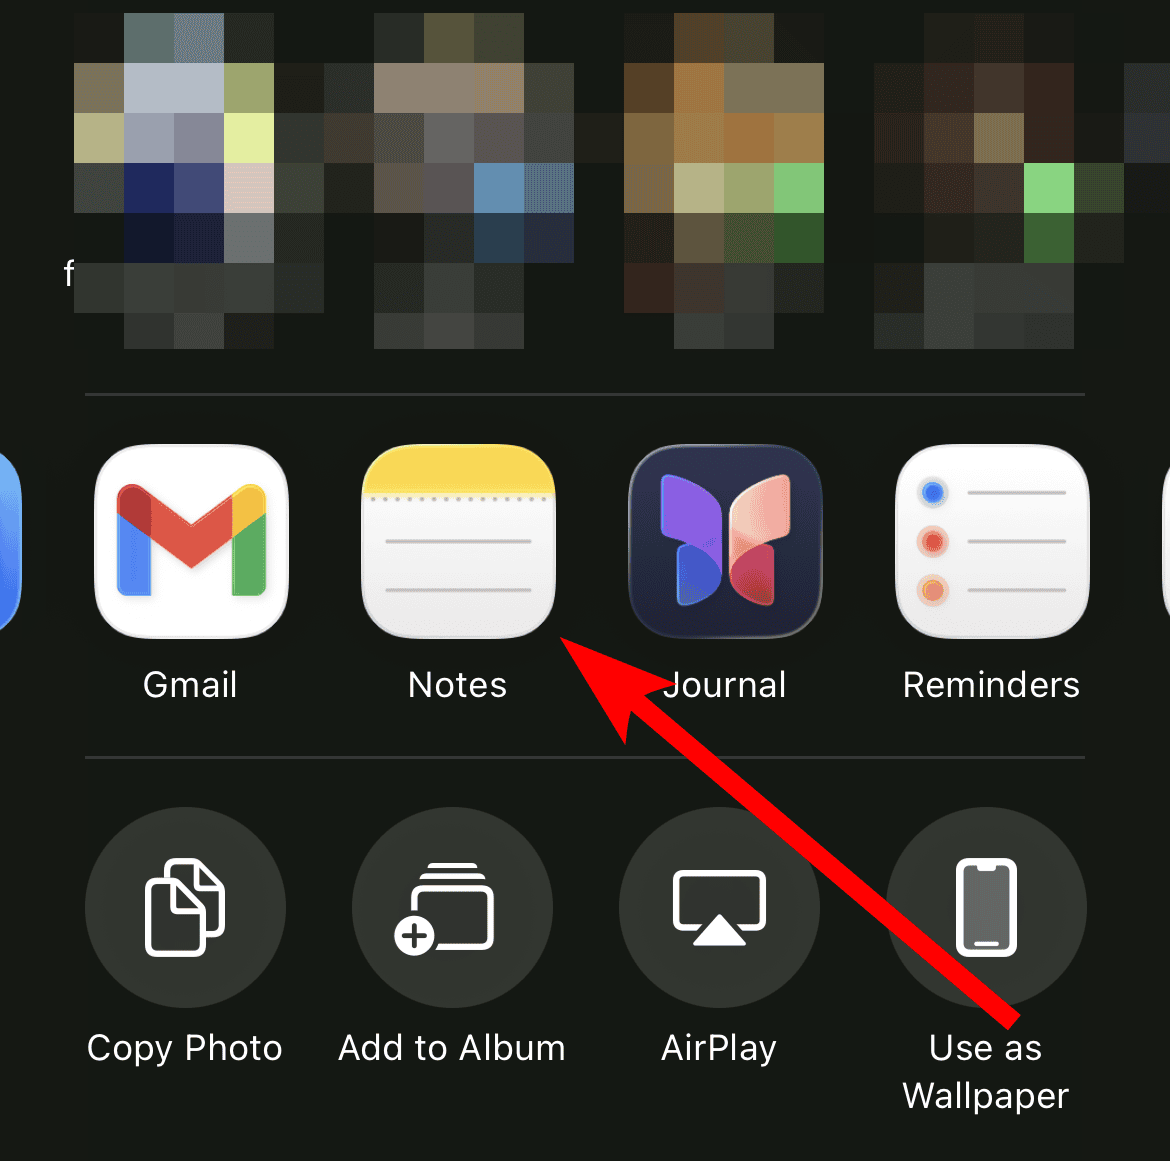
- In the Save To drop-down, choose whether to create a new note or select an existing one.
- Tap Save in the top-right corner to complete the action.

4. Capturing a New Photo On the Spot
Sometimes, you need to document something immediately. This could be a receipt or a whiteboard. However, you don’t want to leave the Notes app. This built-in feature lets you open your device’s camera. You snap a picture and insert it directly into your note. Ultimately, the image saves right alongside your text in seconds.
- Open the Note.
- Tap to place your cursor where the image should go.
- Tap the paper clip icon.
- Select Take Photo or Video.
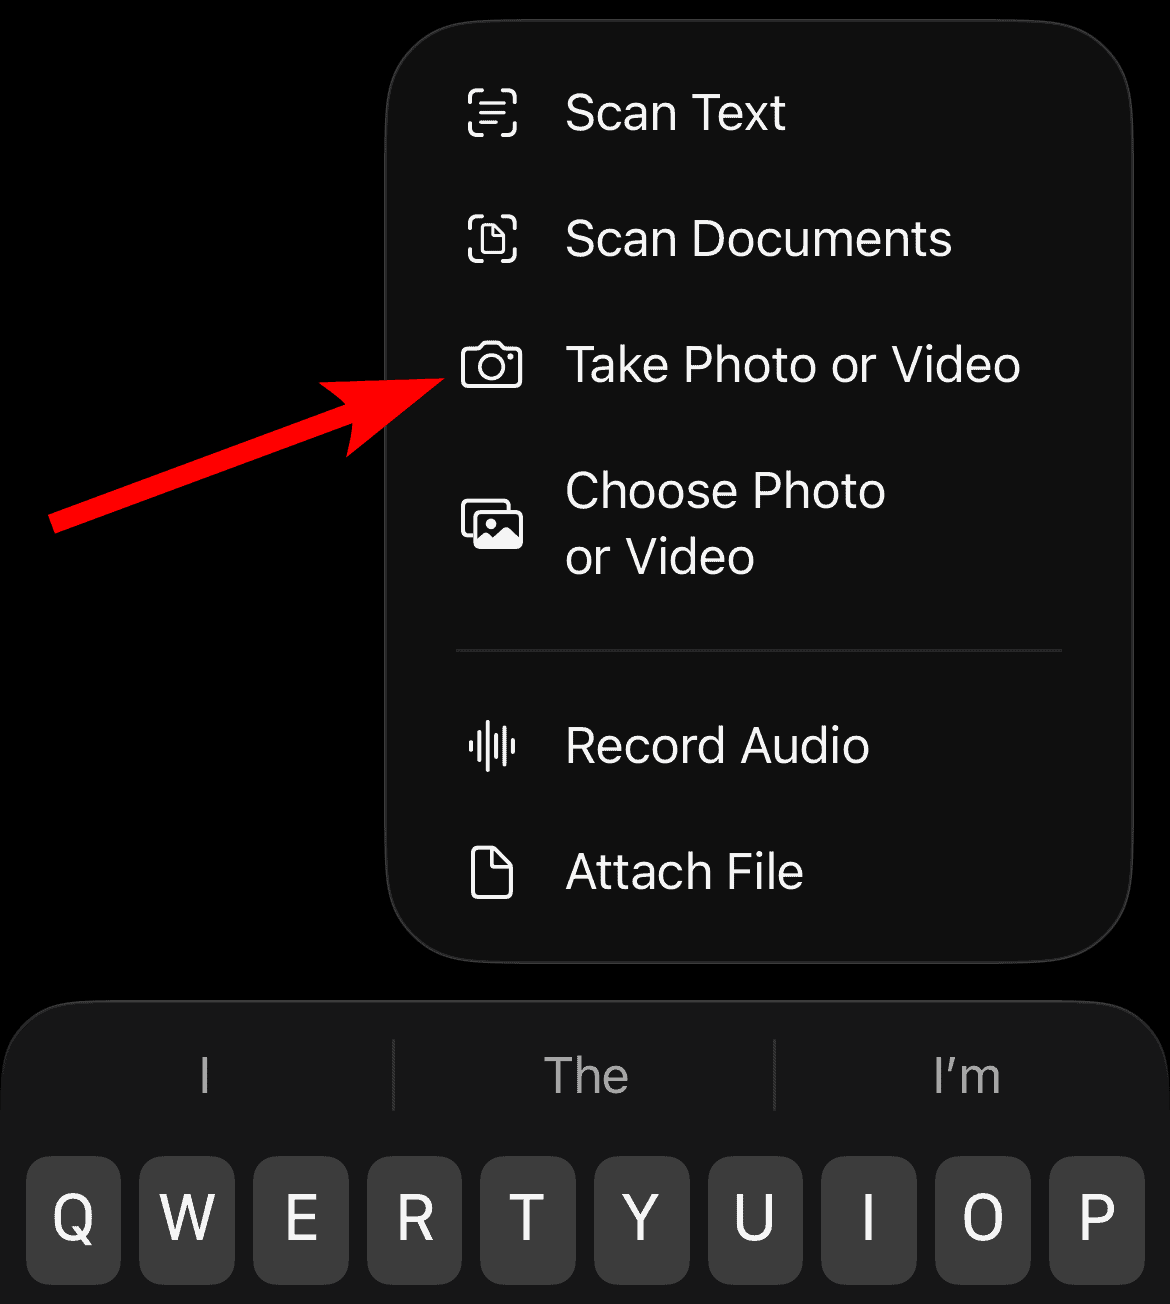
- Use the camera interface to capture the image.
- Tap Use Photo to place the image into your note.

FAQ
Yes, tap or click the image. Then select “View Large,” “View Small,” or “View Medium.” This adjusts its relative size within the note’s body.
Yes, Apple Notes supports animated GIFs. They will display and play within the note body. This works on both iOS and macOS devices.
Maximizing Productivity with Multimedia Notes
Integrating images into your Apple Notes is a powerful tactic. It moves your information from text outlines to visual reference documents. In short, knowing these insertion methods is crucial. They ensure your notes are always rich and comprehensive. This applies whether you capture a moment or save a brainstorm. For users managing complex projects, consider native references. Efficiently link notes together in the Apple Notes app for ultimate organization.


