
Apple’s Live Photos capture a brief moment of motion and sound. This creates a small, dynamic clip. Live Photos are great for viewing on an iPhone or iPad.
However, sharing them requires converting them to a standard video format. This format is also needed for video editing. Your iOS or iPadOS device offers simple solutions. You can easily transform these moments into compatible video files.
Table of contents
Transform Live Photos into Shareable Videos
Converting your Live Photo makes sharing easier. You can share with non-Apple users or on social media. The receiver will always see the movement. These methods use the Photos app and the latest iOS/iPadOS version. The process becomes very streamlined. You won’t need any external software.
1. Using the Built-in ‘Save as Video’ Feature
This is the most direct and simplest method available. Modern iOS and iPadOS versions use this feature. It quickly generates a new, standard .MOV video file. The new video preserves the three seconds of motion and sound. This was originally captured.
- Open the Photos app. Navigate to the Live Photo you wish to convert.
- Tap the three-dot icon in the top-right corner.
- Tap select Save as Video.
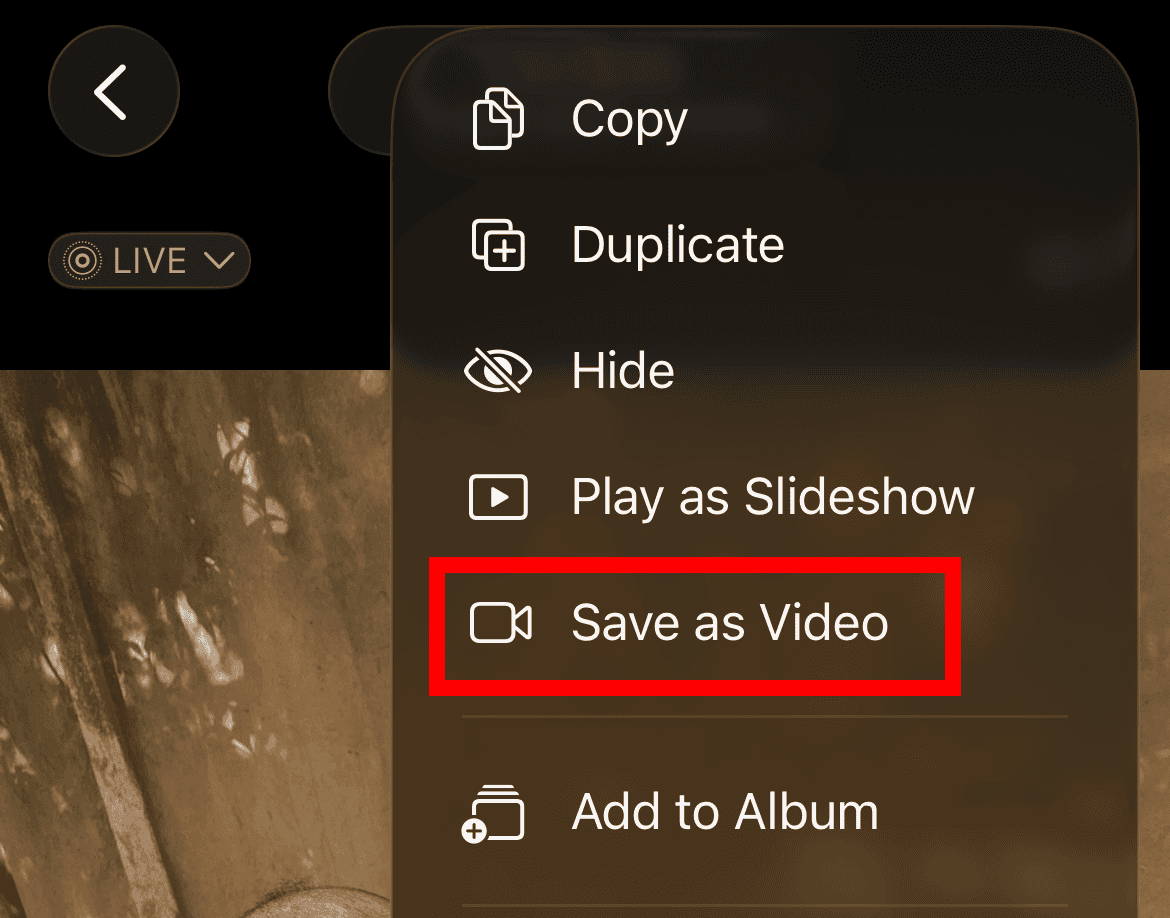
- The system instantly creates a new video file. It saves the video in your Recents album. The original Live Photo remains intact.

2. Merging Multiple Live Photos to Create a Longer Video
Perhaps you have a sequence of related Live Photos. You may want a slightly longer, cohesive video clip. The Photos app offers a native feature for stitching them together. You can learn more about merging Live Photos seamlessly into a longer file. Use the Albums tab in the Photos app to start.
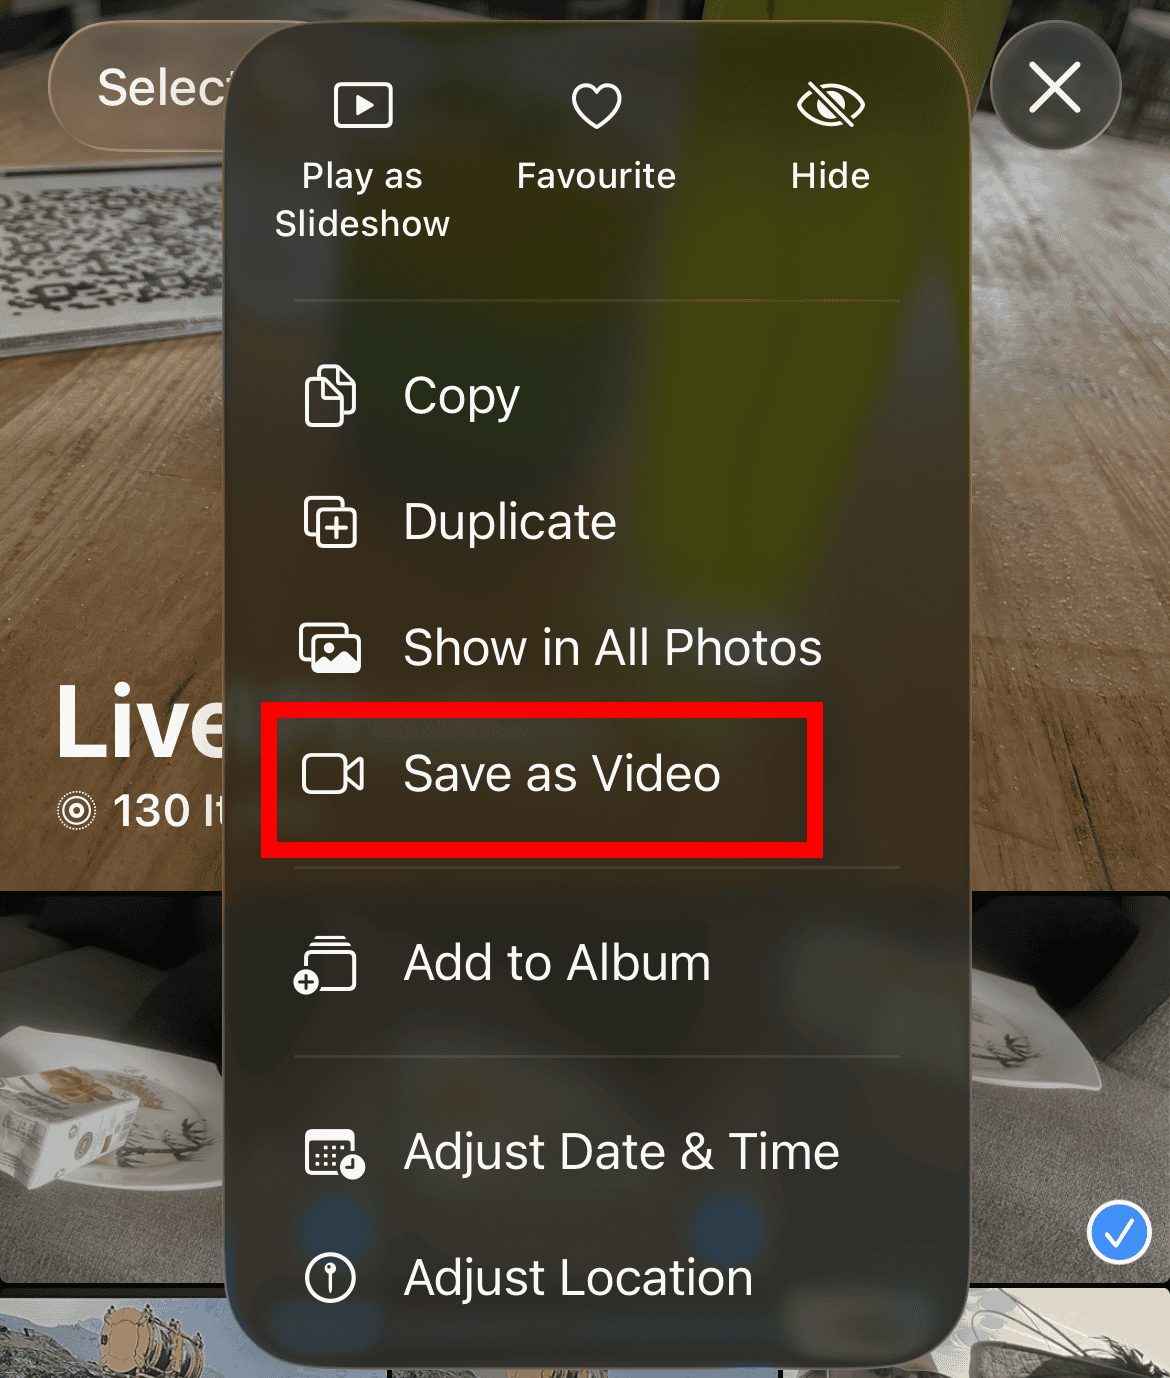
- Open the Photos app.
- Select Collections > Media Types > Live Photos.
- Tap Select in the top-right. Choose all the Live Photos you want to combine.
- Next, tap the three-dot icon in the top-right corner.
- Select Save as Video from the menu. The Photos app automatically combines the photos. It creates one sequential video file.

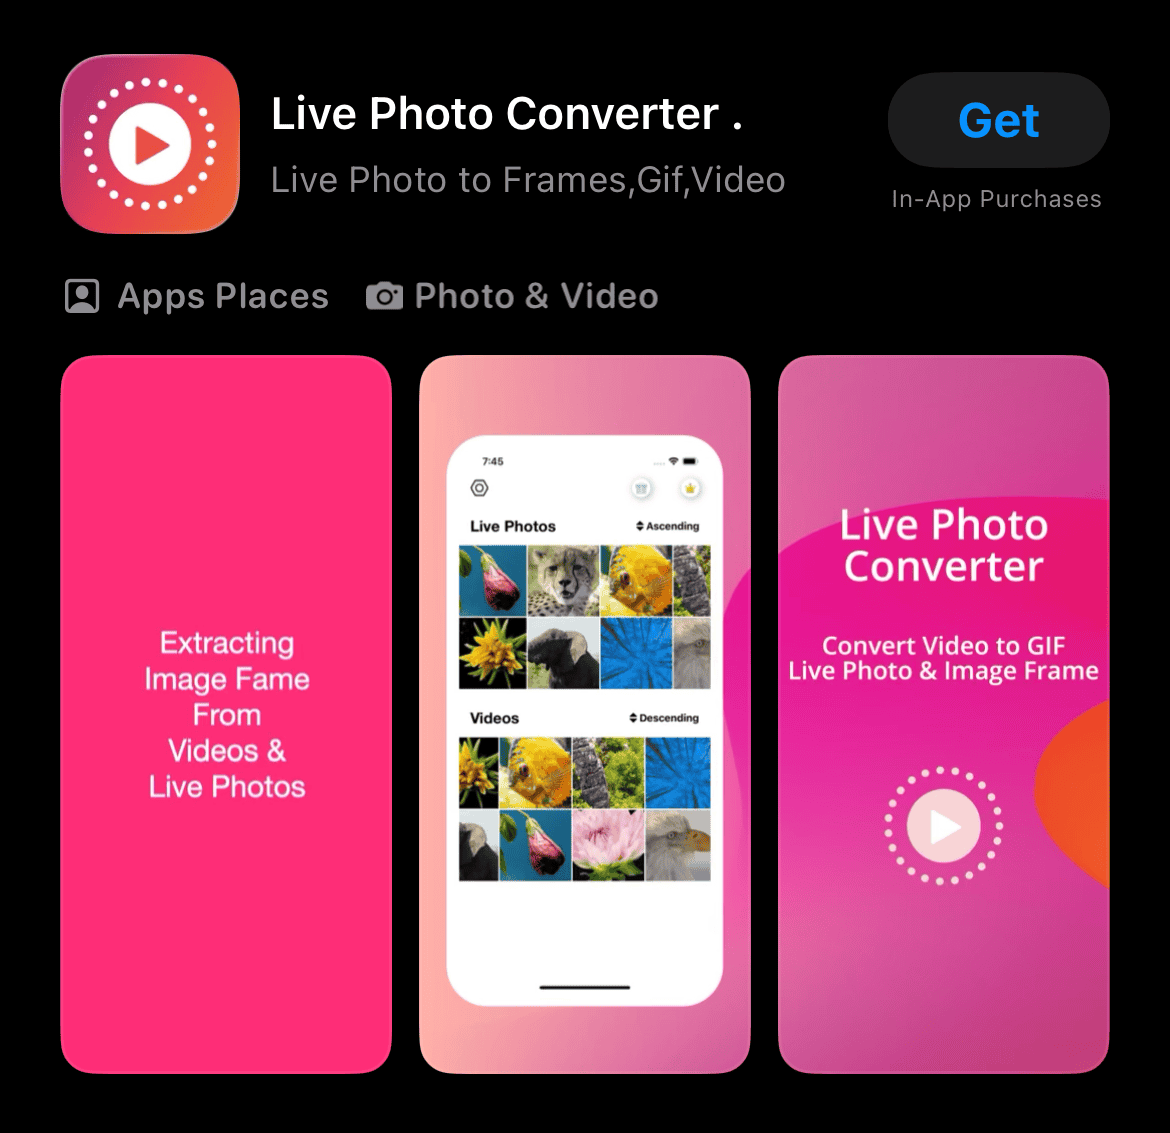
3. Exporting with a Third-Party Application
The native options are highly effective. Still, a specialized third-party app provides more advanced control. You can control resolution, frame rate, and compression. Apps dedicated to this task offer great flexibility. They often allow batch conversions and custom trimming.
- Download a trusted Live Photo converter app. Find it in the App Store.
- Grant the app access to your Photos library.
- Select the Live Photo you wish to convert within the app.
- Adjust any necessary settings. These include cropping or resolution. Then tap the Export or Save button. This creates the final video file.

4. Convert a Live Photo to Video on Mac
If your Live Photos sync with iCloud Photos, you can also manage them on a Mac. The Photos app on Mac lets you edit Live Photos, change the key photo, and apply effects such as Loop, Bounce, and Long Exposure.
- Open the Photos app on your Mac.
- Select the Live Photo.
- Click the Live Photo effect menu.
- Choose the effect you want, such as Loop or Bounce.
- Export or share the result as needed.
5. Use Live Photo Effects Before Saving
Apple also lets you apply effects such as Loop, Bounce, and Long Exposure to Live Photos. These effects change how the motion behaves. Loop repeats the motion, Bounce plays it forward and backward, and Long Exposure blends motion into a still-photo effect.
- Open the Photos app.
- Open the Live Photo.
- Swipe up on the photo.
- Choose Loop, Bounce, or Long Exposure.
- Tap the share or More option if you want to save or share the result.
This method is better when you want a creative clip rather than a plain video version of the Live Photo.
FAQs
Does converting a Live Photo to video delete the original Live Photo?
No. The original Live Photo remains in your library. The Photos app creates a separate video copy.
Where is the converted Live Photo video saved?
Apple says the new video appears in the Recently Saved album after conversion.
Can I convert more than one Live Photo into a single video?
Yes. Select multiple Live Photos in the Photos app, tap the More button, and choose Save as Video.
Why don’t I see Save as Video?
You may not be viewing a Live Photo, or the image may have been edited, duplicated, or shared in a format that removed the Live Photo motion data. Try opening it from Albums > Media Types > Live Photos.
Do I need an app to convert a Live Photo to video?
No. For most users, the built-in Photos app is enough.
Summary
- Open the Photos app.
- Go to Media Types > Live Photos.
- Select the Live Photo.
- Tap the More button.
- Choose Save as Video.
- Find the saved clip in Recently Saved.
- Use Loop or Bounce first if you want a more creative result.
Conclusion
Converting your dynamic Live Photos is an essential step. It expands their use beyond simple viewing. Once the conversion is complete, use these clips widely. Upload them to platforms like Instagram or TikTok. Use them in more complex video editing projects. Furthermore, the converted video offers great personalization options. For example, learn how to set a video as your wallpaper on your iPhone’s lock screen.


