
Apple has a range of Accessibility features that make using the iPhone easier for the specially-abled. Continuing with this approach, with iOS 17, Apple is adding another feature called Personal Voice which is extremely helpful for people at risk of losing their voice or ability to speak. This feature can preserve your voice and help communicate with family and friends. Read along to learn how to create and use Personal Voice in iOS 17.
What Is Personal Voice in iOS 17?
The Personal Voice feature allows you to create a voice that sounds just like you. While creating a Personal Voice, you will have to read out random text phrases generated on your screen for 15 minutes. Once the process is completed, your device will use your voice data and generate a personal voice that sounds just like you.
The processing takes place on your iPhone by using on-device machine learning which ensures all the data is private and secure. Once the Personal Voice is generated, you can use it to communicate with people around you or even on FaceTime calls. All you have to do is select the Personal Voice you’ve created in Live Speech settings.
While it might not seem like a big deal to many, it certainly is. Especially for people who are at risk of losing their ability to speak. Since these people are aware of their condition, they can create a personal voice that can later be used to communicate with people around them. You can even use it to store the voice of a loved one who is not going to make it for long.
How to Create Personal Voice in iOS 17
Time needed: 15 minutes
Here’s how to create Personal Voice on iPhone or iPad.
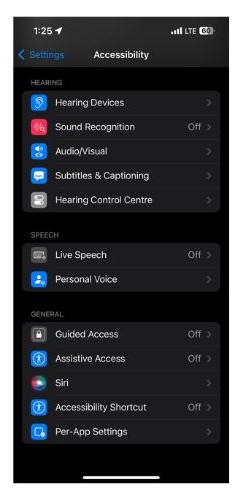
- Open Settings on your iPhone and head to Accessibility.

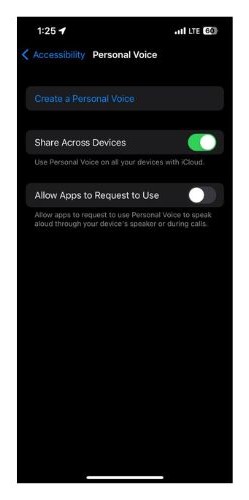
- Scroll down and tap the Personal Voice option located below Speech.
- Next, tap the Create a Personal Voice option.
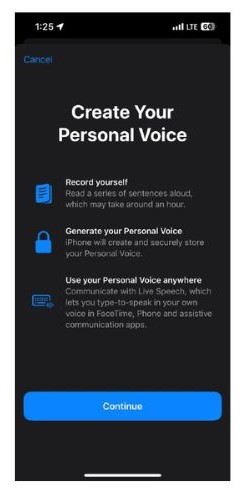
- Read the instructions on the Create your Personal Voice page and tap Continue.
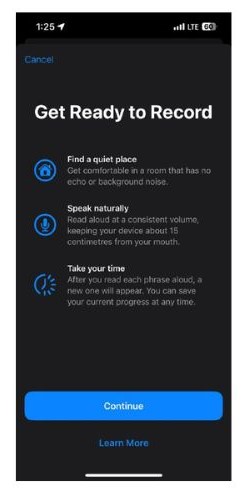
- Again, go through the instructions, ensure to follow them, and tap Continue.
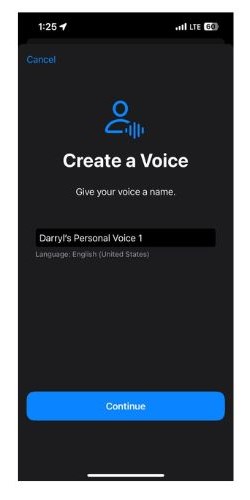
- Now, enter a name for the voice in the text box and tap Continue.
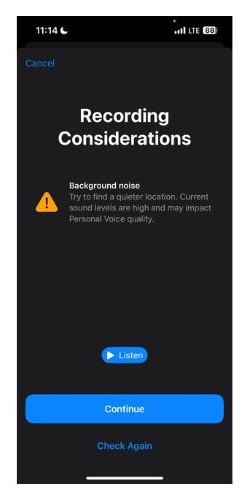
- Tap the Record button to check the sound quality and repeat the phrase on your screen.

- In case you didn’t follow any of the instructions mentioned in Step 5, you’ll be informed about the same. Tap Continue.
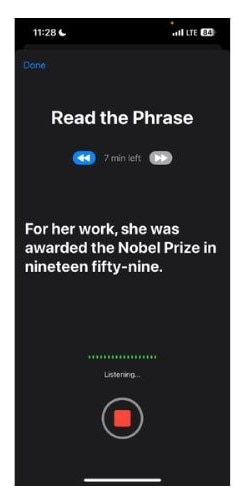
- Now, start dictating the phrases displayed on your screen. It will take anywhere between 15-30 mins to complete the process.
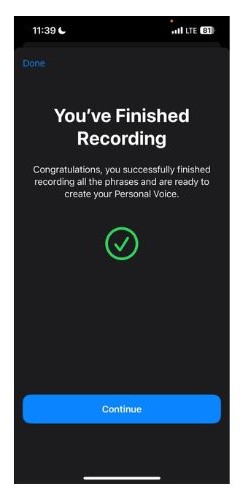
- Tap Continue after reaching the You’ve Finished Recording screen.
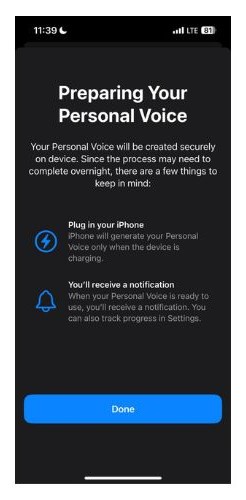
- Tap Done on the next screen that reads Preparing Your Personal Voice. It’ll inform you that you need to plug in your iPhone to charge for the voice generation process to begin.
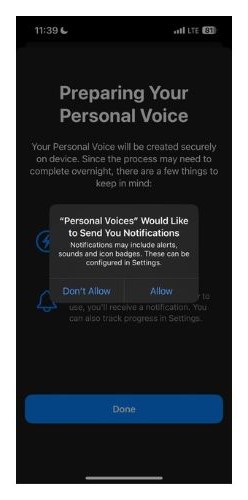
- Tap Allow on the pop-up asking for permission to send notifications.


Now, plug in your iPhone to charge, turn off the screen, and sit back until you receive the notification informing you that your Personal Voice is ready to use.
We cannot assure you how long it will take to generate your voice. It might take a couple of hours, or it might take a couple of days. Regardless, whenever it is ready, you’ll be notified about it.
How to use Personal Voice in iOS 17
After you’ve generated your Personal Voice, I’m certain you will want to use it. There’s a Live Speech option in Accessibility settings that allows you to generate phrases in your Personal Voice. Here’s how to use Personal Voice on your iPhone in iOS 17.
1. Open Settings on your iPhone.
2. Navigate to the Accessibility option.
3. Scroll down and tap the Live Speech option located below Speech.
4. On the next page, enable the Live Speech toggle.
5. Now, tap the Favorite Phrases option.

6. Tap the + plus icon at the top right corner.
7. Type in a sentence of your choice and tap Save. You can repeat this process and create multiple phrases.
8. Now, head back to the Live Speech screen and tap the Language option located below Voices.

9. Select the Personal Voice option on the Language page.
10. Next, tap the Personal Voice you’ve created.
11. Whenever you want your iPhone to recite any of the Phrases you’ve added to Live Speech in your Personal Voice, just triple-press the Side button and select from Phrases or type in a sentence of your choice.
What Are Your Thoughts on Personal Voice?
I believe Apple needs to work on and improve several aspects of iOS as a whole. However, I am thoroughly impressed with the Personal Voice feature. Especially because it is free for all. Personal Voice will help many people and allow them and those around them to remember how they sound.
Check out our article on the best iOS 17 features so that you don’t miss out on any. Do let us know your thoughts on the Personal Voice feature in the comments. Also, if you have any doubts or are facing trouble while setting up Personal Voice in iOS 17, leave a comment and we will get to you soon.


