
Find that your Mac is slow after an SSD upgrade? Worry not, for a solution is near. While some Macs allow users to swap or expand their memory, there can sometimes be an issue where users find that their machine is running slower after the upgrade. While this can certainly cause a headache, there’s a number of things one can do to give their device some speed. Even better, virtually all of the solutions are super easy and straightforward.
With that in mind, I’m going to take a look at several solutions if a user finds their Mac to be slow after an SSD upgrade. While there are a number of answers that a user can try, I’ve done my best to keep them in an order from easiest to hardest, meaning users should start at the top of the solutions and work their way down. I also cover a couple of reasons why a user’s machine may be running slower, so be sure to read everything to ensure you’re covering all your bases.
Don’t miss the best of The Mac Observer
Set us as a preferred source and our Apple reporting ranks higher in your Google Search results and Discover feed — one tap, no account changes.
Why is My Mac Slow When I Have Plenty of Storage?
There could be a number of reasons why a user is experiencing performance issues after upgrading the SSD. As I mention a bit below as well, there may be compatibility issues with the SSD and your Mac. Covering hardware, it may also just be something as simple as the SATA cable needing replaced as well.
On the software side of things, there can be a number of reasons why a user is experiencing slow down. Virtually all of the solutions below cover the software side of things, so each solution can offer a bit of explanation as to why a user is experiencing slowdown. This can be from needing a software update, to making sure Active Garbage Collection is doing what it needs to do.
Covering the Basics
If you’re having issues with your Mac performance after an SSD upgrade, there’s a couple of things you should do before continuing with other solutions and measures. Before trying anything else, make sure to check your Mac for any available software updates. Keeping your device up to date is one of the more important things you can do to ensure that everything is running smoothly. Simply go to System Settings > General > Software Update and see if a software update is available for you.
Another important thing to do is ensure that the new drive you are using for your Mac is actually compatible with your system. This may require some online sleuthing, but some drives have been known to not work well with certain Macs. Perform an online search for the name of your drive to try and check for compatibility.
Users may also want to try reinstalling macOS. We’ve got a guide on how to do that here.
If Mac is Slow After SSD Upgrade: Select the Right Startup Disk
After replacing the SSD on your Mac, one thing a user should do is ensure that the new drive is set up as your device’s startup disk. While rare, it’s not a guarantee that a Mac is always going to automatically make the switch to the new disk.
Time needed: 1 minute
To point your Mac to your new startup disk, follow these steps:
- Got to Apple > System Settings.
- Choose General.
- Choose Startup Disk.
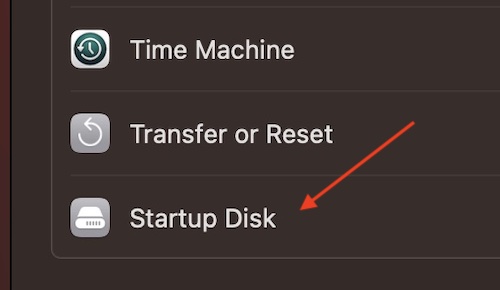
- Choose your new SSD and then select Restart.
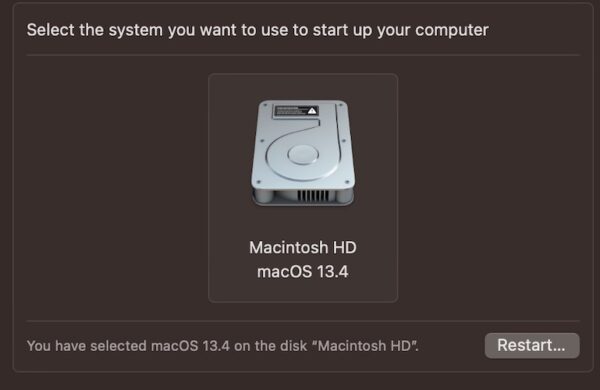
- Your device will then restart, booting from your new SSD.


Check Activity Monitor
Checking Activity Monitor on your Mac can be a great way to determine what’s eating up resources on your machine. This app comes preinstalled on every Mac device, and can be great to make sure that your machine is running as it should. Not only are you able to check to see what apps are using what resources, but you can also force close any apps that are giving you problems directly from Activity Monitor.
If you want to force close an app through Activity Monitor, or just check your resources, simply follow these steps.
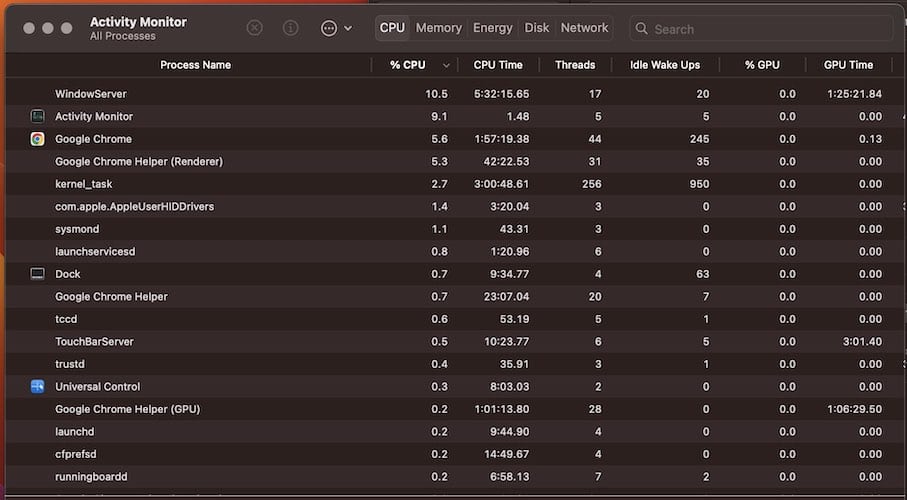
- Go to Activity Monitor. It can typically be found in Applications > Utilities.
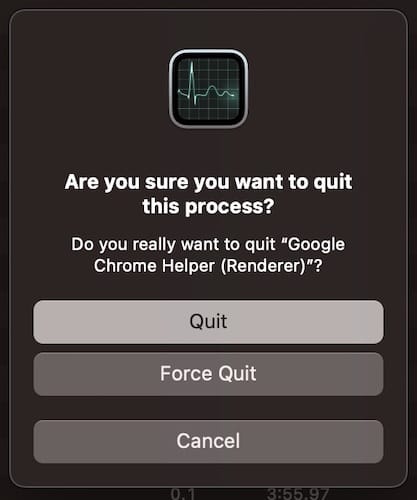
- To close an app, choose one from the Process Name list, then click the X at the top of the app. You will then have the option to Quit the app or Force Quit the app. Quitting will close the application as it normally would, allowing you to save things. Force Quit will kill the app instantly.
- You can also organize the list of apps depending on what resources they are using the most. For example, you can click CPU% to list what apps are using the most of your CPU either in ascending or descending order.


If Mac is Slow After SSD Upgrade: Get Active Garbage Collection Running
Users should also make sure that their SSD is receiving Trim commands. Concerning SSDs, Trims can help keep your drive efficient, as the feature can help manage data on a drive. This is also why many crucial SSDs have Active Garbage Collection, which helps with this process when Trim is not properly functioning. If your SSD isn’t receiving Trim commands, or if Active Garbage Collection never runs properly, this can likely create issues for users.
Therefore, if you notice some performance issues and replacing your SSD, it may be a good idea to let Active Garbage Collection run for 6 to 8 hours to see if that delivers functionality and performance. Ideally, you will want your Mac to be in Startup Manager to engage Active Garbage Collection. On an Apple silicon Mac, simply continue to hold the power button as you are starting up your device. You can release the power button when you see your startup disks and a gear icon. For Intel-based Macs, hold the Option key during startup. As mentioned, let your Mac idle for several hours to activate Active Garbage Collection.
If Mac is Slow After SSD Upgrade:Run Apple Diagnostics
Users can also run Apple Diagnostics to see if there are any issues with the SSD. Using this app, users are able to check to see if there are any hardware issues with their device. That way, you can find if the drive is working as intended.
Before running the test, make sure that your machine is up to date, there’s connection to AC power and that external devices are disconnected (except for keyboard, display and mouse). You should also ensure that the device is on a flat surface with proper ventilation. You will then need to determine if you’re running Apple silicon or an Intel-based processor. If you don’t know, you can find this information from the Menu Bar by going to Apple > About this Mac.
Depending on your processor, you will perform the test via the following steps:
- On Apple silicon: Turn off your device. Then, press and hold the power button on your device. While you hold the power button, wait for your Mac to turn on and load the startup options. Release the power button when you see these options, then press and hold Command and D on your keyboard.
- With Intel-based processors: Turn on your Mac, then immediately press and hold the D key as your machine starts. You will then release the key when you see the progress bar. You may also be asked to choose a language. If the D key doesn’t work, you can also try pressing and holding Option and D.
You will then see the results of the test. If you receive an Apple Diagnostics reference code, you can check them here. After the test, you can press R to restart your device, or S to shut it down.
Conclusion: Why is My SSD Not Giving Full Speed?
While replacing the SSD in your Mac can ultimately be beneficial, it’s the most beneficial when working properly. Whether you’re replacing your disk because you want more storage, or you’re replacing it because the original was damaged, getting your Mac working its best is typically priority number one. Fortunately, if you’re experiencing slowness after replacing the SSD in your Mac, the solution is rather easy. In just a couple of steps, you can get your machine where you want it, and you can go back to enjoying your machine.
If you’ve got problems, we’ve got solutions. While Apple users typically flock to the platform for its reliability, no system is perfect. For example, should you need it, we do have a guide on how to install macOS using Internet Recovery Mode. We’ve also got you covered if you need to know what to do if macOS gets stuck during the installation process. While some problems can no doubt cause a user to panic, more often than not,a solution is just right around the corner.


Discussion