
Need to clean up your Hide My Email aliases or check where they’re being used? You can easily view, deactivate, or delete Hide My Email addresses from your iPhone, iPad, Mac, or iCloud.com. Whether you want to stop spam, reclaim your inbox, or manage privacy settings, Apple gives you full control over your Hide My Email accounts.
Table of contents
How to Manage Hide My Email Addresses
1. View Hide My Email on iPhone or iPad
- Go to Settings > [Your Name] > iCloud.
- Tap Hide My Email.
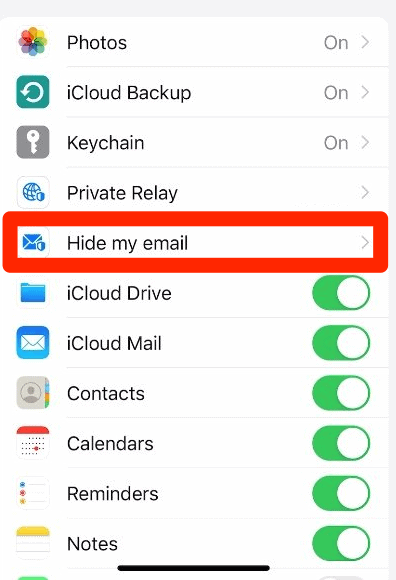
- You’ll see a list of all active and inactive aliases.
- Tap an alias to:
- View where it’s used
- See the forwarding address
- Add a label or note
- Deactivate or delete it

2. Manage Hide My Email on Mac
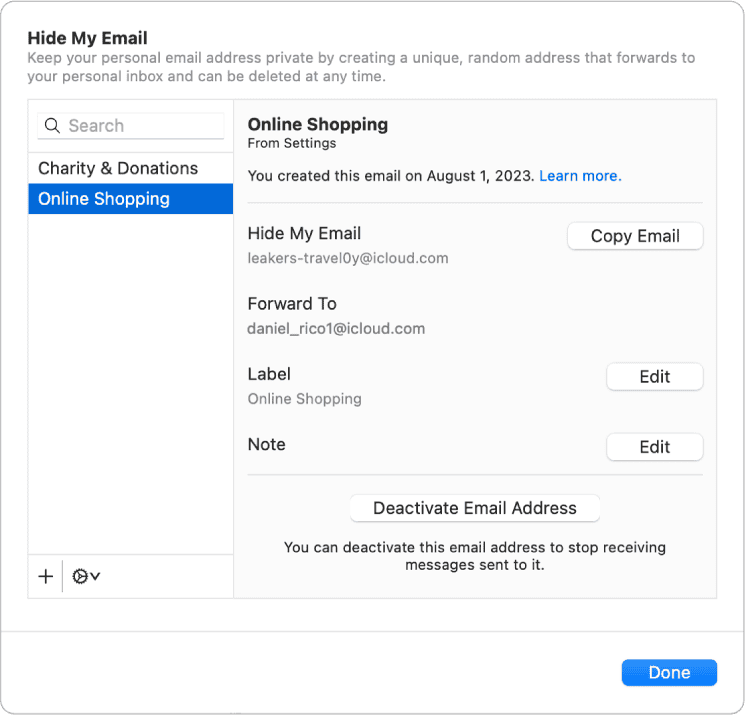
- Open System Settings > [Your Name] > iCloud.
- Click Hide My Email.
- A panel will display all aliases, including the service or app each one is tied to.
- Select any alias to view, deactivate, or delete it.
3. Use iCloud.com to Manage Aliases (Windows/Android Compatible)
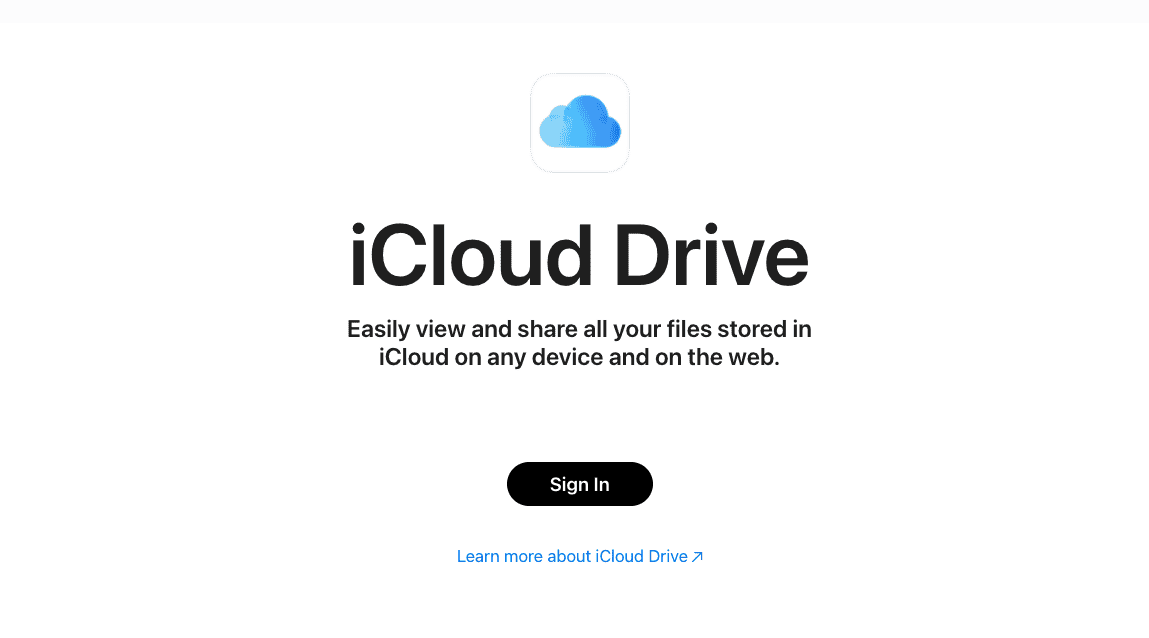
- Go to icloud.com and sign in.
- Click Account Settings.
- Scroll to Hide My Email.
- Click on an alias to:
- See its usage history
- Change the forwarding email
- Deactivate or delete it
- Changes sync across all your Apple devices.
4. Change Forwarding Email (Optional)
If you want emails to go to a different personal inbox:
- On iPhone or Mac: Go to Hide My Email > Forward To.
- On iCloud.com: Choose Change Forwarding Address.
Note: This changes the destination for all future emails sent to your aliases.
5. Deactivate or Delete Hide My Email Aliases
On iPhone or iPad
- Go to Settings > [Your Name] > iCloud > Hide My Email.
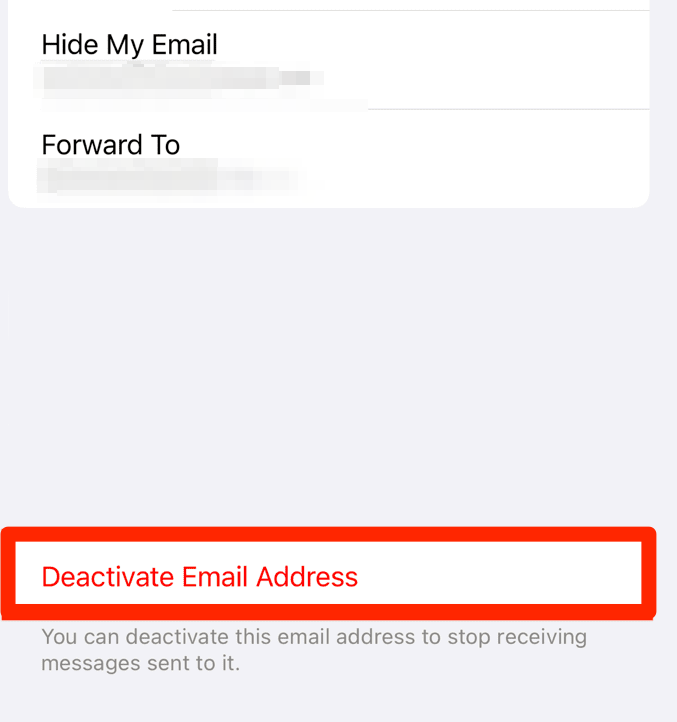
- Tap the alias you want to manage.
- Tap Deactivate Email Address or Delete Address.
- Confirm when prompted.
On Mac (macOS Sequoia)
- Open System Settings > Apple ID(Apple Account) > iCloud > Hide My Email.
- Select the alias.
- Click Deactivate Address or Delete Address.
- Confirm the deactivation.
On iCloud.com
- Go to icloud.com and sign in.

- Click your name in the upper right > iCloud Settings.
- Scroll down to Hide My Email.
- Select the alias > click Deactivate Address or Delete Address and confirm.
Deleting a Hide My Email alias may prevent login or account recovery for services that use it. Always check where it’s used before deleting.
Tips for Using Hide My Email
- Use different aliases for different websites to track where spam originates.
- Label each alias (e.g., “Amazon”, “Newsletter”) to keep things organized.
- Deactivate aliases instead of deleting them if you’re unsure.
- Change your forwarding email address if your inbox changes.
- Always back up important emails before deleting an alias.
Summary
- View and manage aliases from Settings (iPhone/Mac) or iCloud.com.
- Deactivate aliases temporarily, or delete them permanently.
- Label aliases to track usage and manage privacy.
- Change your forwarding address if needed.
- Use iCloud+ to access Hide My Email features.
Frequently Asked Questions
Yes. Tap the alias and choose Delete Address, but this is permanent.
Each alias shows the app, website, or service it was created for. Just tap it to view more info.
No. You need an iCloud+ subscription to use Hide My Email.
Conclusion
Whether you’re protecting your main inbox or just staying organized, Apple’s tools make it easy to view, deactivate, or delete any alias at any time.
If you use Hide My Email often, consider doing a quick cleanup every few months, and always double-check before deleting an alias tied to a login.