
The easiest way to sync photos from your iPhone to your Mac is by enabling iCloud Photos on both devices. This will keep your photo library updated automatically. But if you don’t have iCloud storage space, you can manually transfer photos by connecting your iPhone and Mac with a USB cable. Moreover, you can also use the Finder to sync photos from your Mac to your iPhone. Here’s each method in detail.
Why Are My Photos From My iPhone Not Showing Up On My Mac?
If your photos aren’t appearing on your Mac, it’s likely because you’ve not enabled or set up syncing between your devices. Your photos cannot be backed up and synced unless you enable iCloud Photos or use another transfer method, as discussed below.
Don’t miss the best of The Mac Observer
Set us as a preferred source and our Apple reporting ranks higher in your Google Search results and Discover feed — one tap, no account changes.
How to Sync Photos From iPhone to Mac
Apple offers several ways to sync photos between your iPhone and Mac. Below, I’ll walk you through each method step by step so you can choose the one that works best for you.
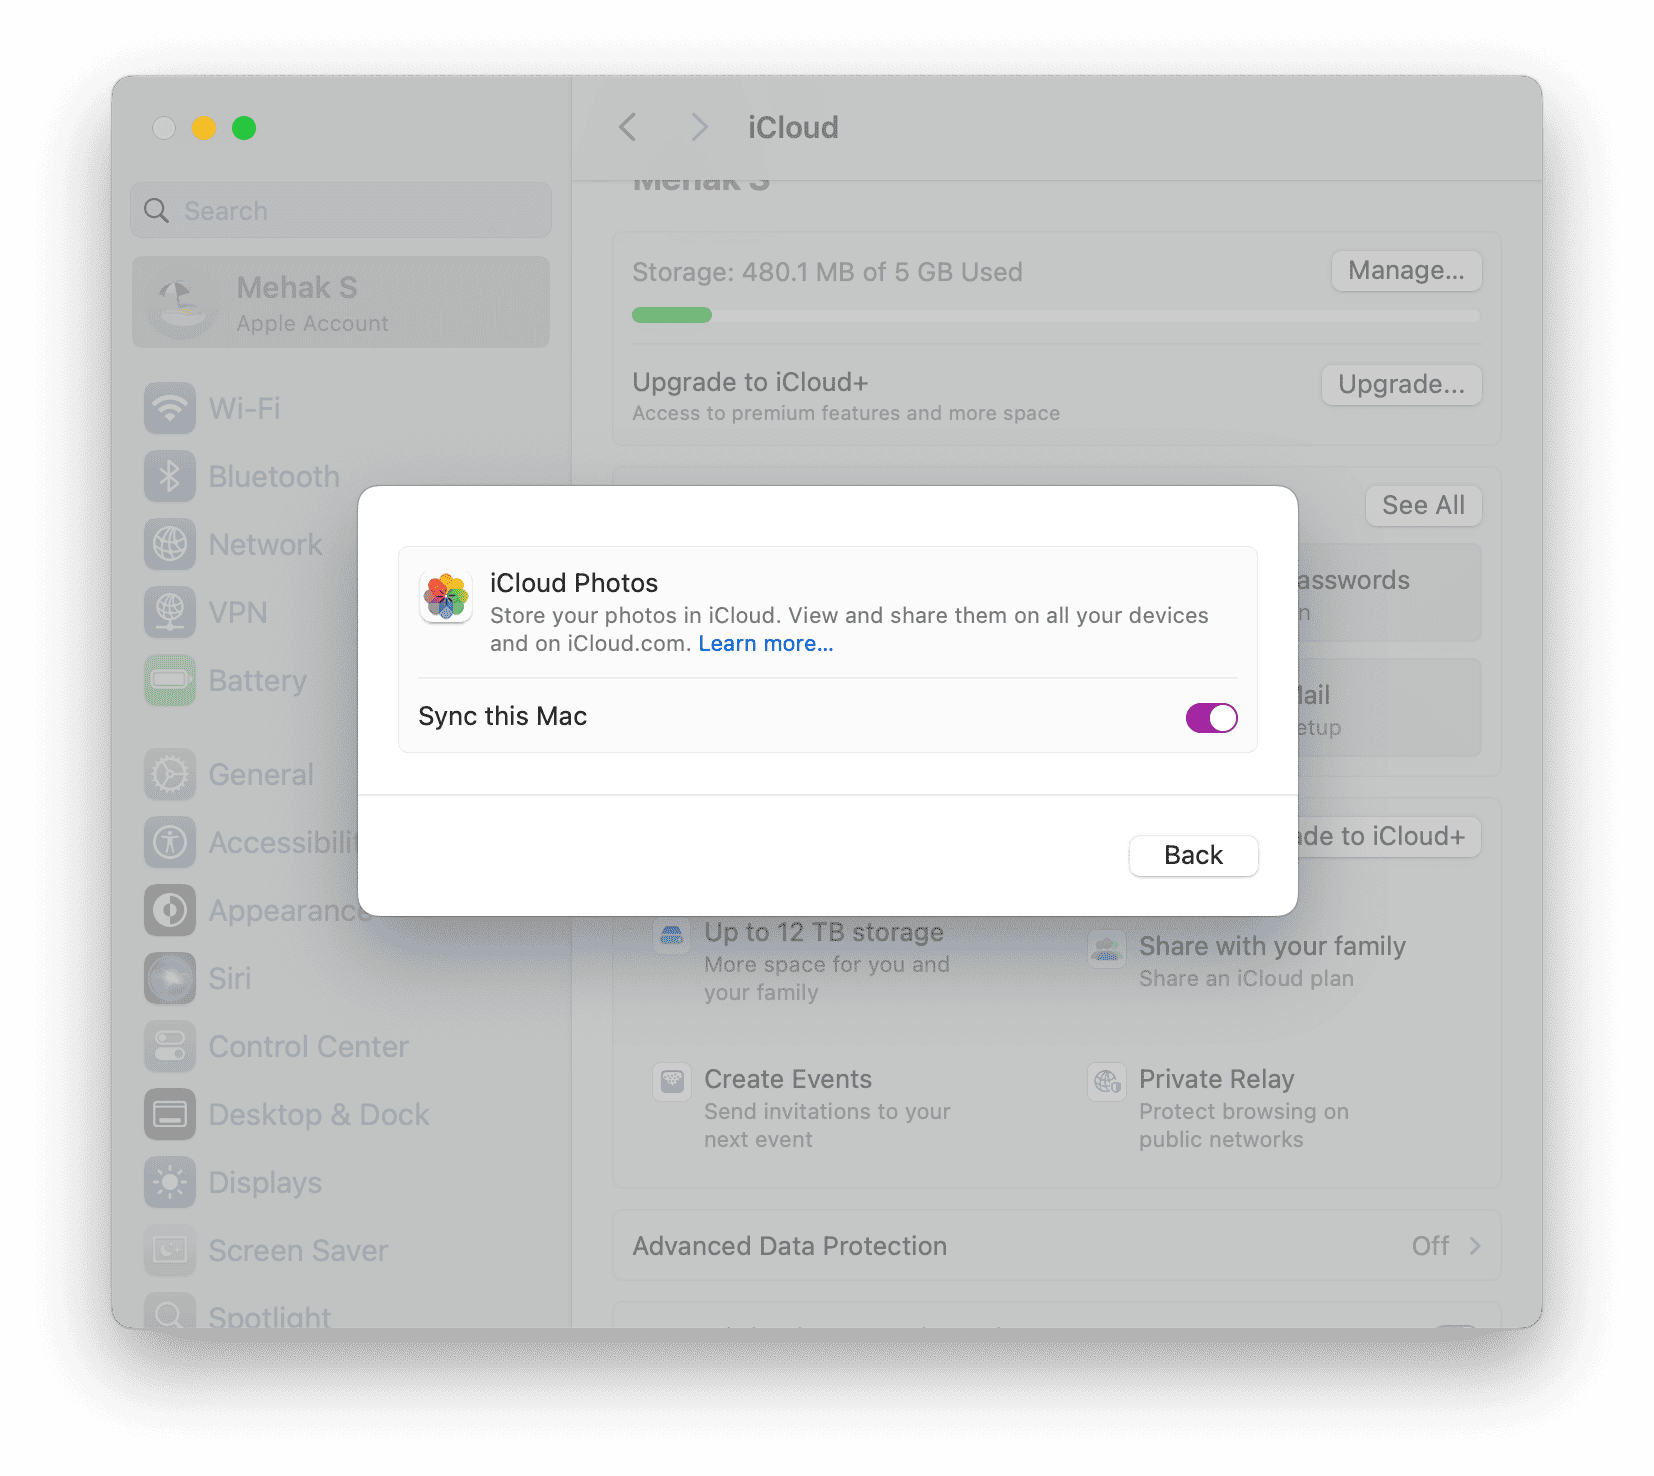
1. Using iCloud Photos (Automatic, Wireless Syncing)
This is the easiest method, but it requires iCloud storage space. It involves two phases as described below.
Enable iCloud Photos on iPhone:
- Go to Settings.
- Tap your Apple ID(Apple Account) name at the top.
- Tap iCloud > Photos.
- Toggle on iCloud Photos (or Sync this iPhone).
Enable iCloud Photos on Mac:
- Open the Photos app to see your synced library.
- Open System Settings (or System Preferences on older versions of macOS).
- Click Apple ID(Apple Account) > iCloud.
- Turn on Photos.

Remember that if you run out of iCloud storage, your photos will not be able to sync. However, you can still use the manual method explained below.
2. Using a USB Cable (Manual Import)
- Connect your iPhone to your Mac using a USB cable.
- Unlock your iPhone and tap Trust This Computer if prompted.
- Open the Photos app on your Mac.
- Select your iPhone from the sidebar under Devices.
- Choose the photos you want to import, then click Import Selected or Import All New Items.
3. Using Finder (Manual Import)
- Connect your iPhone to your Mac with a USB cable.
- Open Finder and select your iPhone under Locations.
- Click the Photos tab.
- Check Sync Photos to your device from and choose your source (Photos, a folder, etc.).
- Select what you want to sync (all photos or selected albums).
- Click Apply to start syncing.
Note: This method syncs photos from Mac to iPhone, not the other way around.
How Do I Automatically Sync Photos from iPhone to Mac?
To automatically sync photos from your iPhone to your Mac, you must turn on iCloud Photos on both devices. On your iPhone, go to Settings > [Your Name] > iCloud > Photos and toggle on Sync this iPhone. On your Mac, go to System Settings > Apple ID(Apple Account) > iCloud > Photos and enable Sync this Mac. Once enabled and connected to Wi-Fi, your photos will sync automatically across devices.
How Do I Transfer Photos from iPhone to Mac?
Connect your iPhone using a USB cable, then open the Photos app on your Mac. Select your device in the sidebar, choose the photos you want, and click Import.
You can also transfer wirelessly using AirDrop, iCloud Photos, or third-party apps like Google Photos.


Discussion