
You’ll see zipped files are everywhere, from email attachments to software downloads, and knowing how to unzip them on your Mac is a must. It’s quick, built-in, and requires no extra tools. If you prefer a more hands-on approach, macOS also offers command-line control via Terminal. In case you’re dealing with less common archive formats, third-party apps provide even more flexibility. We’ve covered all the methods below, so you can choose the one that works best for you.
1. Using Double-Click
Time needed: 1 minute
Don’t miss the best of The Mac Observer
Set us as a preferred source and our Apple reporting ranks higher in your Google Search results and Discover feed — one tap, no account changes.
The quickest way to unzip a folder on a Mac is to double-click it. The built-in Archive Utility will automatically decompress the file and create a new folder with the same name as the zip file, containing the extracted files, in the same location.
- Open Finder and locate the
.zipfile on your Mac.
- Double-click the file. This opens the file with Archive Utility.
- You will find a new folder with the unzipped contents next to the original .zip file.

2. Using Right-Click
You can also right-click a compressed file to view its contents.
- Locate the .zip file on your Mac.
- Right-click the file.
- From the menu that appears, select “Open” or “Open with”.
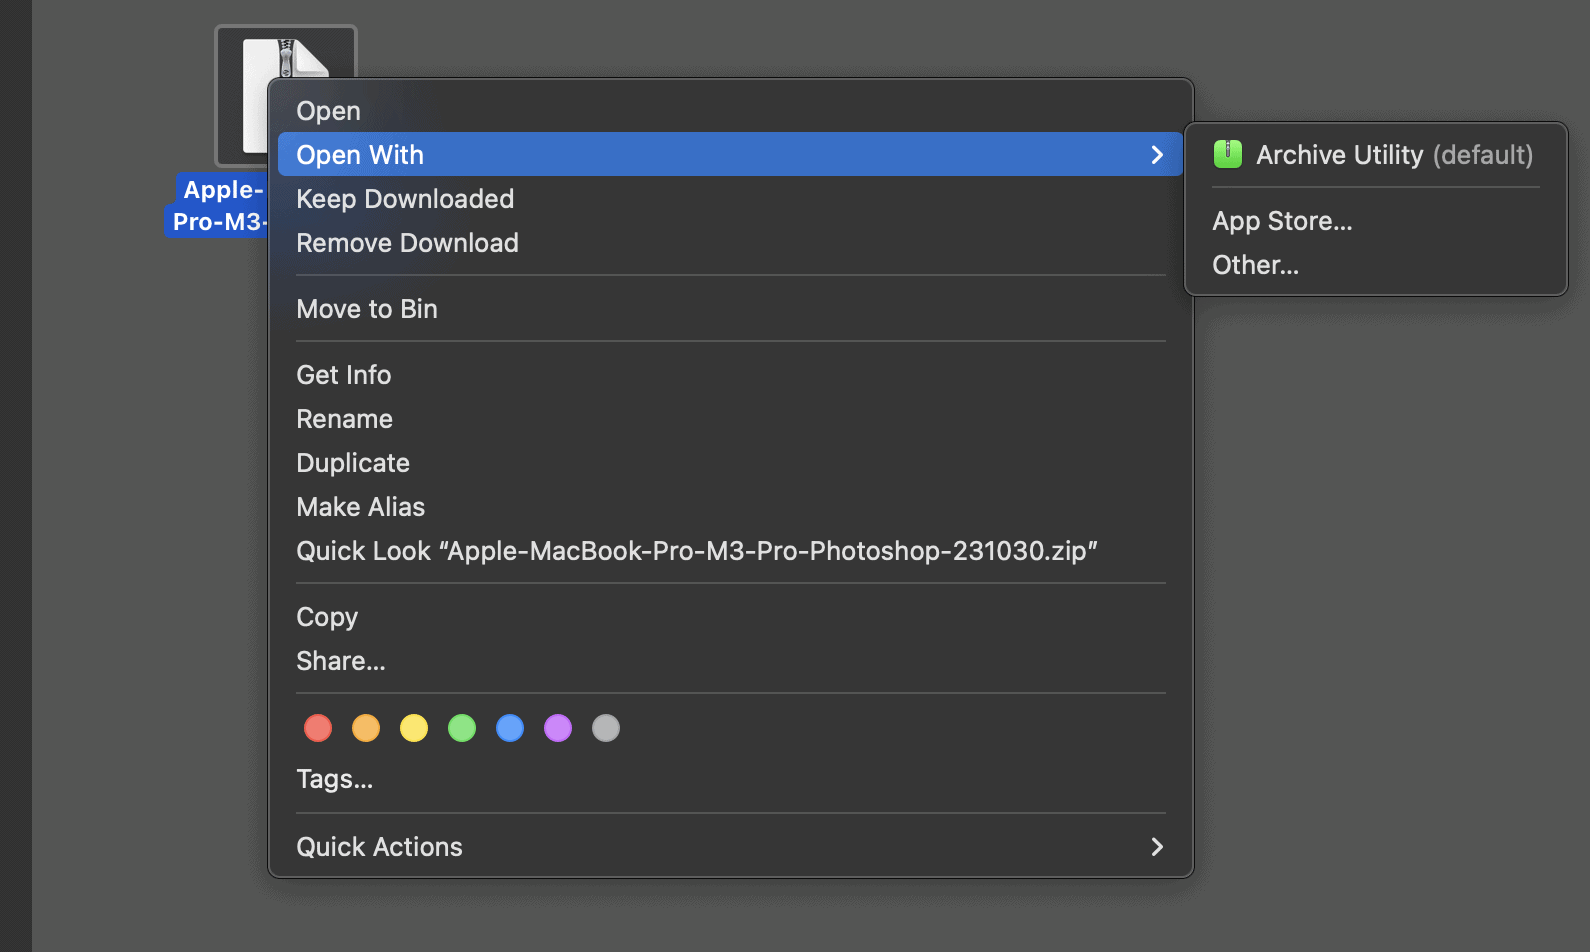
- Choose Open if Archive Utility is the default. Otherwise, select Open with > Archive Utility.
- The files will decompress into a new folder next to the .zip file.

3. Using Terminal
If you want precise control over the extraction process, you can unzip a file using Terminal on a Mac.
- Go to Applications > Utilities and open Terminal. Alternatively, search for it using Spotlight.
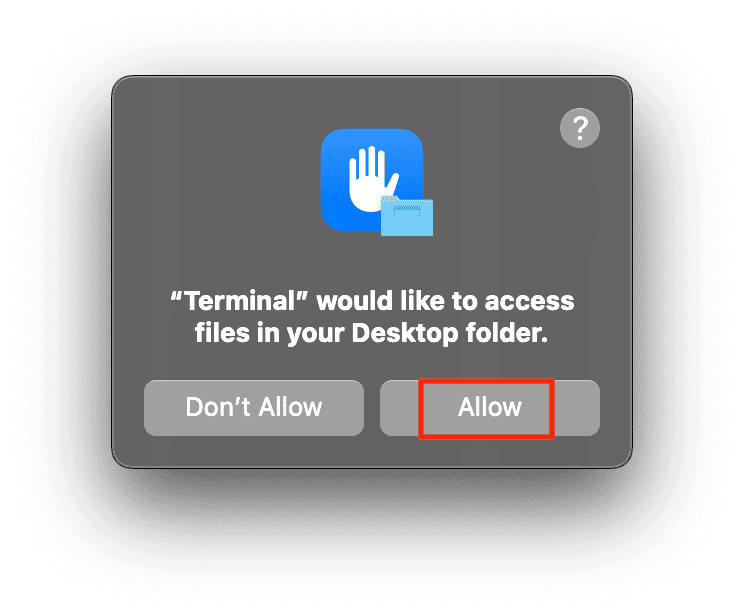
- Navigate to the folder with the zip file. For instance, if the file is on the desktop, type the following”
cd ~/Desktop. - Allow Terminal to access files in your Desktop folder.
- Now, enter the following command and hit Return:
unzip filename.zip - The files will be extracted in the current folder.

4. Using Third-Party Apps
Several third-party apps offer enhanced file extraction capabilities and can easily handle various archive formats such as .zip, .rar, .7z, and more. Some of the most popular apps include The Unarchiver, Commander One, and iZip.
- Open the App Store and download The Unarchiver app (free).
- Install and open the app.
- Now, set it as the default app for archive files.
- Right-click your
.zipfile and select Open With > The Unarchiver. - The extracted files will appear in the same folder automatically.
Wondering how to shut down a Mac that’s frozen or unresponsive? Here are 5 ways to force restart a Mac.


Discussion