
When I replaced my Mac’s old drive with a brand-new SSD, I discovered that installing macOS from scratch isn’t nearly as complicated as it sounds. Whether you’re upgrading storage, fixing a failing drive, or just want a clean start, here’s how I installed macOS on a new hard drive, step by step.
Table of contents
Preparing the New Drive and Your Mac
Before you install macOS, make sure both your drive and your Mac are ready.
1. Install or connect the new hard drive
If you’re installing an internal SSD or HDD, shut down your Mac completely, disconnect power (if it’s a desktop), and install the drive according to your Mac model’s instructions.
If you’re using an external SSD or HDD, plug it in. Yes, macOS can run from an external drive as long as it’s formatted correctly and permitted in Startup Security Utility (on Macs with a T2 chip or Apple silicon).
Once connected, power up your Mac.
2. Boot into macOS Recovery
- Apple silicon (M-series) Macs: Press and hold the power button until Loading startup options appears, then select Options → Continue.
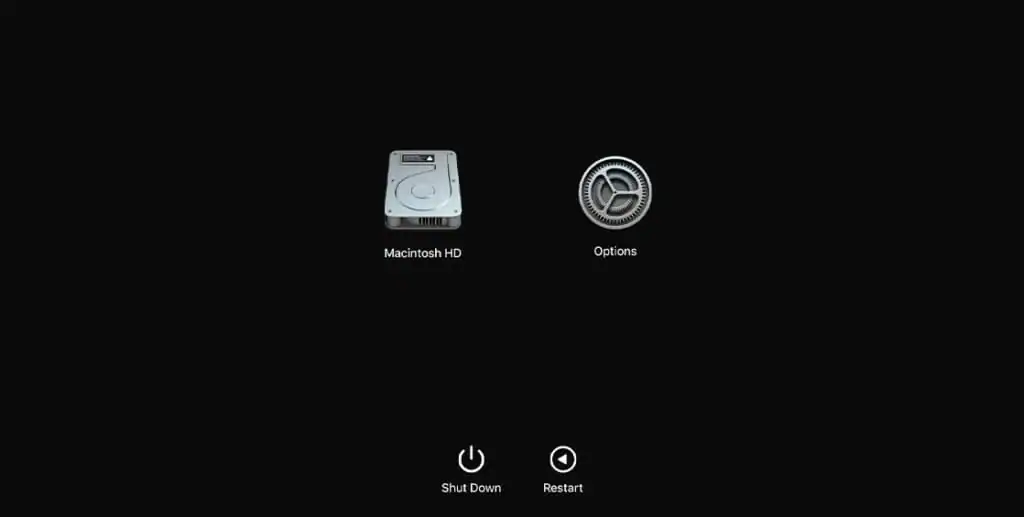
- Intel Macs: Immediately hold Command (⌘) + R to reinstall the latest version previously installed, or Option + Command + R to upgrade to the newest compatible version.
3. Format the new drive
In Recovery mode, open Disk Utility. If the drive doesn’t appear, choose View → Show All Devices. Select the drive, then click Erase.

Use these settings:
- Format: APFS (for macOS High Sierra or later); Mac OS Extended (Journaled) for older versions
- Scheme: GUID Partition Map
Once it’s formatted, quit Disk Utility.
Installing macOS on the New Drive
1. Reinstall macOS using Recovery
From the macOS Utilities window, choose Reinstall macOS. Follow the prompts and select your newly formatted drive as the destination. The installer will download the latest compatible macOS version and begin installation. Your Mac will restart several times during this process, that’s normal.

2. (Optional) Use a bootable installer
If you prefer offline installation, create a macOS bootable USB installer using Terminal (Apple has a detailed guide here). Then restart your Mac while holding Option (⌥), choose the USB installer, and install macOS on the new drive.
Tips for a Smooth Installation

- Back up your data with Time Machine before replacing drives.
- Stay plugged into power, especially on MacBooks.
- Use wired internet if possible, it’s more reliable during large OS downloads.
- If your drive doesn’t appear in Disk Utility, check out how to fix an external drive not showing up on Mac.
- If you see the message macOS Monterey cannot be installed on Macintosh HD, here’s how to fix it.
- After installation, go to System Settings → General → Startup Disk to confirm the new drive is set as your boot disk.
FAQ
Yes, absolutely. Apple supports this as long as the drive uses APFS or Mac OS Extended (Journaled) and your Mac’s security settings allow external booting.
Use APFS for macOS High Sierra or later (especially for SSDs). Choose Mac OS Extended (Journaled) only if you’re installing macOS Sierra or earlier.
Double-check it’s formatted as GUID Partition Map with APFS. If it still won’t install, you may need to adjust security settings or firmware updates.
If the drive is brand new, yes, you’ll start fresh. But you can restore your old files afterward with Migration Assistant or Time Machine.
Summary
- Install or connect your new drive.
- Boot into macOS Recovery.
- Erase and format the drive using Disk Utility (APFS + GUID).
- Reinstall macOS from Recovery or a bootable USB.
- Verify your startup disk and restore any backups.
Conclusion
Replacing or upgrading your Mac’s drive is one of the best ways to extend its life and performance. Once I formatted the new drive correctly and used macOS Recovery, the installation went smoothly. With a clean system and fresh storage, my Mac feels brand new, and yours can too.


I have followed these instructions several times, using an external SSD recommended by Apple. It says it is installing but when “complete” it hasn’t installed and doesn’t show up as a startup disk option. What is going on? Thanks!
Using iMac 2017 with OS Ventura,
You can try the following:
1. Boot into Recovery (⌘R)
2. Open Disk Utility > View > Show All Devices
3. Erase the top-level SSD as:
Format: APFS
Scheme: GUID Partition Map
4. Install Ventura again, selecting the external SSD
5. After install, go to System Settings > General > Startup Disk and select it.
6. If it still doesn’t show, you can update macOS fully on the internal drive first, then retry the external install.