
Nothing beats the joy of playing classic GameCube and Nintendo Wii games. The only problem is that it’s almost impossible to find first-generation consoles that are still in good condition. Many of them are now collector’s items, often displayed rather than played
It took some searching, but luckily, I found the Dolphin emulator—it lets you play classics from your childhood on any Mac. It works smoothly, and I’ve recently been enjoying games like Animal Crossing and Call of Duty. If you want also want to run it on your MacBook or iMac, follow these steps.
How To Use Dolphin Emulator on Mac
1. Download and Install Dolphin Emulator
Time needed: 10 minutes
Let’s start with downloading and installing the Dolphone Emulator on Mac. Here is how you can do it.
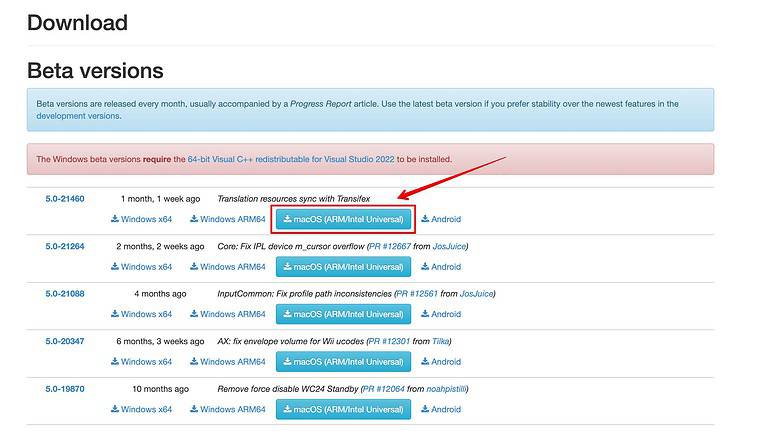
- Head over to the official Dolphin Emulator website.
- Under the Beta versions, select the latest version and click on macOS (ARM/Intel Universal).
- Go to the Recent Download History on your browser and open Finder.
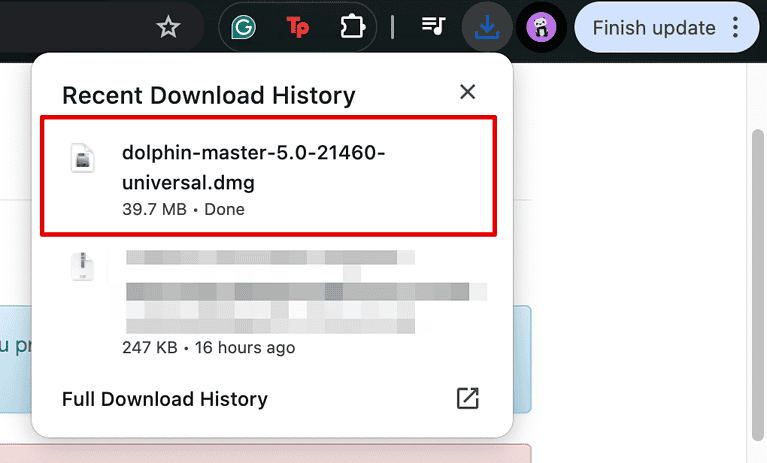
- Now, double-click on the .dmg file.
- Drag both the Dolphin files to the Applications folder.

- Then, double-click on the Dolphin app from the Applications folder to open it.
- Follow the on-screen prompt and click on Open to continue.

- The app will now open, and you can click on Yes or No on whether you want Dolphin to collect data.

- You have now successfully installed the application on your Mac and are ready to add the games to start playing.


2. Config and Add Games
Next, we’ll add games to the emulator and adjust the graphics settings before we start playing.
Add Games
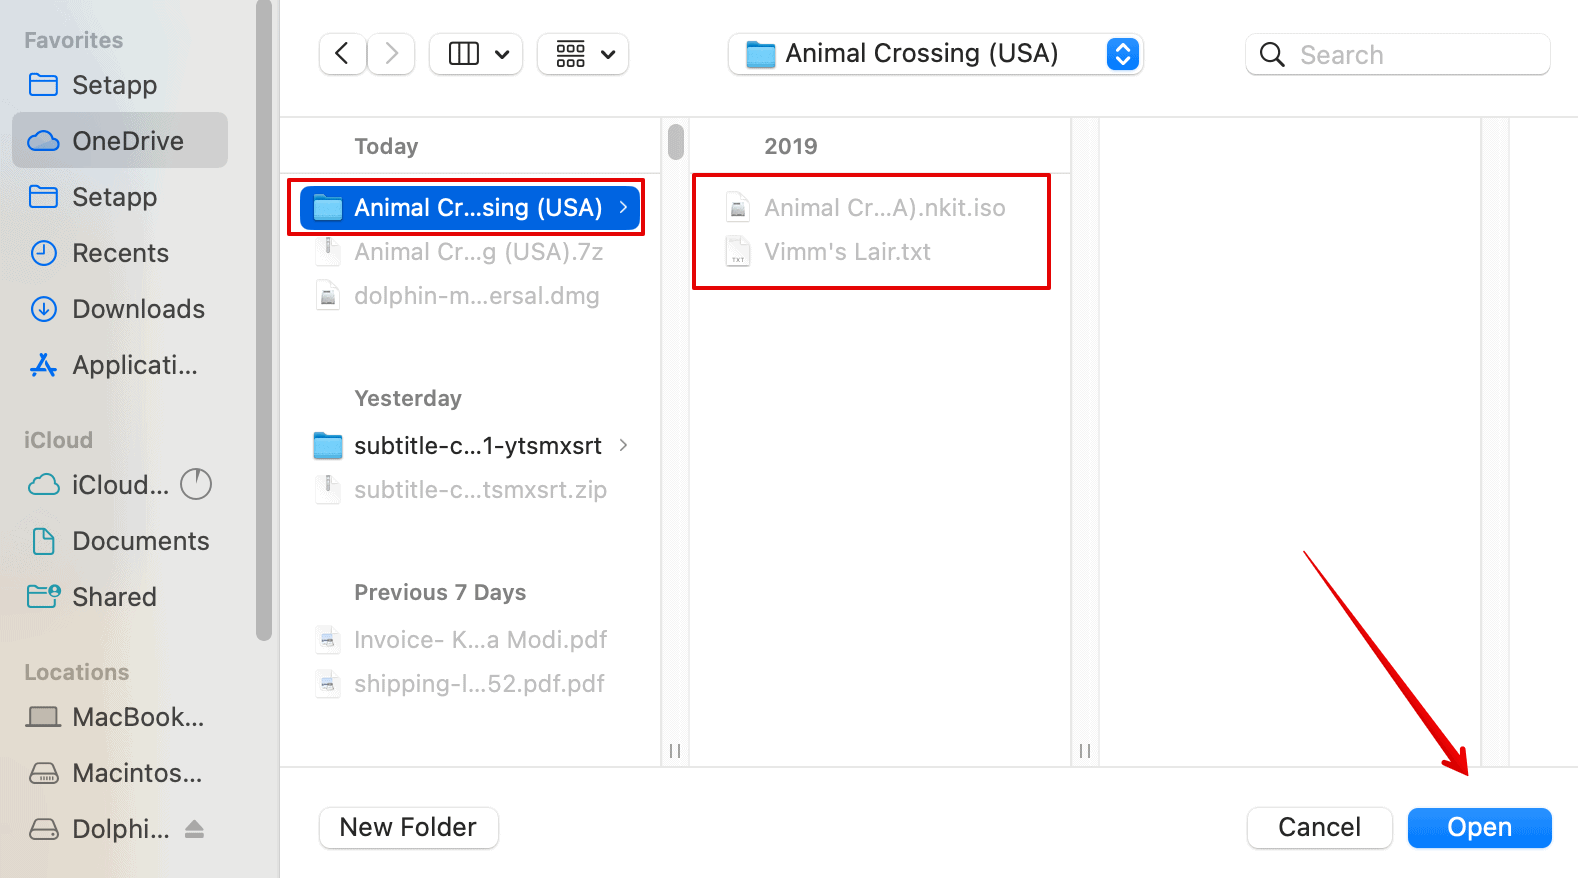
- Double-click on the middle of the Dolphin Emulator window.

- Look for the games folder where you have downloaded the ISO files and click on Open.


 NOTE
NOTE
Basic Config Settings
Here are some of the configurations that I mostly use while playing GameCube games on my Mac. You can try them, too, for a smooth gaming experience.
- Click on the Config button to open it.

- Here, go to General and check the box under all the Basic Settings.
- Also, beside Auto Update, select Beta (once a month)


And that’s all you need to do for now. Let’s move on to setting up the Controller.
3. Set Up A Controller
Depending on which games you have downloaded and added to the emulator, you can set up the controller likewise. Here is what you can do.
Note: You can use any compatible controller with your Mac. However, the PS4, PS5, or Xbox series controllers generally work best.
- Click on the Bluetooth icon at the top-right corner of the screen.
- Pair your controller with your Mac.
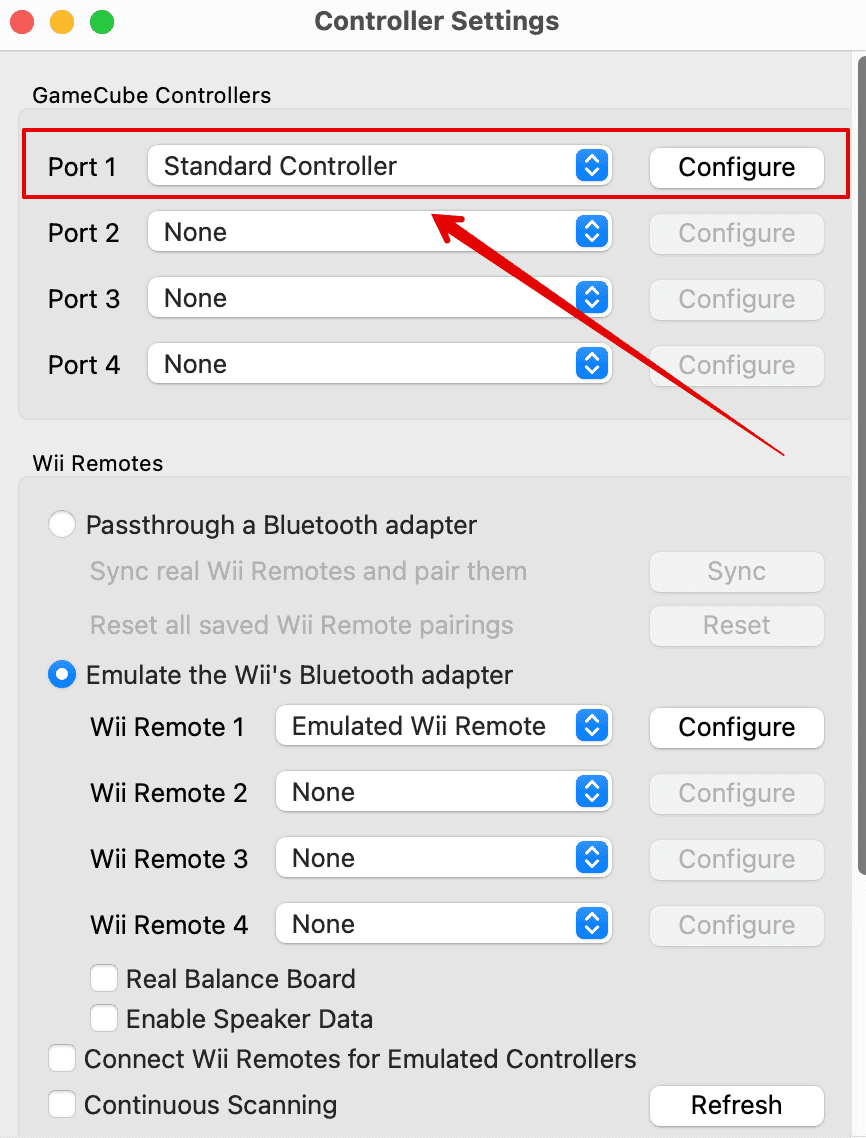
- Once done, head back to your Dolphin Emulator and click on the Controllers option at the top.
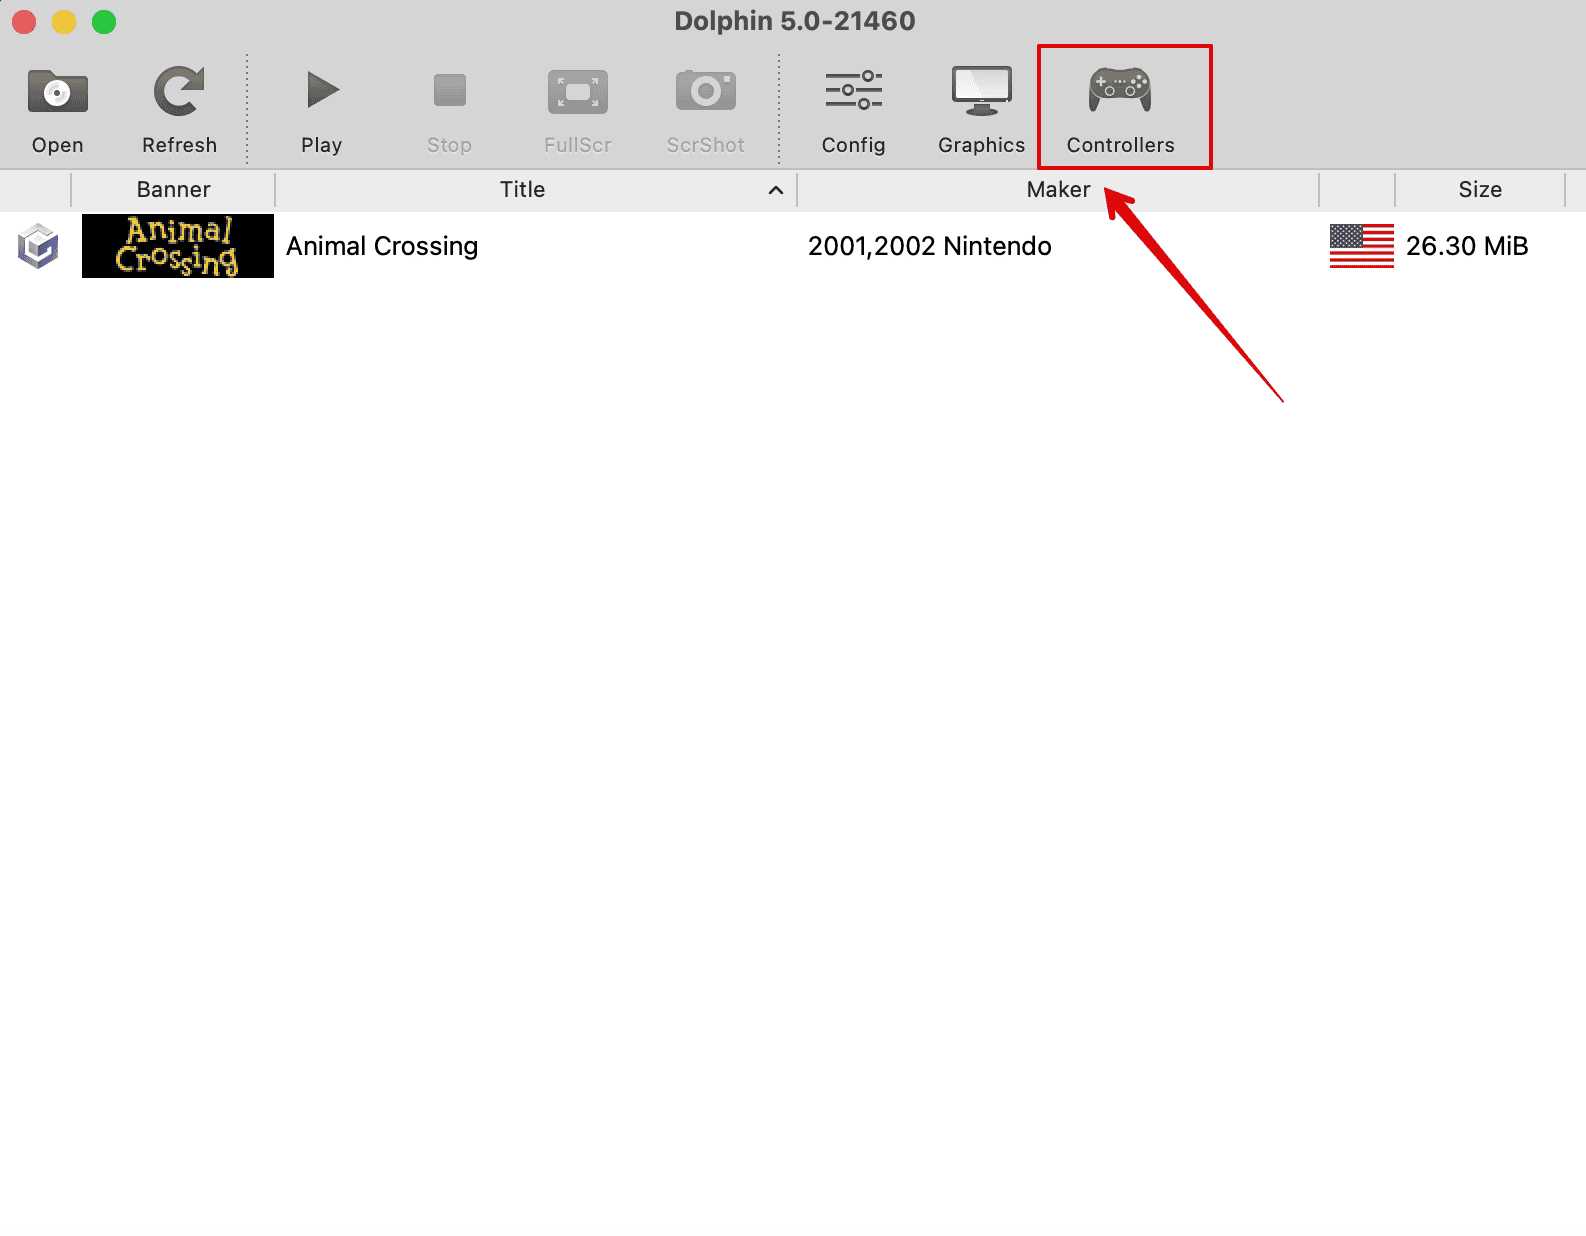
- You can configure up to four controllers here.
- Go to Port 1 and bring down the drop-down menu. Select Standard Controller.
- Click on Config to continue.
- Under Device, select your controller from the drop-down menu.
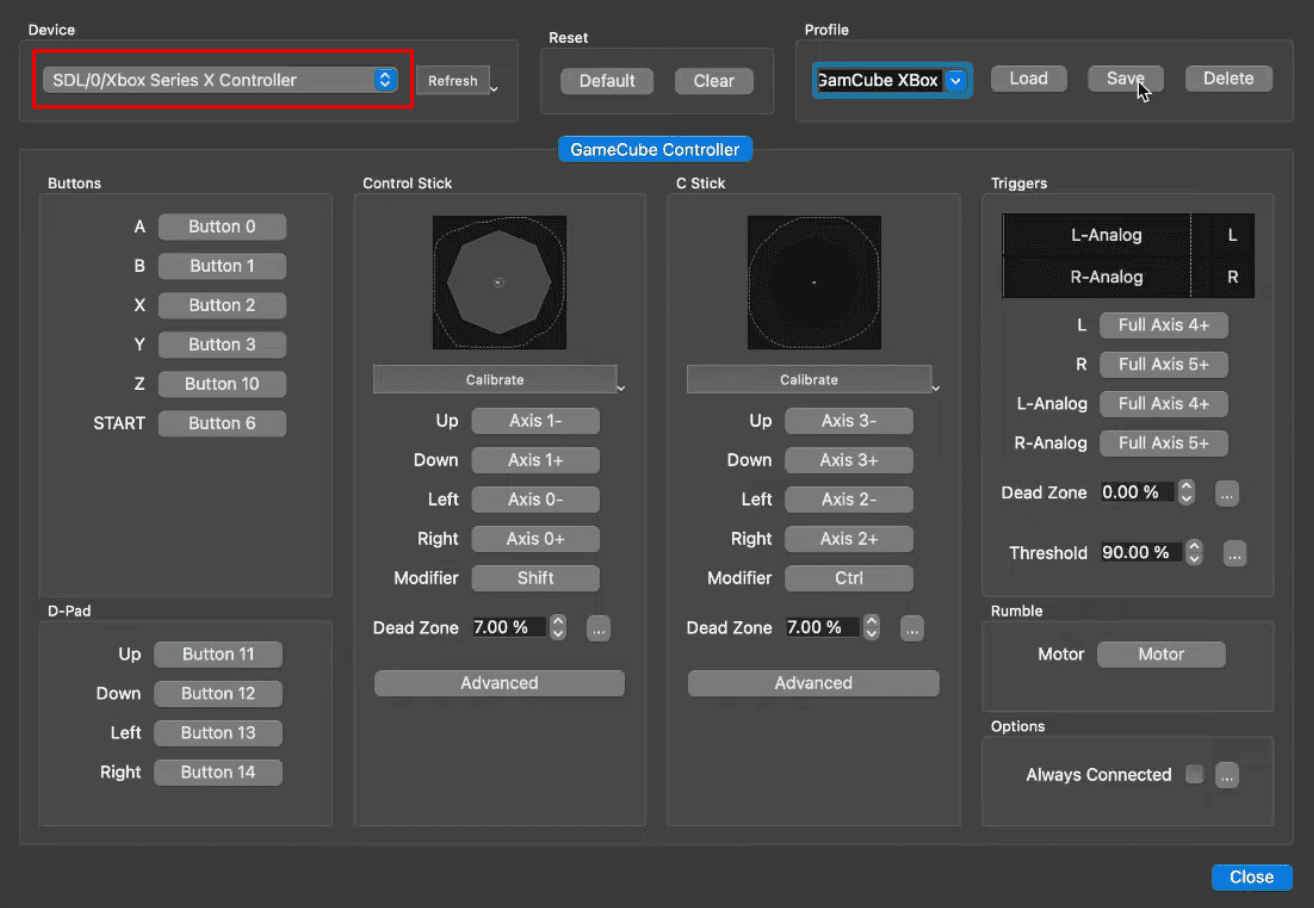
Image Source: YouTube - Go to the Buttons section and click on all the buttons beside to configure as per your controller.
- Repeat the same for all the settings based on the game you are playing.


You can follow similar steps for setting the Wii remote controller as well.
4. Change Graphics Settings
To have the best gaming performance, you can make a few changes to the graphics settings. Let’s check them out below.
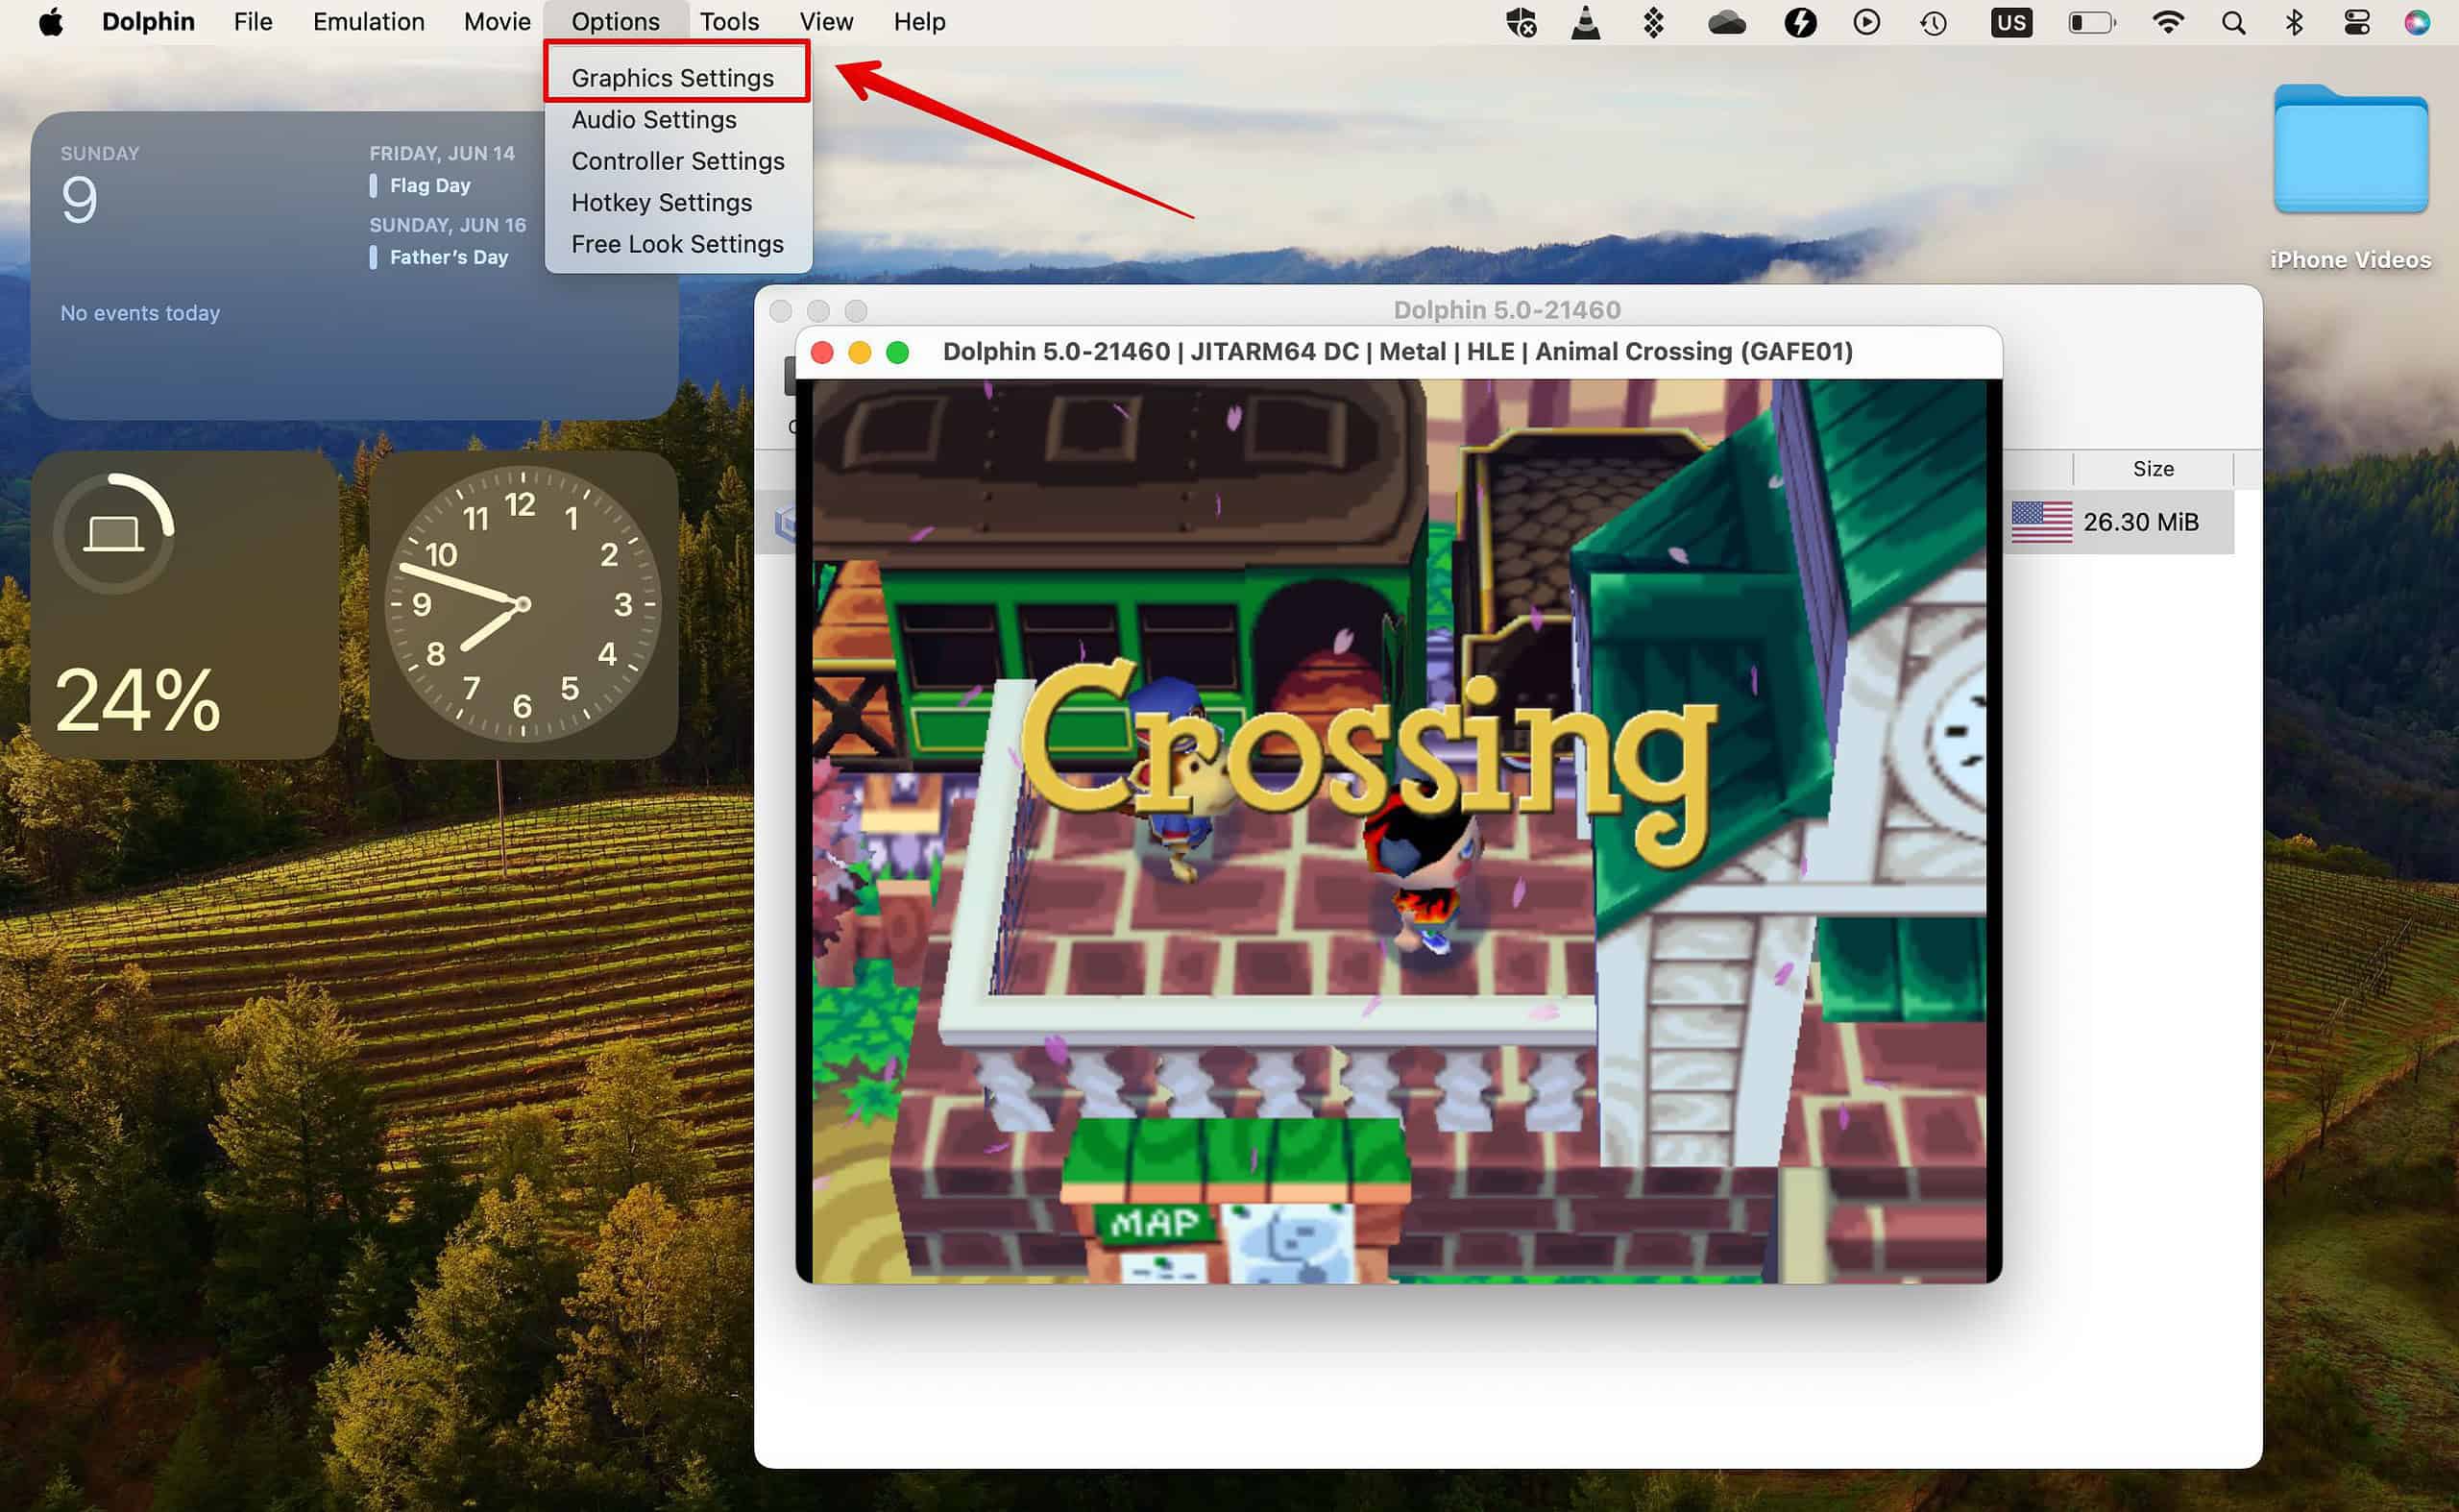
- Double-click on any game you want to get started with.
- Now, go to the Options menu at the top and open Graphics Settings.
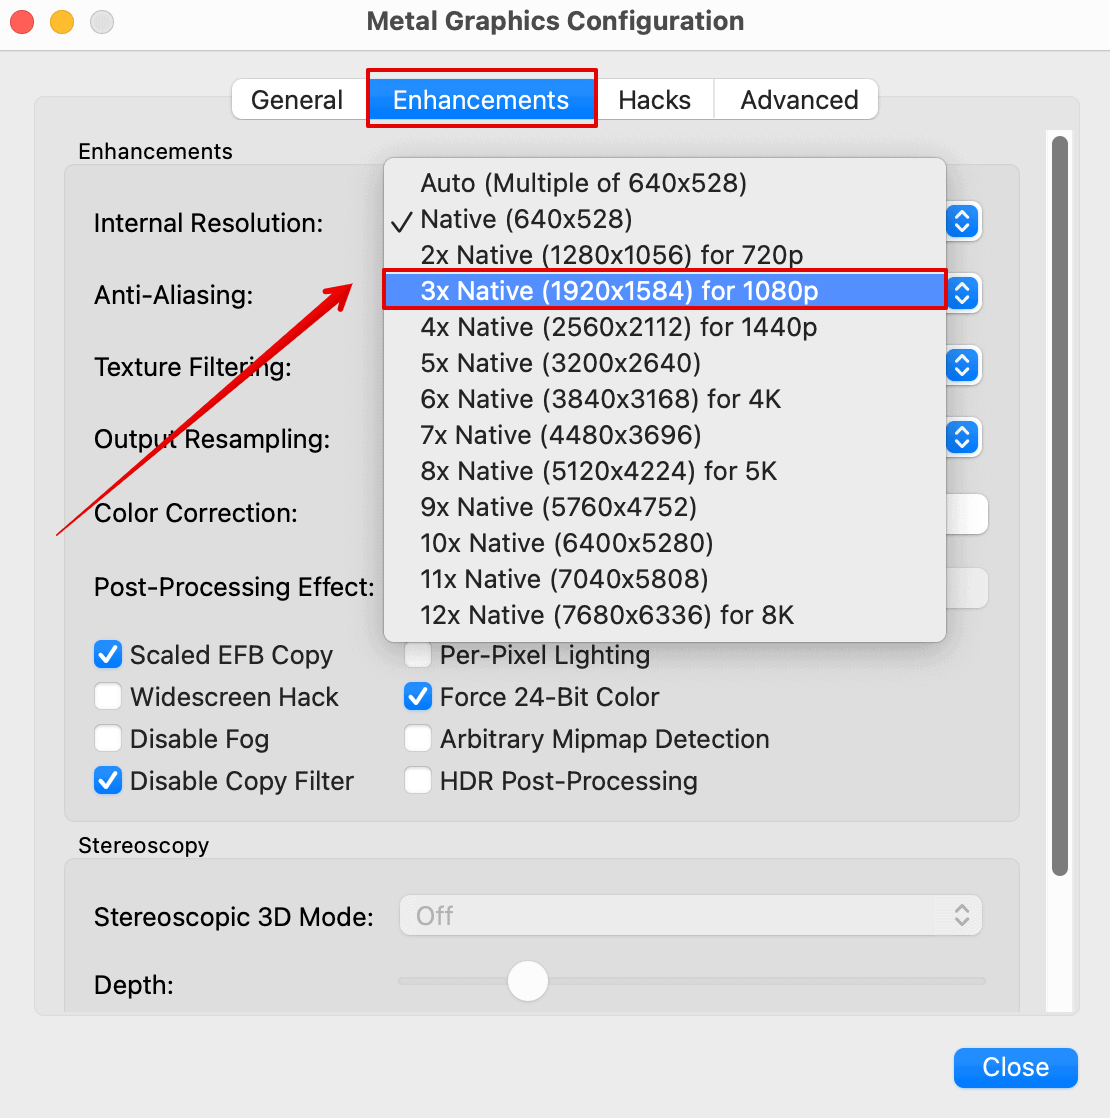
- Open the Enhancement section.
- Bring down the drop-down menu beside Internal Resolution.
- Select 3x Native (1920×1584) for 1080p resolution.


And that’s it! You can now play any Nintendo GameCube games and Wii games on your Mac using the Dolphin Emulator.


Will it work with Tahoe, Macos 26?