
If your printer supports wireless connections, using Wi-Fi is the fastest and most convenient way to connect it to your Mac. Besides this, you can also use Bluetooth, USB, or an IP address. If your Mac doesn’t automatically recognize your printer, you can always add it manually with just a few simple steps. Keep reading for easy, step-by-step instructions to get your printer up and running in no time.
How To Add a Printer to a Mac
1. Add a Printer via Wi-Fi
Time needed: 2 minutes
Apple’s macOS often detects printers automatically when they’re on the same Wi-Fi network. If so, setup is quick with no manual configuration needed.
- Turn on your printer and connect it to the Wi-Fi network.
- On your Mac, update the printer software. If you have an AirPrint printer, just skip this step.
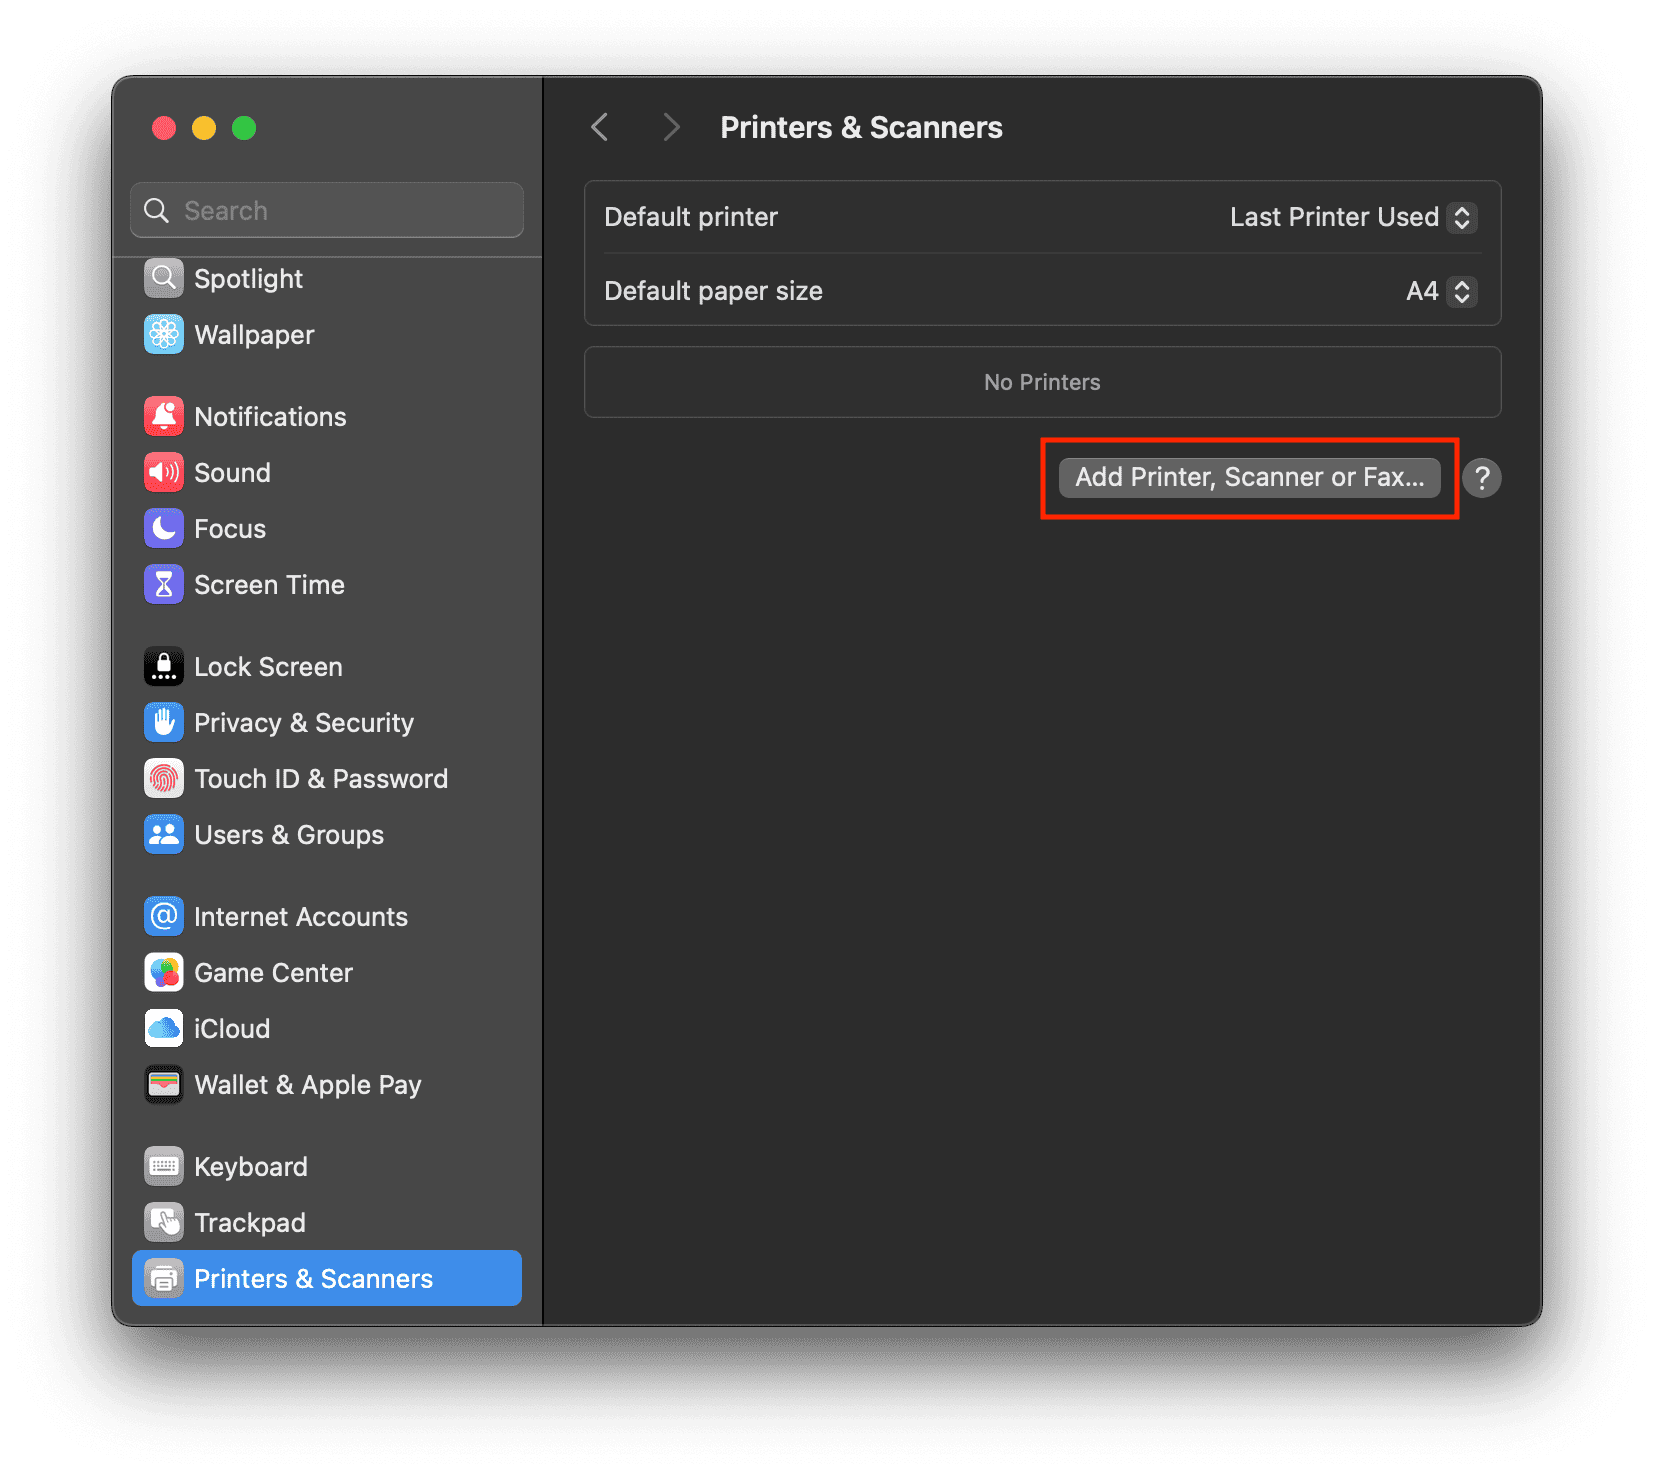
- Open System Settings > Printers & Scanners.
- Now, look for your printer in the list.
- If it doesn’t appear, click Add Printer and then select your printer.
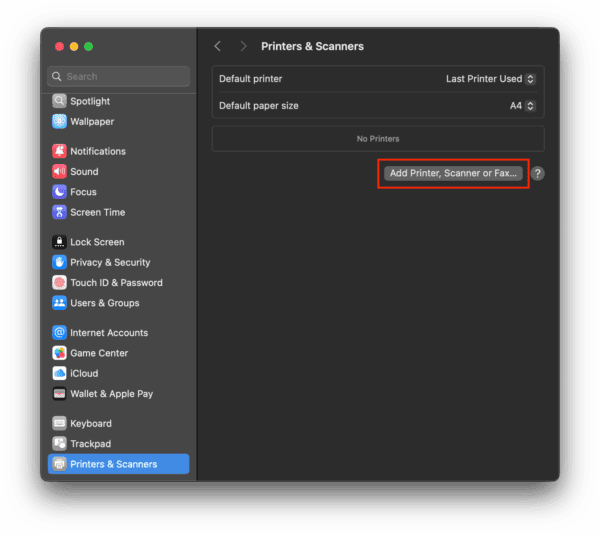
- Finally, click Add to complete the setup.

2. Connect a Printer via USB
You can also connect a printer to your Mac using a USB cable, which is a simple and reliable option, especially if the printer doesn’t support wireless connections. When you connect a printer via USB, macOS will detect it automatically and install drivers if needed.
- Make sure your Mac is up to date.
- Turn on your printer.
- Connect the USB cable to the printer.
- Plug the other end into your Mac. (Use a USB-C hub or adapter if needed.)
- Allow any on-screen permission prompts.
- Go to System Settings > Printers & Scanners.
- If the printer appears, select it. If not, click Add Printer, wait for it to show, then click Add.

- If prompted, macOS will download and install drivers automatically.
- To set it as your default printer, select it and click Set Default Printer.
3. Add a Printer via Bluetooth
If your printer supports Bluetooth, you can add it wirelessly to your Mac without needing Wi-Fi or cables. To use this feature, you’ll need to put your printer in pairing mode and connect it through Bluetooth settings.
- Put your printer in Bluetooth pairing mode. You can check the printer’s manual for instructions.
- On your Mac, click the Control Center icon in the menu bar.
- Select Bluetooth > Bluetooth Settings.
- Find your printer in the list and click Connect next to it.
- Once connected, the printer will appear in the Print dialog of any app, ready to use.

4. Add a Printer via IP Address
If a printer isn’t found automatically or doesn’t show up, you can add it manually using the IP address of the printer. This is a reliable method, especially for office or networked printers.
- Open System Settings > Printers & Scanners.
- Click +, then switch to the IP tab.
- Enter the printer’s IP address and choose the correct protocol (usually IPP or HP Jetdirect).
- macOS will detect the printer and install any necessary drivers.
- Click Add to finish the setup.
Why Can’t I Add a Printer to My Mac?
Connectivity issues like faulty cables and Wi-Fi problems are one of the most common reasons why you can’t add a printer to your Mac. Apart from this, outdated or missing printer drivers, your Mac and printer being on different networks, or incorrect permission settings, software bugs, and system glitches can also prevent your Mac from detecting a printer.
How Can I Get My Mac To Recognize My Printer?
If your Mac isn’t recognizing your printer, make sure your printer is turned on and connected to the same Wi-Fi network. If you’re using a USB printer, verify that the cable is securely plugged in. You can also try the steps below:
- Restart both the printer and your Mac, as this often resolves simple detection issues.
- Go to System Settings > Printers & Scanners and click the “+” (Add Printer) button to see if it appears in the list. If not, you can try adding it manually.
- Make sure your Mac is fully updated via System Settings > General > Software Update, as updates can include necessary drivers.
- For some printers, you may need to install additional software or drivers from the manufacturer’s website or App Store.
- If all else fails, try resetting the printing system by right-clicking in the Printers list and selecting Reset printing system… to remove all existing printers and start fresh.
How Do You Add a Printer That Isn’t Showing Up?
If your printer isn’t showing up on your Mac, first make sure it’s turned on and properly connected via USB or the same Wi-Fi network. If it still doesn’t appear, try adding it manually. Here’s how to do it:
- On your Mac, open System Settings > Printers & Scanners.
- Click the Add Printer option and then select your printer.
- Finally, click Add to finish.
If the print still doesn’t connect, you can add it using the IP address.
- Open System Settings > Printers & Scanners.
- Click + and switch to the IP tab.
- Enter the printer’s IP address and follow the on-screen instructions.
If you can’t connect the Apple Magic Mouse to your Mac, try these troubleshooting steps.