

If your Apple Music library looks different on your iPhone, Mac, or iPad, Sync Library is the switch you’re missing. When it’s turned on, your music, playlists, and edits stay consistent everywhere you sign in. Same songs. Same order. Same library. Let’s break down what Sync Library actually does, what you need, and how to turn it on without headaches.
Table of contents
- What Sync Library Does (and What It Doesn’t)
- What You Need Before You Start
- How to Turn On Sync Library on iPhone or iPad
- How to Turn On Sync Library on Mac
- How to Turn On Sync Library on Windows
- How to Use Your Synced Library on Other Devices
- What to Do If Songs Are Missing
- Sync Library vs Manual Syncing
- One Last Important Reminder
What Sync Library Does (and What It Doesn’t)
Here’s the thing. Sync Library isn’t a backup. It doesn’t protect you from accidental deletes or replace proper backups. What it does is keep your Apple Music library available across devices, as long as you’re signed in with the same Apple Account.
When Sync Library is on, Apple Music keeps the following in the cloud:
Don’t miss the best of The Mac Observer
Set us as a preferred source and our Apple reporting ranks higher in your Google Search results and Discover feed — one tap, no account changes.
- Up to 100,000 songs, not counting purchases from iTunes
- Apple Music tracks and matched songs at up to 256 kbps AAC
- Playlists, including ones with music videos
- Music you’ve added or edited on one device, reflected on others
If you add an album on your iPhone, it shows up on your Mac. Remove a song on your Mac, it disappears on your iPad too. That’s the deal.
What You Need Before You Start
Before you flip the switch, make sure these basics are covered:
- An active Apple Music or iTunes Match subscription
- All devices signed in with the same Apple Account
- A stable internet connection for the initial sync
If you don’t see the Sync Library option, it’s usually because one of those pieces is missing.
How to Turn On Sync Library on iPhone or iPad
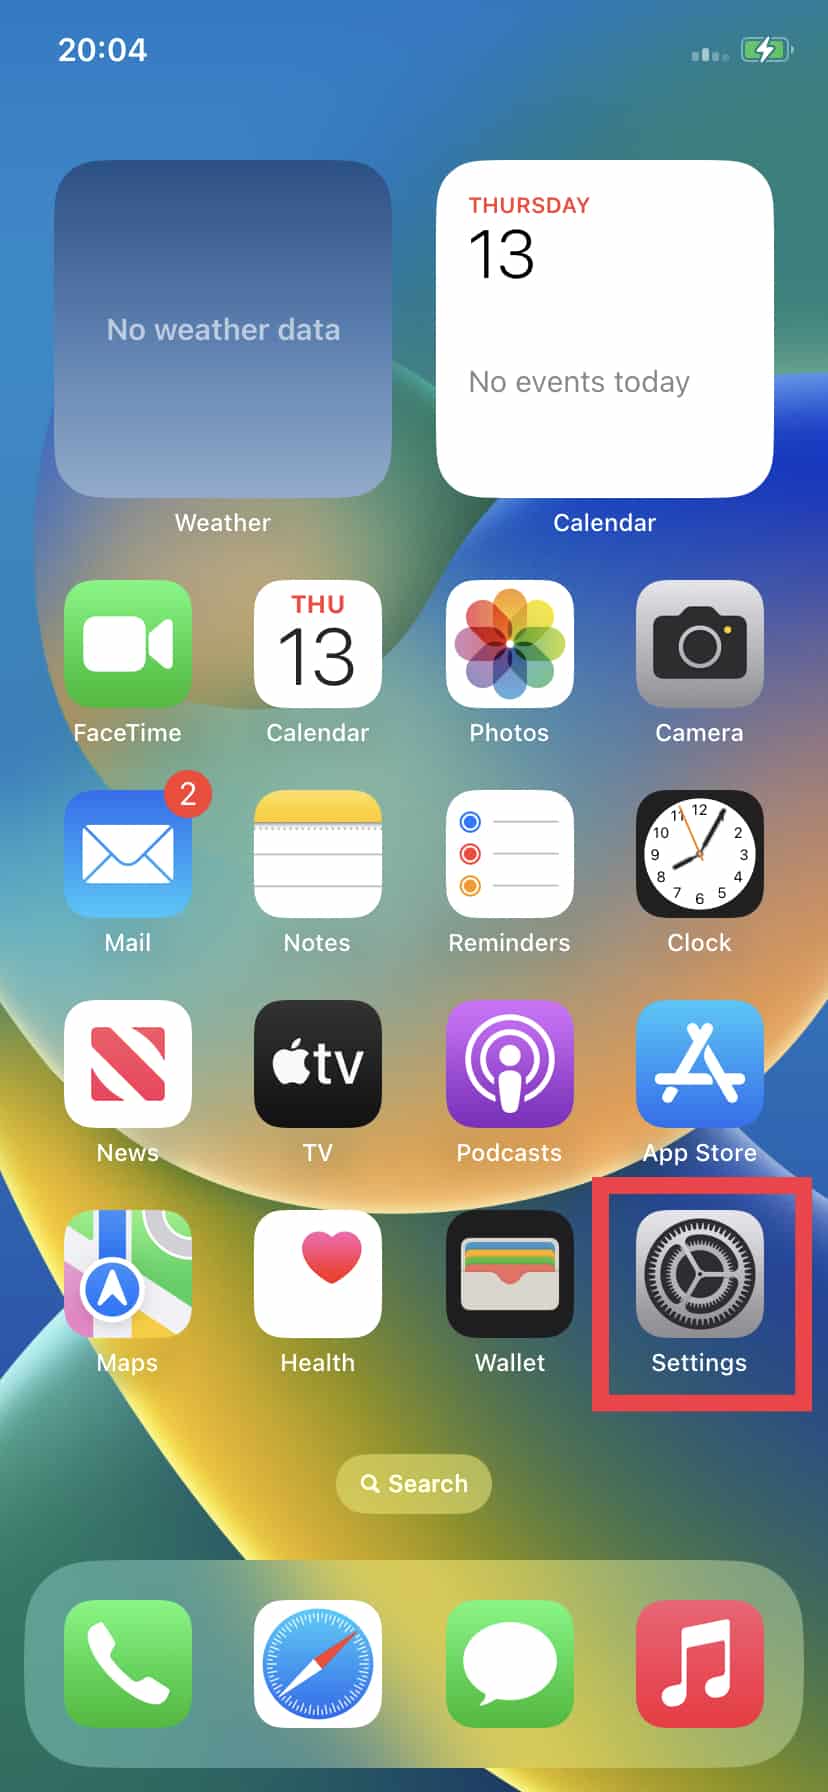
- Open the Settings app
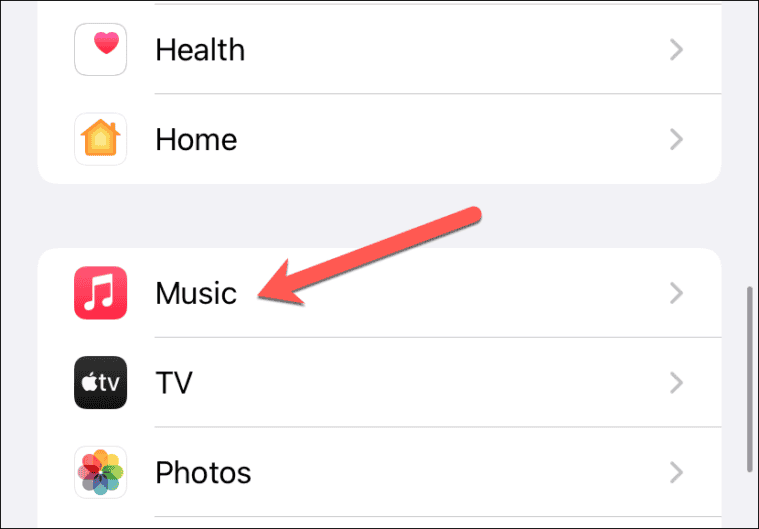
- Tap Apps, then Music
- Toggle on Sync Library


That’s it. Leave the device connected to Wi-Fi and give it some time. Large libraries don’t sync instantly.
How to Turn On Sync Library on Mac
- Open the Music app
- In the menu bar, go to Music > Settings
- Open the General tab
- Check Sync Library and click OK
You’ll see a status message like Updating Cloud Library at the bottom of the sidebar while everything syncs.
How to Turn On Sync Library on Windows
Apple Music app for Windows
- Open the Apple Music app
- Click your profile name and confirm you’re signed in
- Open Settings from the sidebar actions menu
- Go to General and turn on Sync Library
iTunes for Windows
In iTunes, Sync Library is called iCloud Music Library. The steps are similar, just under iTunes settings instead.
How to Use Your Synced Library on Other Devices
Once Sync Library is on everywhere, your library follows you. You can:
- Stream your full library on any device signed in to your Apple Account
- Access your music on music.apple.com
- Download songs for offline listening on individual devices
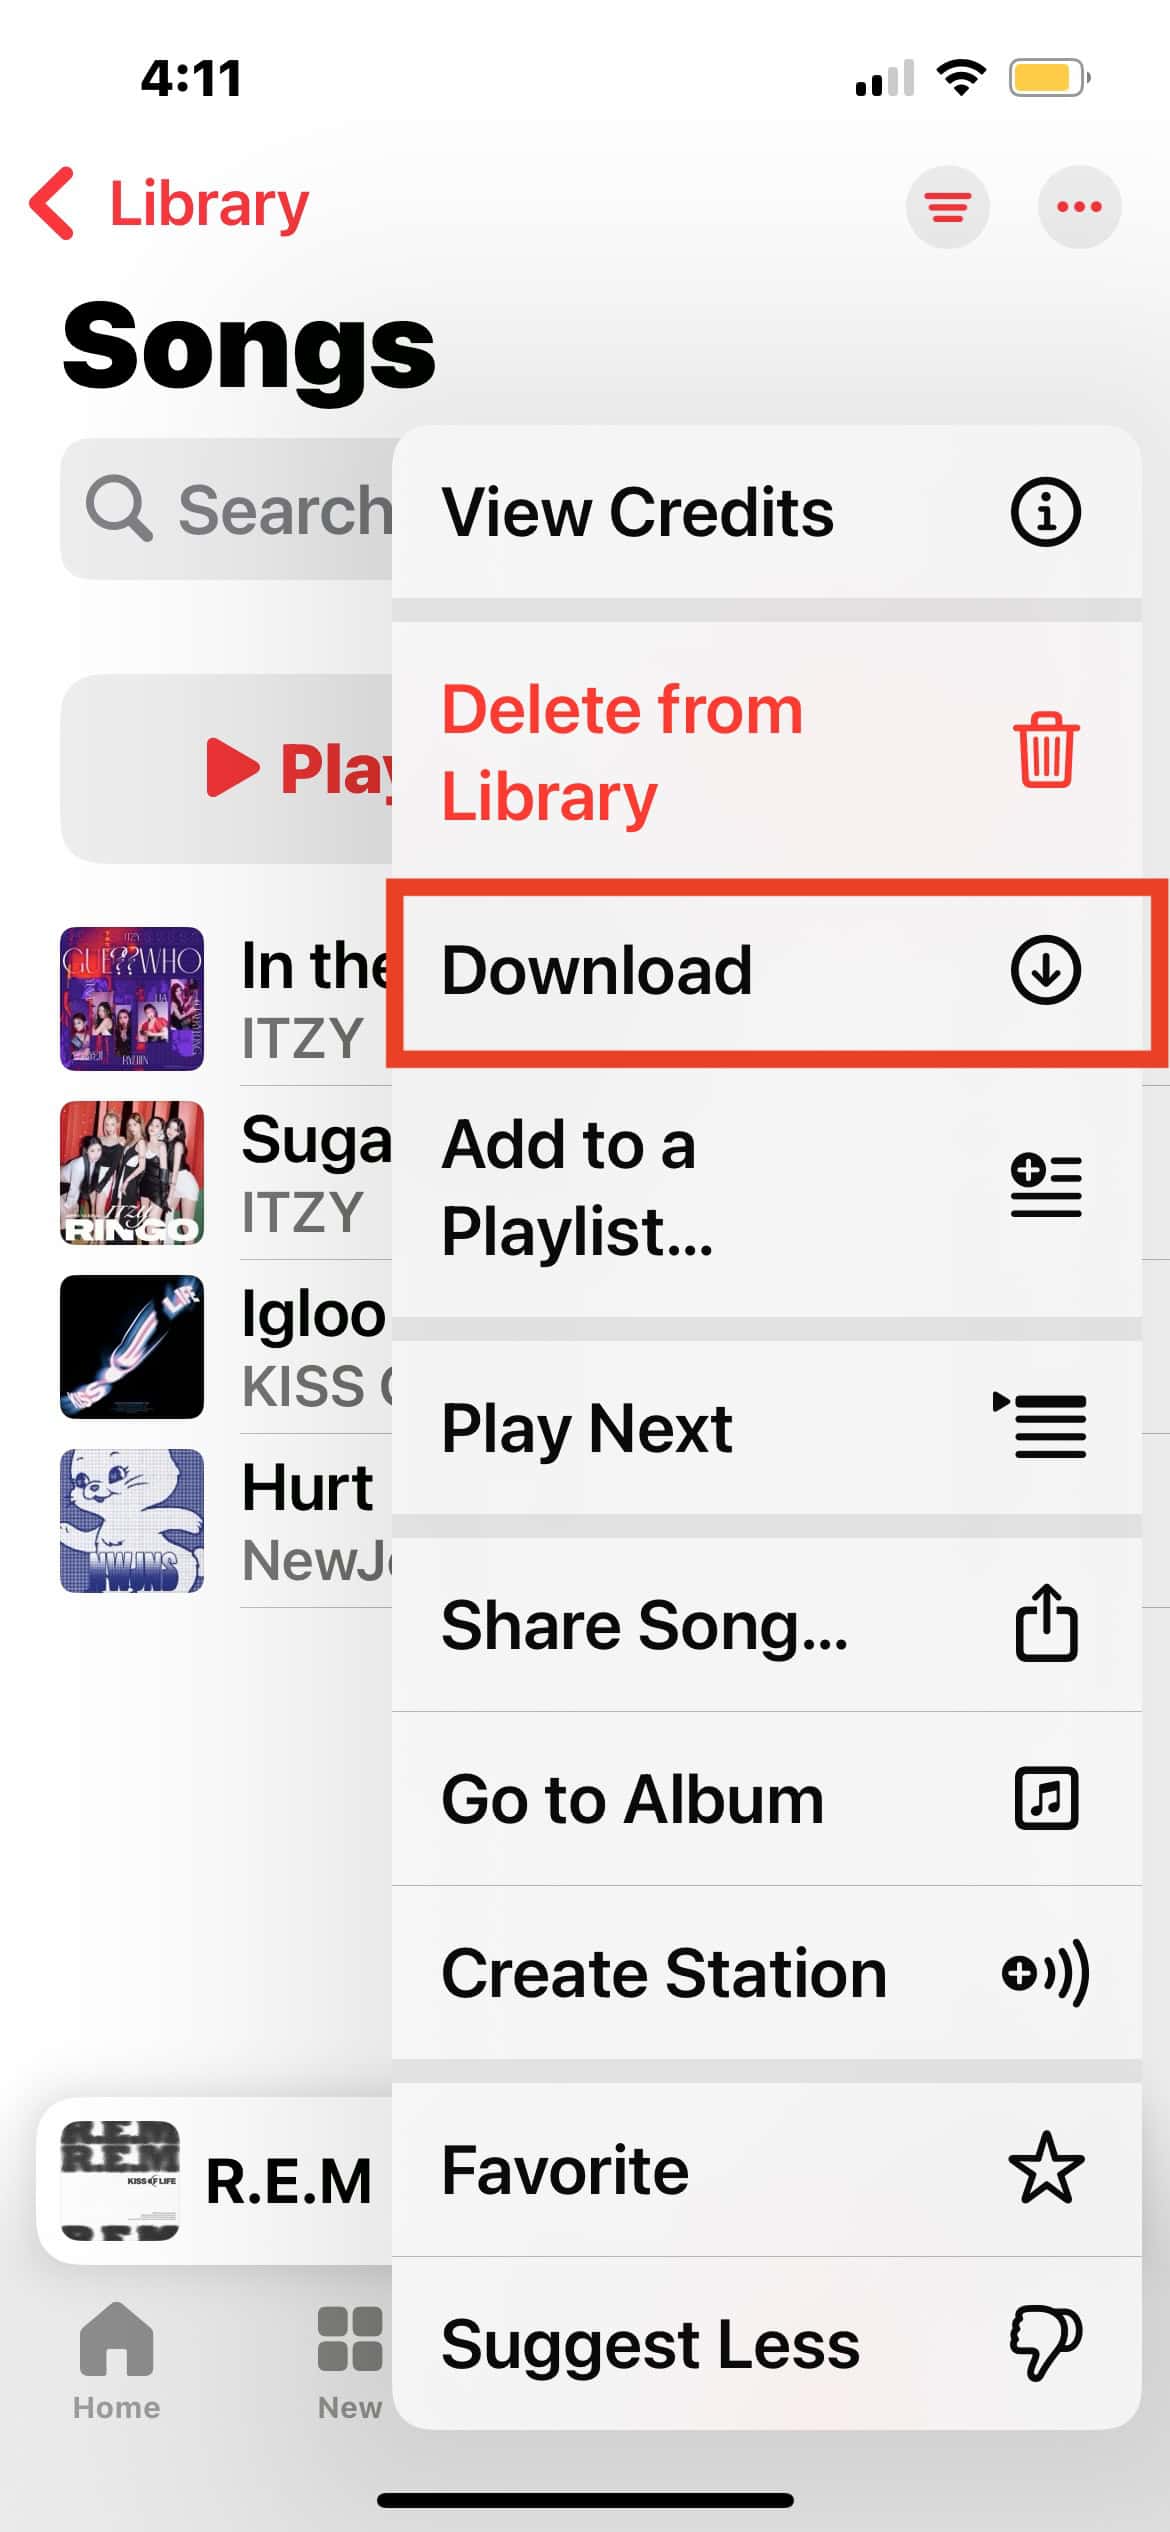

Offline downloads are device-specific, but the library itself stays unified.
What to Do If Songs Are Missing
Missing tracks usually come down to one of three things:
- Sync Library isn’t enabled on all devices
- The device isn’t signed in to the correct Apple Account
- Apple Music hasn’t finished matching or uploading your files yet
Check the sync status, stay connected to the internet, and give it time. Large libraries can take hours, sometimes longer.
Sync Library vs Manual Syncing
If you don’t want an Apple Music or iTunes Match subscription, Sync Library won’t be available. In that case, your only option is manual syncing with cables and local files. It works, but it’s old-school and device-by-device.
For most people, Sync Library is simpler and far less fragile.
One Last Important Reminder
Because Sync Library mirrors changes across devices, deleting a song deletes it everywhere. Before making big changes, back up your library. Apple Music keeps things aligned, not protected.
Once Sync Library is on and settled, your music finally behaves like it should. One library. Every device. No micromanaging required.


Discussion