
Assistive Access on an iPad simplifies the interface by limiting apps, enlarging text, and reducing on-screen distractions. It is designed for users who want a focused and easy experience, including many grandparents. Once enabled, the iPad shows only essential apps with clear buttons and straightforward navigation.
Setting it up takes a few minutes and can significantly improve usability, confidence, and daily comfort.
Don’t miss the best of The Mac Observer
Set us as a preferred source and our Apple reporting ranks higher in your Google Search results and Discover feed — one tap, no account changes.
Table of contents
What You’ll Need
Before beginning the configuration, ensure the hardware and software meet the necessary criteria.
- Compatible Device: An iPad running iPadOS 17 or later is required. If unsure about the specific model, checking a full list of all iPad generations can help verify compatibility.
- Apple ID Credentials: The setup process uses an Apple ID for recovery purposes.
- Device Passcode: The administrator must know the current unlock PIN to authorize system-level changes.
Here’s How to Set Up ‘Assistive Access’ on an iPad for Grandparents
The configuration process involves selecting the apps to display, customizing the visual layout, and securing the device against accidental changes.
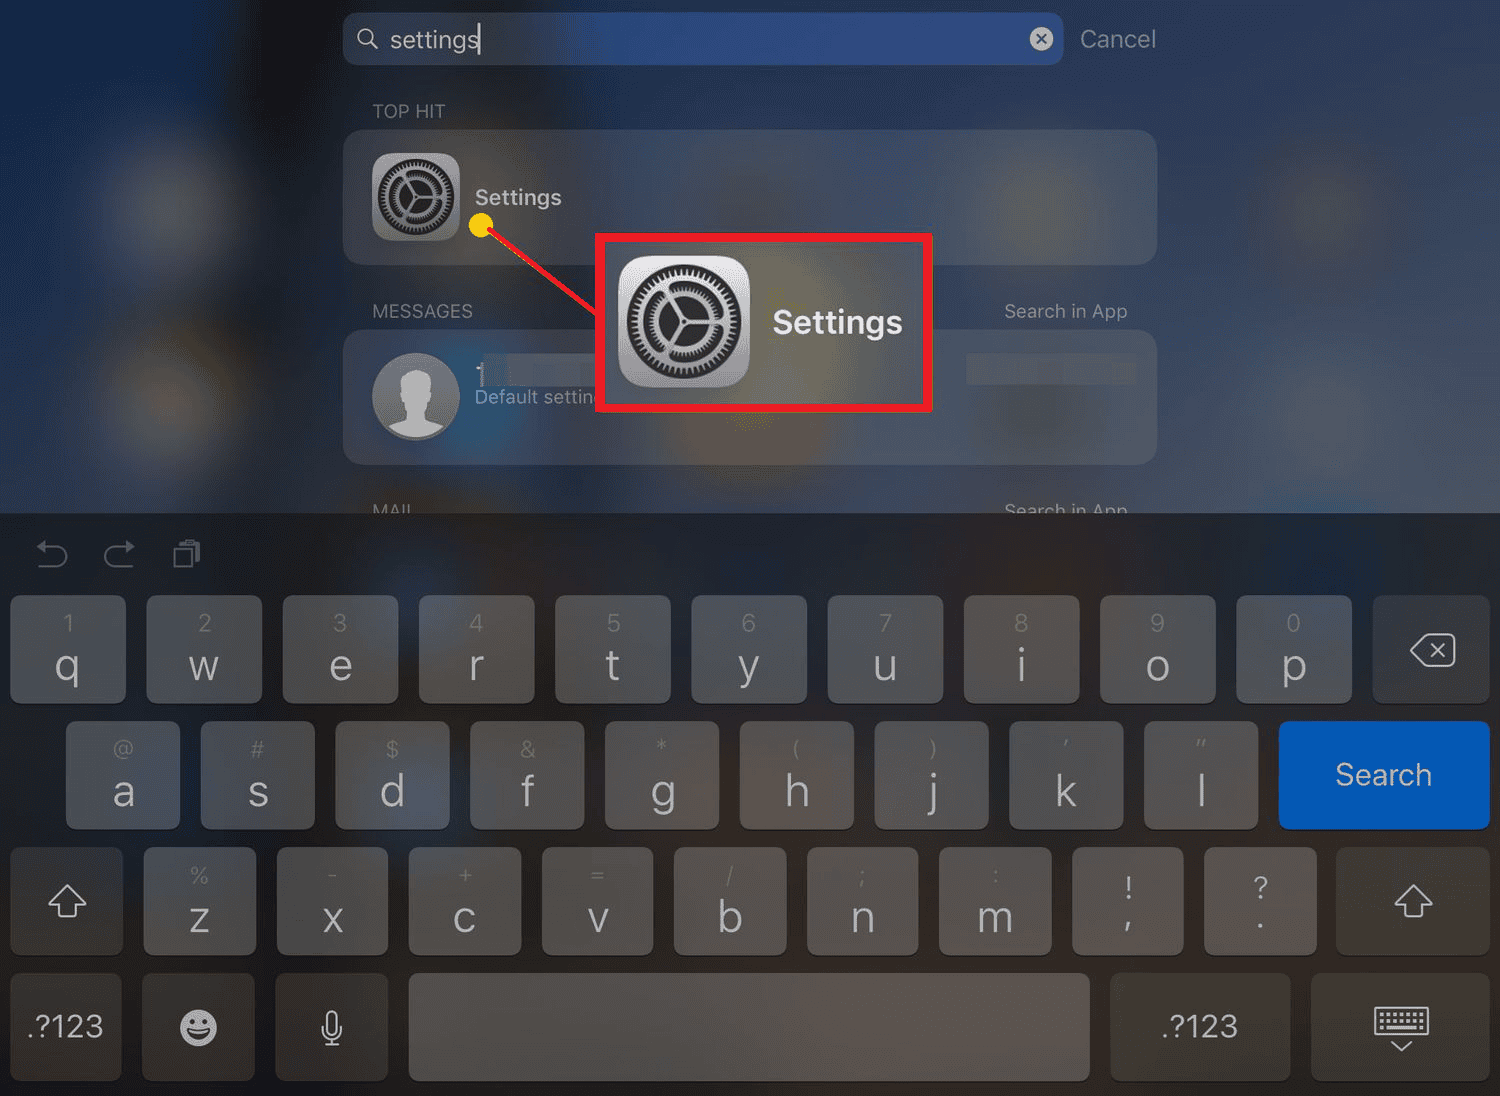
- Open the Settings app on the iPad.
- Select Accessibility from the main menu options.
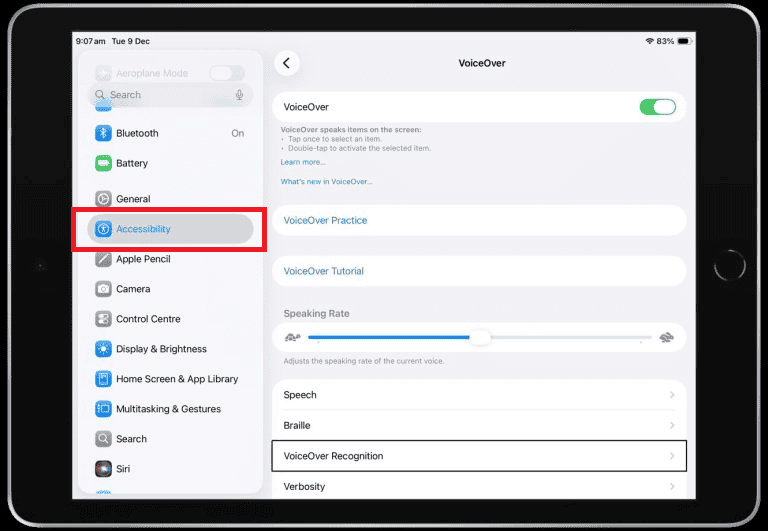
- Scroll down to the “General” section and tap Assistive Access.
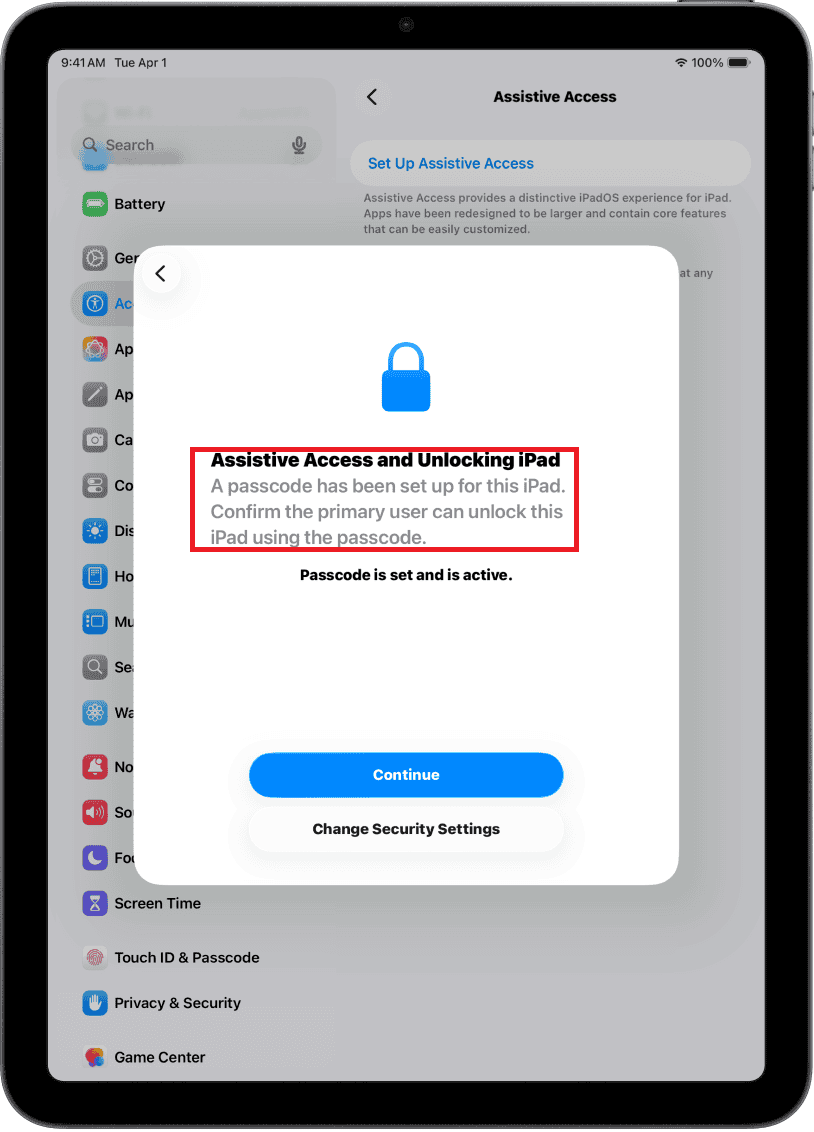
- Tap Set Up Assistive Access to launch the configuration wizard.
- Confirm the Apple ID that will be associated with the Assistive Access profile.
- Select the specific applications that should remain available, such as Calls, Messages, or Photos. It is often helpful to read stories on how the iPad has changed my life for other seniors to decide which apps are most beneficial.
- Adjust the visual layout to either “Row” or “Grid” and modify button styles if necessary.

- Create a unique Assistive Access passcode. This code is distinct from the device unlock PIN and is required to exit the mode
- Tap Start Assistive Access to activate the simplified interface immediately.


Additional Tips
- Exiting the Mode: To return to the standard iPad interface, triple-click the Top button (or Home button on older models), select “Exit Assistive Access,” and enter the passcode set in step 8.
- Battery Status: By default, the battery icon may be hidden. Enable “Show Battery Level” in the settings to ensure the user knows when to charge the device.
- Volume Controls: If physical buttons cause confusion, volume control can be locked entirely within the Assistive Access settings.
- Safety Measures: For caregivers concerned about digital safety, researching the best parental software for iMessage can help determine if further communication restrictions are necessary within the Messages app configuration.
Final Thoughts
Assistive Access removes the complexity of modern operating systems, providing a stable and consistent environment for seniors. By stripping away non-essential features, the iPad becomes a dedicated communication and entertainment device that grandparents can use independently.
This setup fosters connection and autonomy, ensuring that digital tools remain accessible to everyone regardless of technical proficiency.
Triple-click the Top button (or Home button) and enter the Assistive Access passcode established during setup.
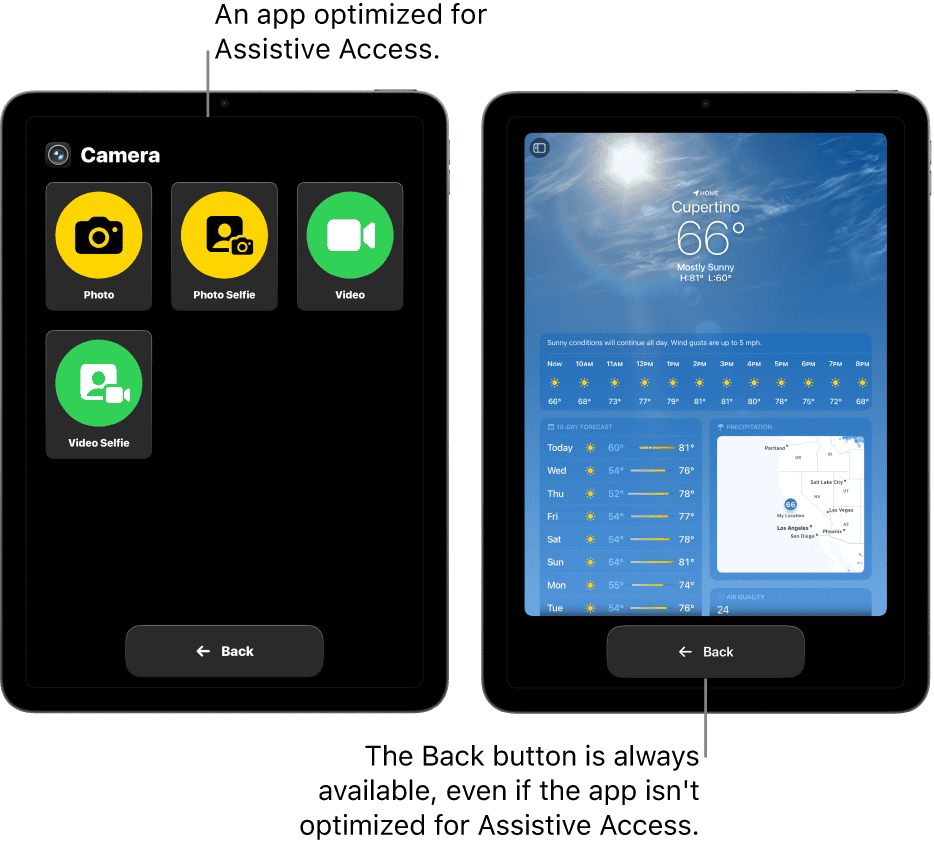
Yes, most apps function in Assistive Access. However, only Apple’s core apps (Calls, Music, Photos) offer “Optimized” layouts. Other apps display their standard interface within a simplified frame.
If a recovery Apple ID was entered during installation, it can be used to reset the passcode. Without this recovery option, the iPad may require a factory reset.
Is this feature available on iPhone?
Yes, Assistive Access is available on iPhones running iOS 17 or later.


Discussion