
You can easily manage which apps can use your iPhone or iPad’s camera through the Settings app. But what if a website in Safari needs to use the camera? Many web-based services and government websites may need access to your camera for capturing pictures and videos. Here’s how to enable and use the webcam in Safari on iOS and iPadOS.
How to Enable the Webcam in Safari on iOS and iPadOS
Time needed: 1 minute
Any website that requires you to use your iPhone or iPad’s camera will automatically prompt you to allow the necessary permissions. However, in case the prompt doesn’t appear on your device or you tapped on Cancel, you can enable the webcam manually by following these steps:
- Locate and open Safari on your iPhone or iPad.
- Tap the website menu icon
 in the address bar.
 - Tap the three-dot icon in the menu that appears.
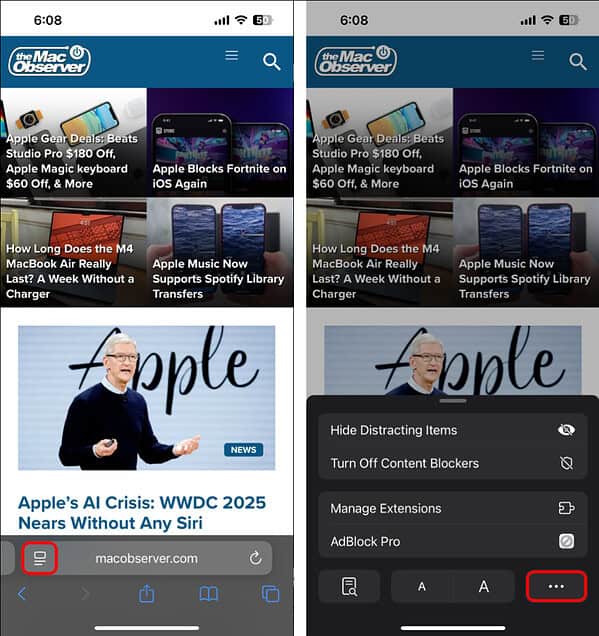
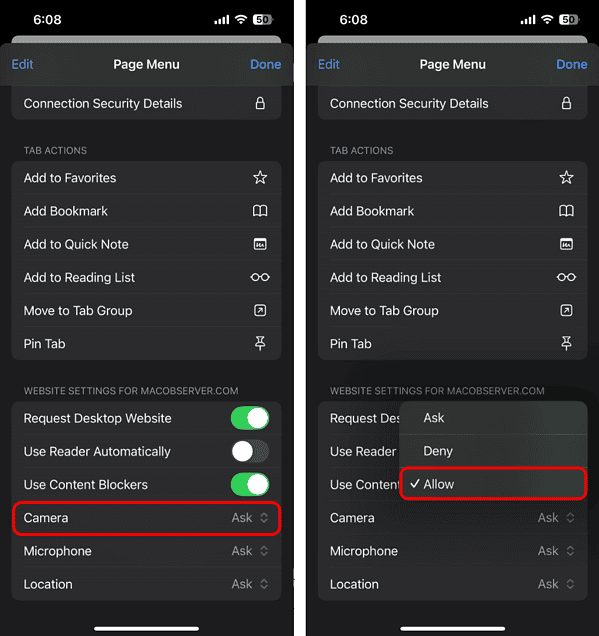
- Now, scroll down and tap the option for Camera.
- Tap Allow to grant the website camera access.

How to Manage Camera Permissions for Websites
Once you enable the camera permissions for multiple websites in Safari, it can be difficult to keep track of which websites have access to your webcam and which ones don’t. Fortunately, Apple offers a way to check and manage camera permissions for websites from the Settings app on your iPhone or iPad.
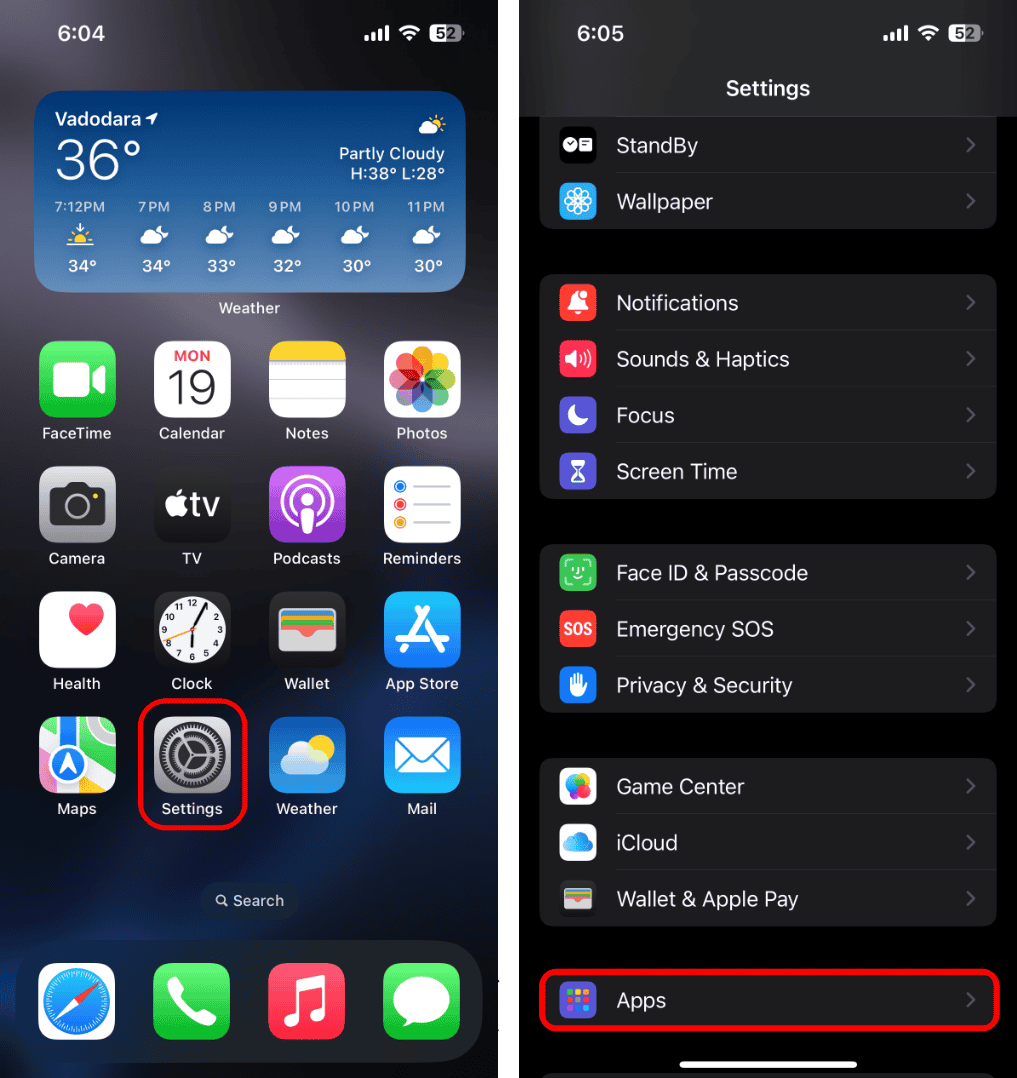
- Open the Settings app on your iPhone or iPad.
- Scroll down and tap Apps.
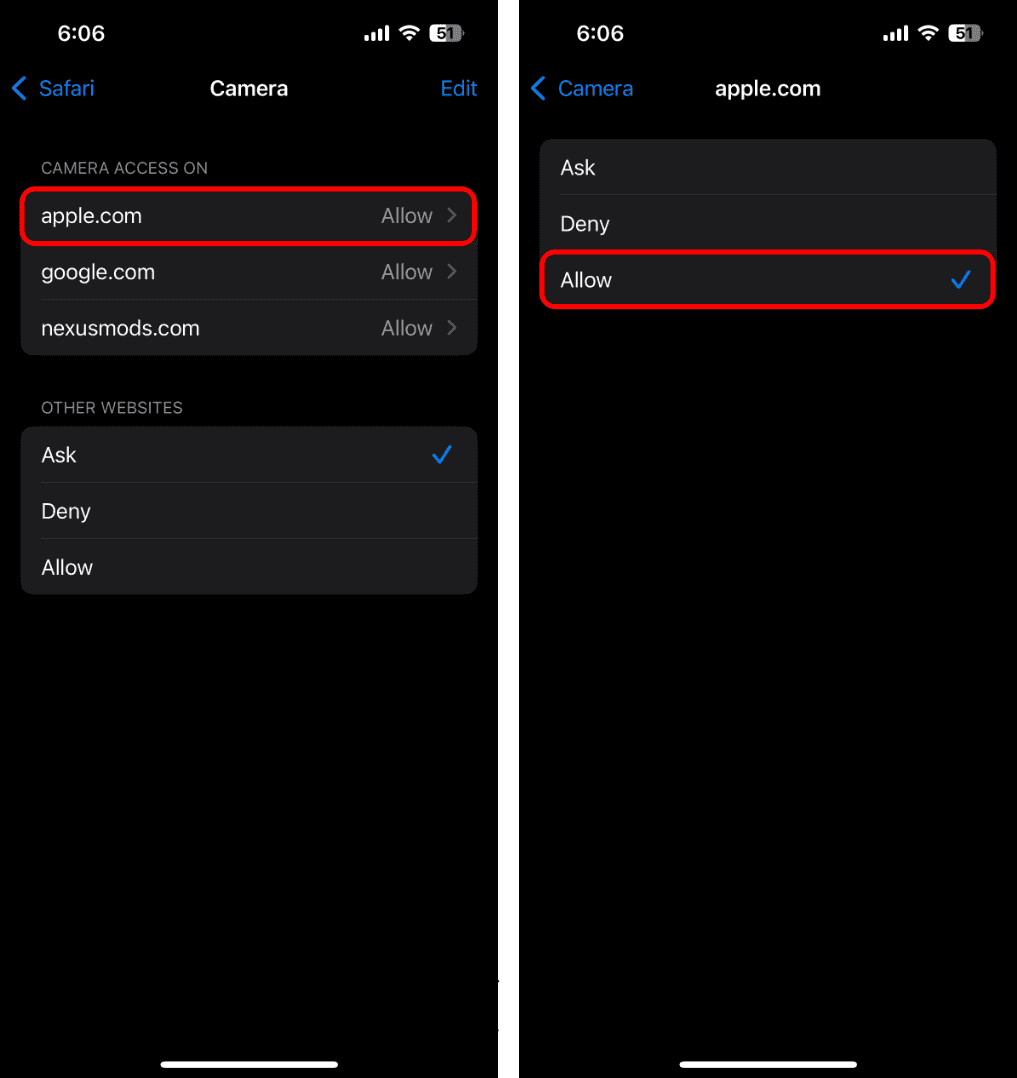
- Select Safari, scroll down and tap Camera.
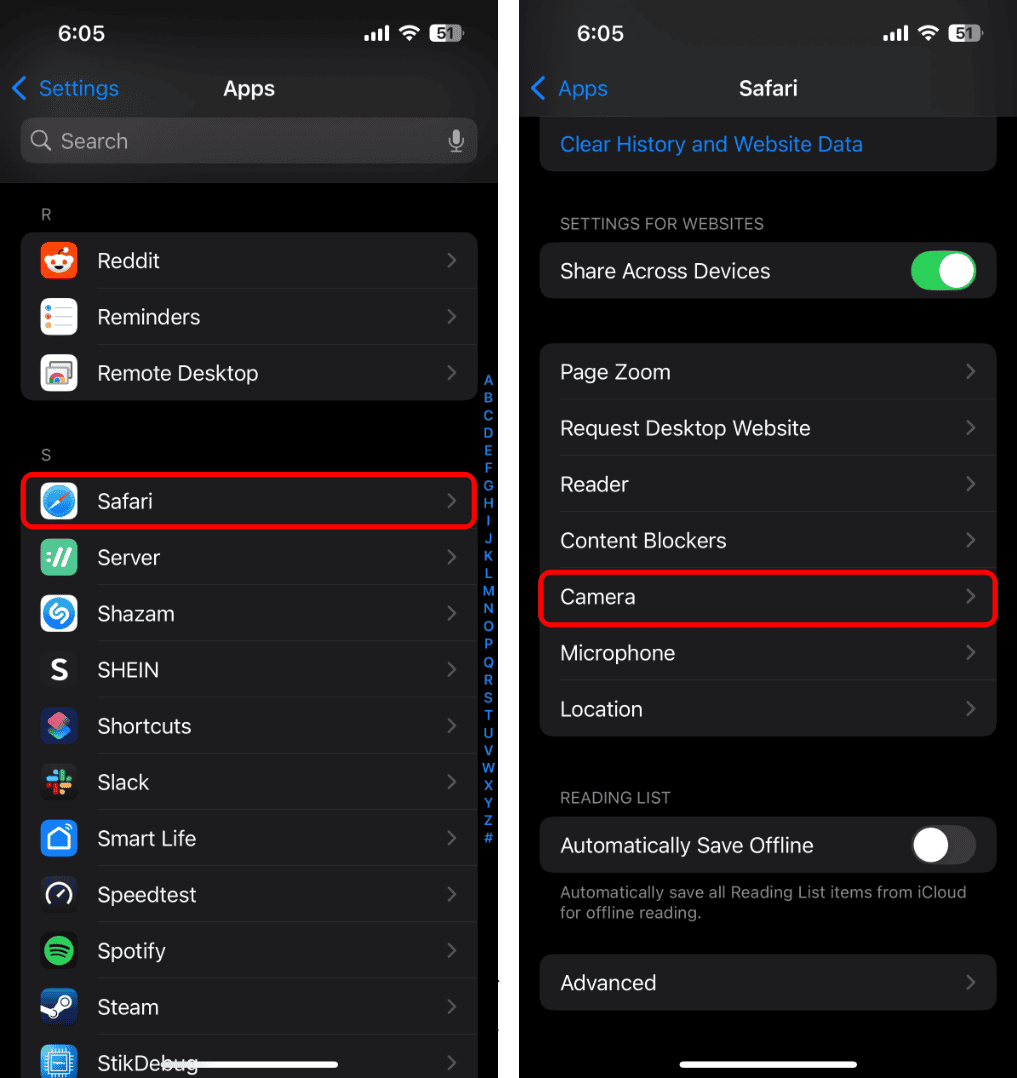
- Tap any website, then tap Enable. (Or tap Deny to block camera access)


Hi:
On my iPhone 16 Pro Max, iOS 18.6.2 doesn’t allow me to “Tap any website” (step 4A).