

AirPods typically updates its firmware automatically as long as it’s fully charged and connected to the internet. Although convenient, this setup leaves users guessing if their headphones were updated or not. Thankfully, Apple has now officially updated its support page, providing us with clear steps on how to do the process manually. Here’s what you should know.
How to Update AirPods and AirPods Pro Firmware
 NOTE
NOTE
Time needed: 30 minutes
Firmware updates on your AirPods are downloaded and installed wirelessly when they are charging and placed near an iPhone, iPad, or Mac connected to Wi-Fi. Here are the exact steps you’ll need to follow:
- Turn on the Bluetooth and Wi-Fi on your iPhone, iPad, or Mac.
- Place your AirPods inside the charging case and close the lid.
- Plug a cable into your AirPods case and connect it to power.
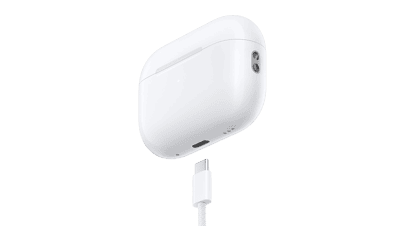
- Wait for 30 minutes to download and install the firmware update.
- Reconnect AirPods to your iPhone, iPad, or Mac by opening the lid.
- Check the firmware version again to make sure it has been updated.

How to Update AirPods Max Firmware
The steps to update AirPods Max are very similar to that of other models. Here’s what you need to do:
- Turn on the Bluetooth and Wi-Fi on your iPhone, iPad, or Mac.
- Plug a cable into the right earphone and connect it to power.
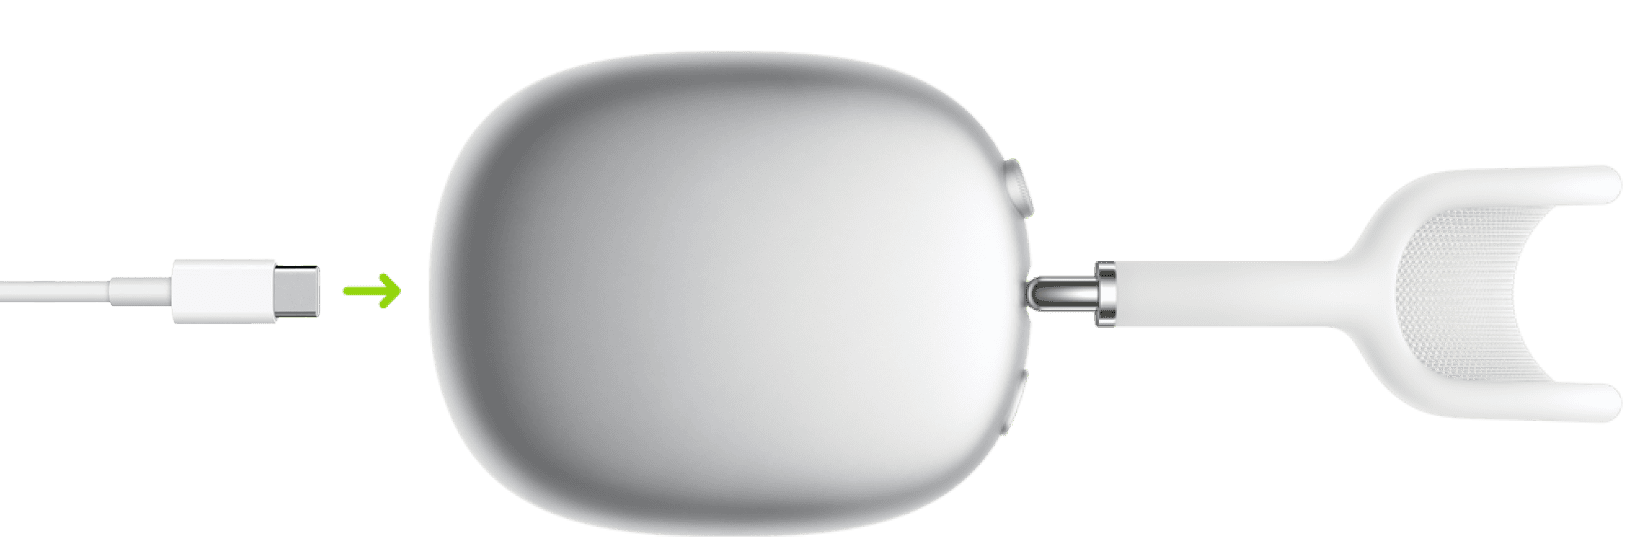
- Wait for 30 minutes to download and install the firmware update.
- After that, reconnect your AirPods Max to your iPhone, iPad, or Mac.
- Check the firmware version again to make sure it has been updated.
 NOTE
NOTE
Don’t miss the best of The Mac Observer
Set us as a preferred source and our Apple reporting ranks higher in your Google Search results and Discover feed — one tap, no account changes.


