Maybe you know this, maybe not, but Apple Watch can track your workout details such as splits, heart rate, and route. When enabled, your Apple Watch can even offer route tracking for your running or cycling activity.
Let’s take a look into how you can make the most of the Apple Watch route tracking feature, whether you are running, cycling, or walking.
How to Enable Apple Watch Route Tracking
After completing a workout with your Apple Watch, you can review your workout history. To do this, simply open the Fitness app on your iPhone and tap Summary > Workout. From here, you can view your workout summary. To view more details about each item, tap Show More next to each item.
One of the details that you can view is the route taken. To do this, however, you must first enable Route Tracking. You can do this when you set up your Apple Watch or any time later.
To enable Route Tracking on your iPhone, go to Settings > Privacy & Security > Location Services > Apple Watch Workout > While Using the App.

To enable it on your Apple Watch, go to Settings > Privacy & Security > Location Services > Apple Watch Workout > While Using App.
Using Route Tracking for Your Workouts
Once you enable route tracking, the Apple Watch workout app will start tracking your route when you do moving exercises such as running, cycling, or walking. For example, if you want to see a route map of your last running activity, follow the steps below.
- Open the Fitness app on your iPhone.
- Tap Show More next to Workouts.

- Select the workout you want to view.
- Tap Show More opposite Workout Details.

The route map for your last running, walking, or cycling activity will be displayed. The feature also gives you the total distance you’ve covered. Aside from the route map, the Workout Details show Elevation Gain, Heart Rate, and Average Speed.
On your next workout, you can try to beat the previous workout using the route tracking feature.
Beginning a Saved Workout With Route Tracking
Time needed: 1 minute
Here is how you can start a workout on your Apple Watch using a saved route from Route Tracking.
- On your Apple Watch, open the Workout app
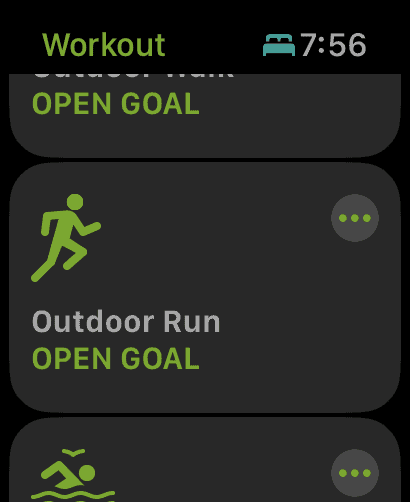
- Select the workout you want to follow, then tap the three dots (…) in the upper right corner.
- Select your desired route from the list.
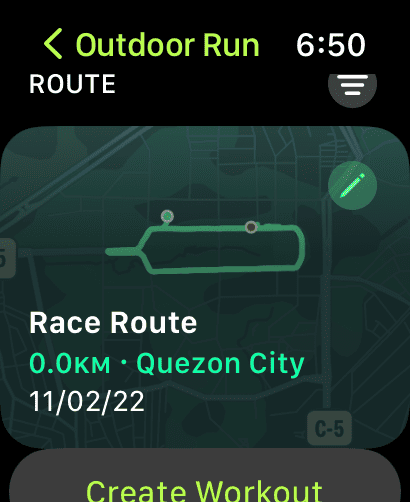
- Tap Create Workout, then begin your workout.


Once the workout starts, your Apple Watch will prompt you for the remaining distance and also tells you whether you are ahead or behind the target workout.
What to do If Apple Watch Doesn’t Track Your Route
Here’s a quick fix when your Apple Watch doesn’t save your workout route.
- Open the Watch app on your iPhone
- Go to My Watch > Privacy > Motion & Fitness
- Check that both Fitness Tracking and Heart Rate are enabled


Additionally, you need to turn on Location Services on your iPhone. To do this, simply go to Settings > Privacy & Security > Location Services
I hope this guide clarifies your questions about the Apple Watch Route Tracking feature and helps you make the most of it when pursuing your fitness goals.


