
Because I never seem to have enough iCloud storage, I learned how to reduce the file size of photos on my iPhone. Here’s how you can keep your photos small and your storage large.
How Do I Reduce the File Size of an iPhone Photo?
1. Reduce Photo Size in iPhone Settings
Time needed: 2 minutes
Don’t miss the best of The Mac Observer
Set us as a preferred source and our Apple reporting ranks higher in your Google Search results and Discover feed — one tap, no account changes.
Follow these simple steps to reduce iPhone pictures in Settings:
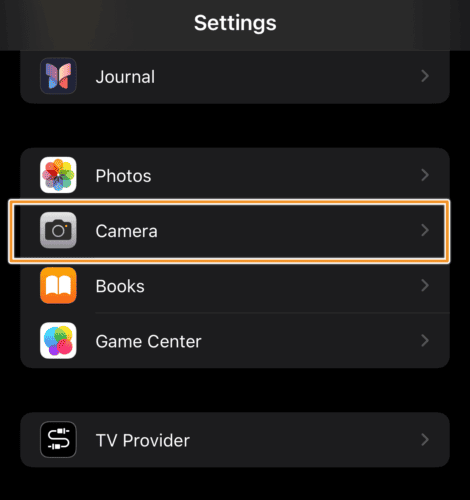
- On iPhone, open Settings > Camera.
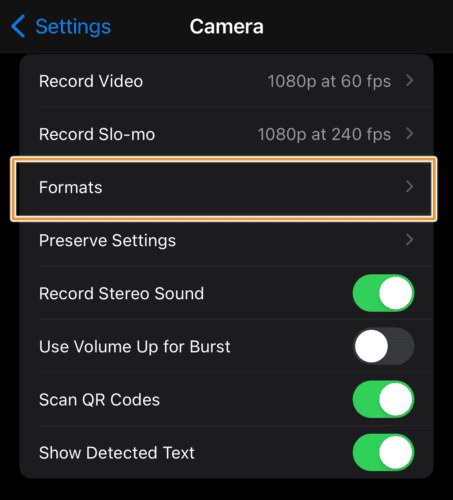
- Next, tap on Formats.
- Choose High Efficiency.
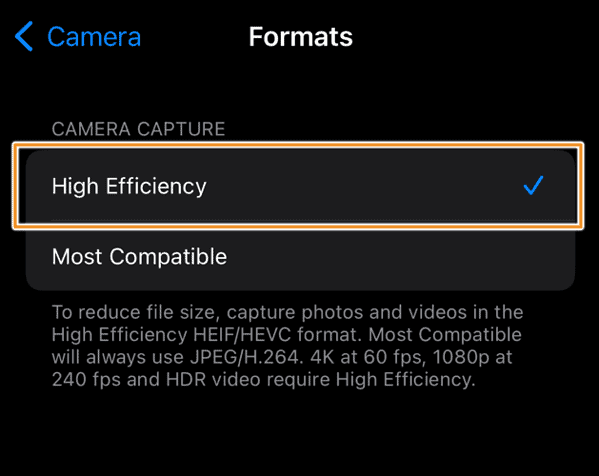


With this option, you can take pictures at the smallest photo size without compromising on quality.
2. Directly Reduce iPhone Picture Size When Sending in Mail
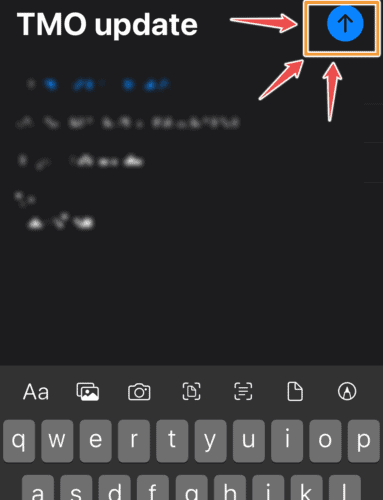
- Open Mail and tap the compose icon on the bottom right corner.

- Compose an email with the Recipient, Subject, and Body.
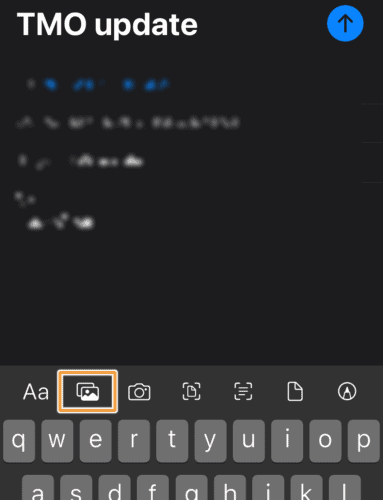
- Tap the gallery icon to access photos.
- Select several photos and tap the send arrow at the top right corner of the screen.
- On the pop-up menu, select the appropriate size.
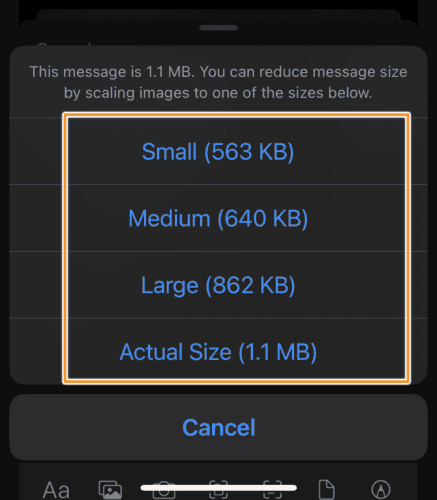
Small– This size may be too small to be useful.
Medium– This photo size is small.
Large– This represents half of the image size.
Actual– This represents the actual picture size without compression. - To retain the picture, simply re-download the compressed photo from the email.


3. Make iPhone Pictures Smaller With Photos App
On iPhone, use the Photos app to crop, resize, adjust, and edit the image. Whether you’re sending or receiving pictures, simply tap on the image you’d like to adjust and tap Edit. On Mac, use the Preview app to edit images.


Discussion