
Apple Mail’s recent updates have made it a popular choice for iPhone users, but one frustrating error keeps popping up: the “message not downloaded from server” notification. You may see it for several reasons, such as misconfigured device settings, iOS update bugs, limited storage space, poor internet connectivity, or Mail app glitches.
Tracing the root cause could take a while. If you need to access your urgent emails and don’t have time for extensive troubleshooting, here are some fast, effective solutions that have worked for me before.
How to Fix Errors With Messages Not Being Downloaded From the Server
1. Turn Off Mail Privacy Protection
Time needed: 3 minutes
Privacy Protection hides your IP address and stops others from seeing where you are. Although it’s useful for safeguarding personal data, it also stops Mail from downloading messages. Disable this feature while troubleshooting—here’s how:
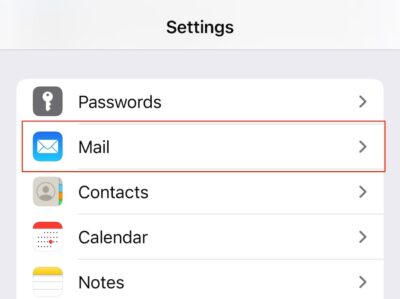
- Open the Settings app and go to Mail.
- Scroll down to the Messages section and select Privacy Protection.
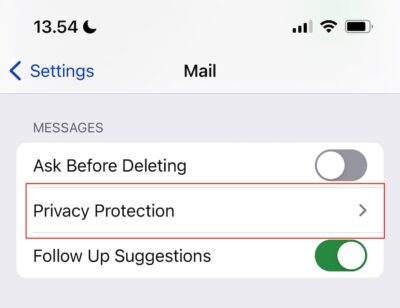
- Toggle Protect Mail Activity off.


 NOTE
NOTE
2. Fetch New Data Automatically
I recommend allowing your iPhone to fetch new data for the Mail app automatically. That way, your device constantly checks for new emails every time it’s connected to the Wi-Fi or is charging.
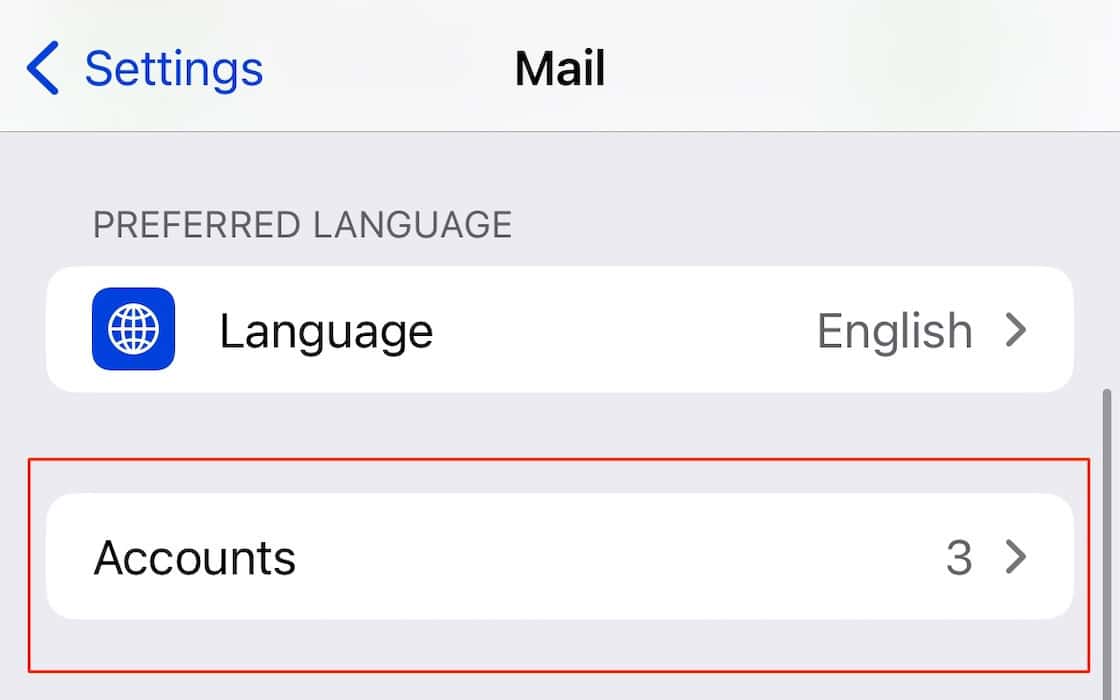
- Go to Settings > Mail and select Accounts.
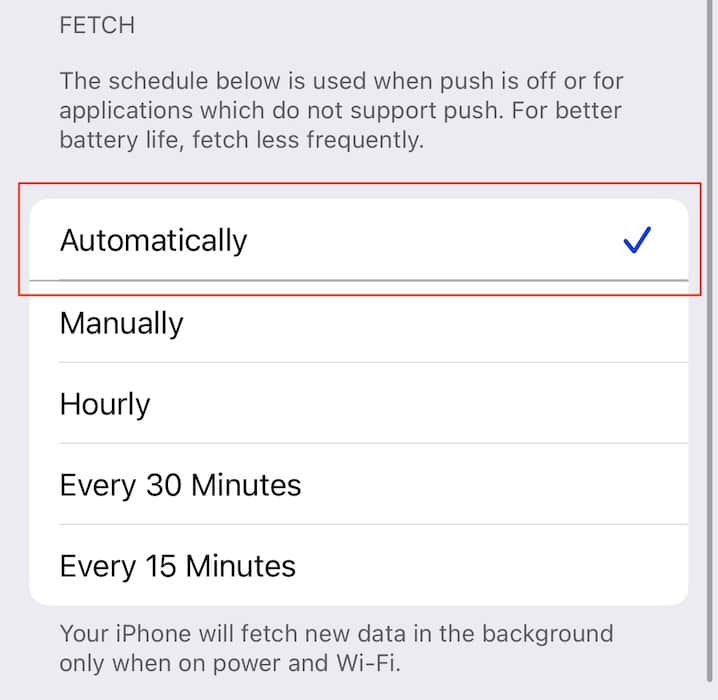
- Open the Fetch New Data tab.

- Under Fetch, tap Automatically.


After configuring your fetching features, switch all your Mail accounts from Push to Fetch. These steps will help you do that:
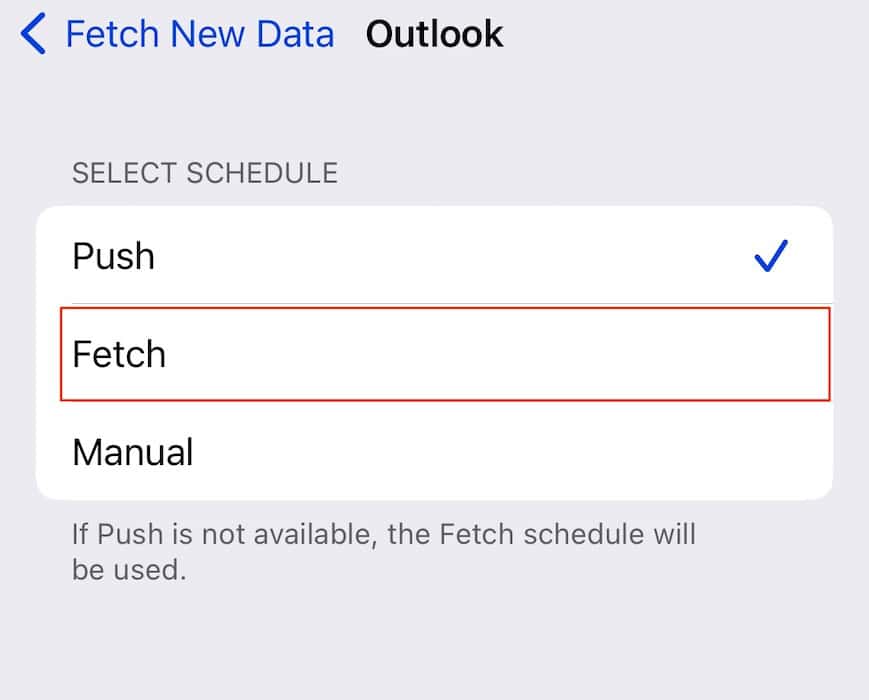
- In Settings > Mail > Accounts > Fetch New Data, open your logged in accounts one by one. For example, you see Outlook at the top of mine.
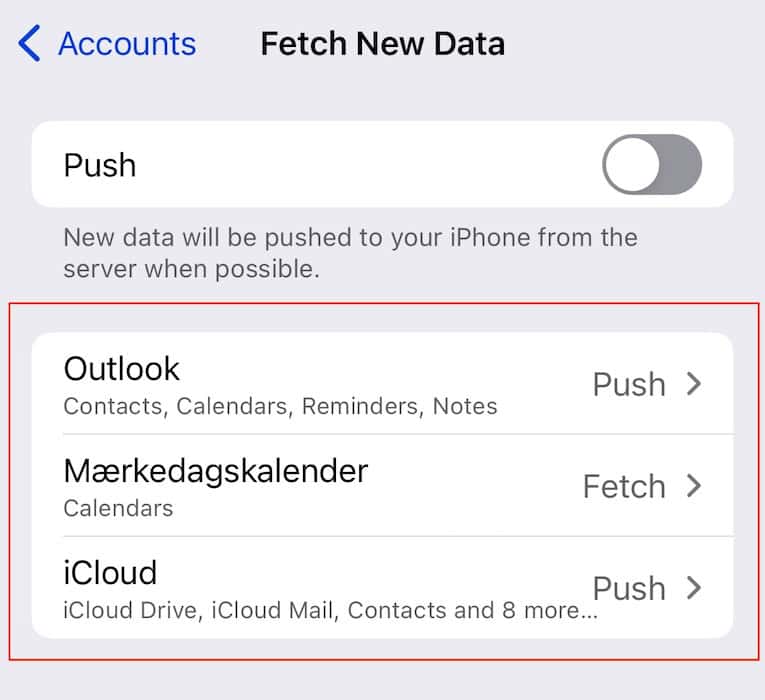
- Under Schedule, change Push to Fetch.


3. Check Your Available iPhone Storage
Check your iPhone storage and delete everything you don’t need—the Mail app might have simply run out of free space. Here’s how to see what’s consuming your device’s memory:
- Open the Settings app and select General.
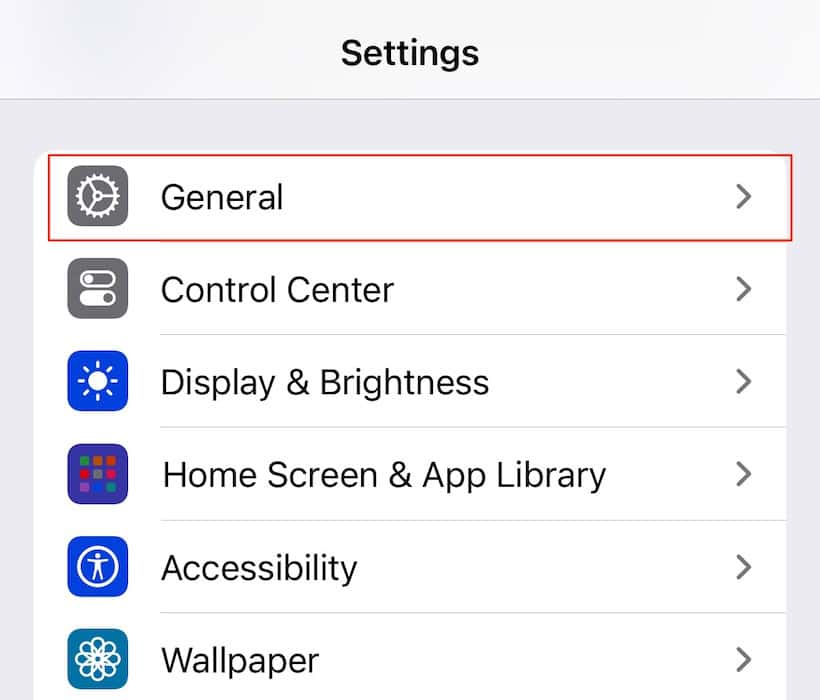
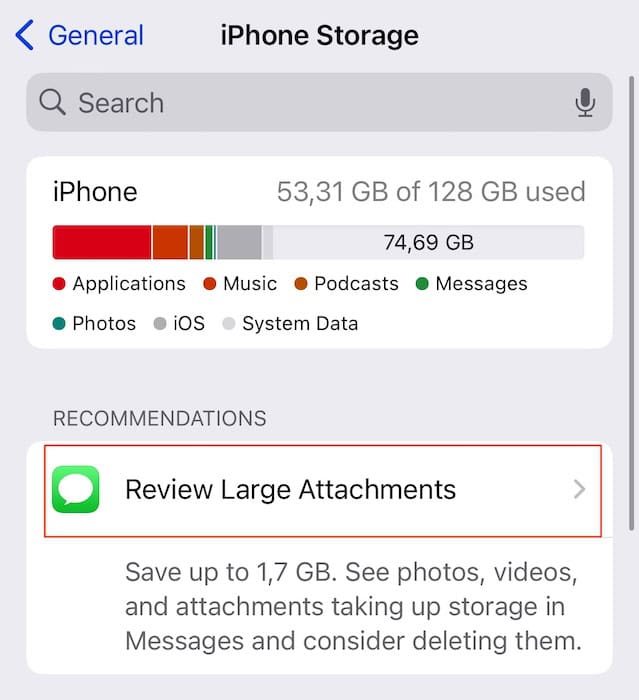
- Tap the iPhone Storage tab.
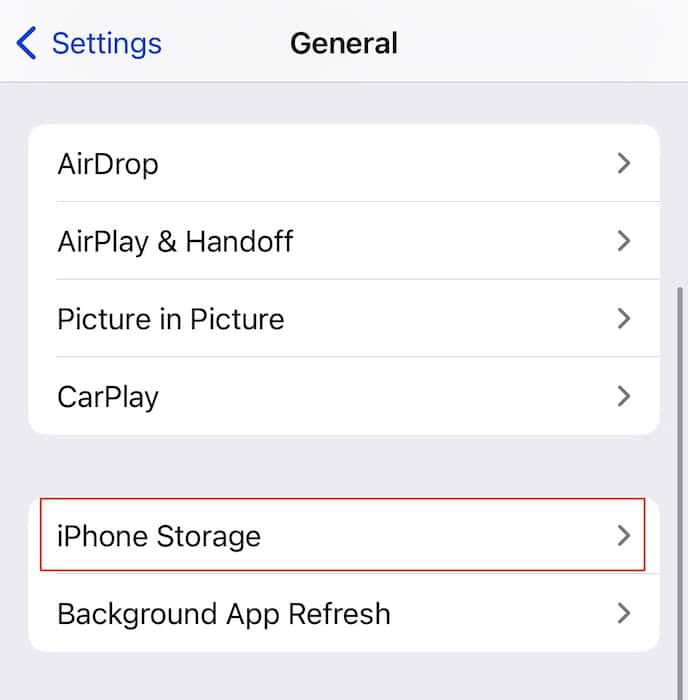
- At the top of your screen, you’ll see how much space you’ve got and what’s consuming the most memory. I’d recommend starting with the Review Large Attachments tab and removing anything you no longer need. You may also want to read more about why your iPhone messages are taking up so much space.
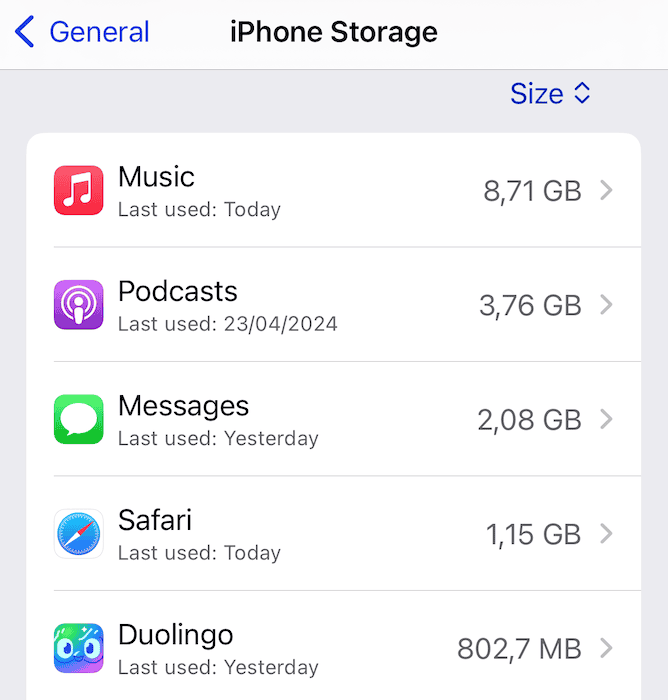
- After reviewing your largest attachments, scroll down and look through your downloaded apps.
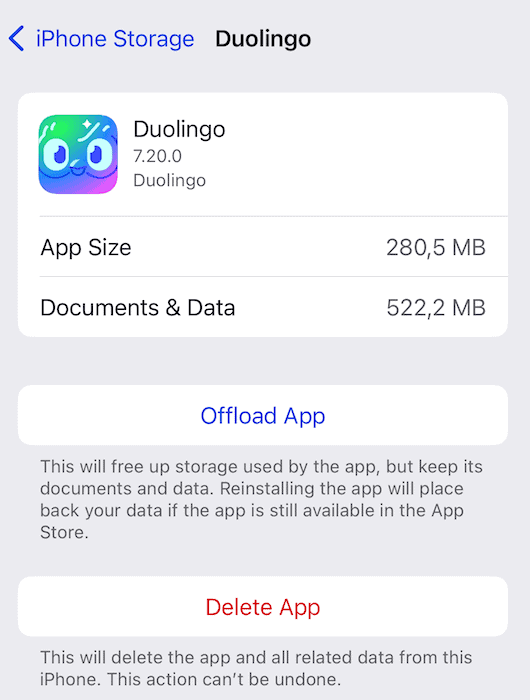
- Tap on any apps that you want to remove and select Delete App or Offload App.


4. Try a Different Network Connection on Your iPhone
A bad network connection is one of the most common culprits behind several glitches and bugs with the Mail app. Switch between Wi-Fi and cellular data when troubleshooting.
If you’re on a Wi-Fi network, you have three options:
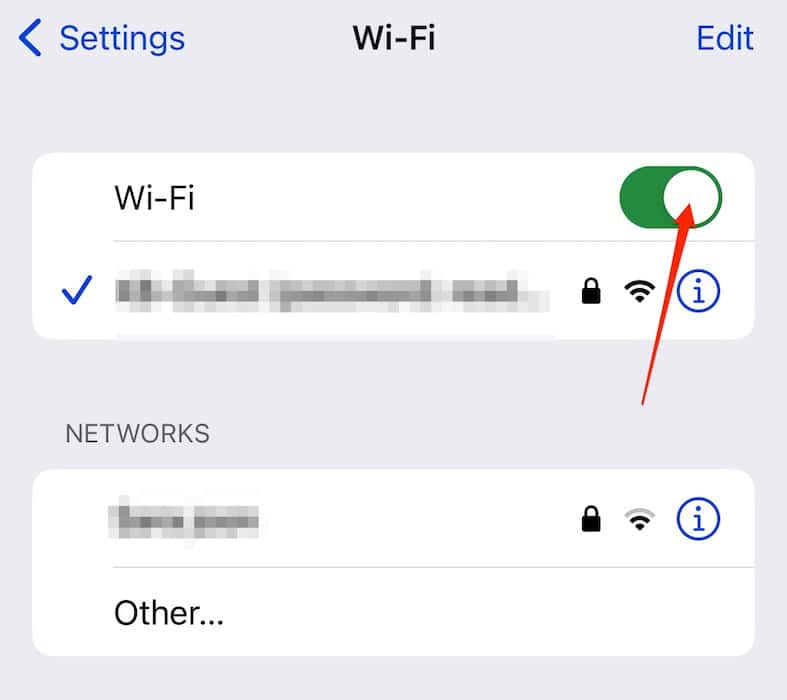
- Try connecting to the Mail app with your cellular data. Go to Settings > Wi-Fi and toggle Wi-Fi off.
- If possible, use a different Wi-Fi network.
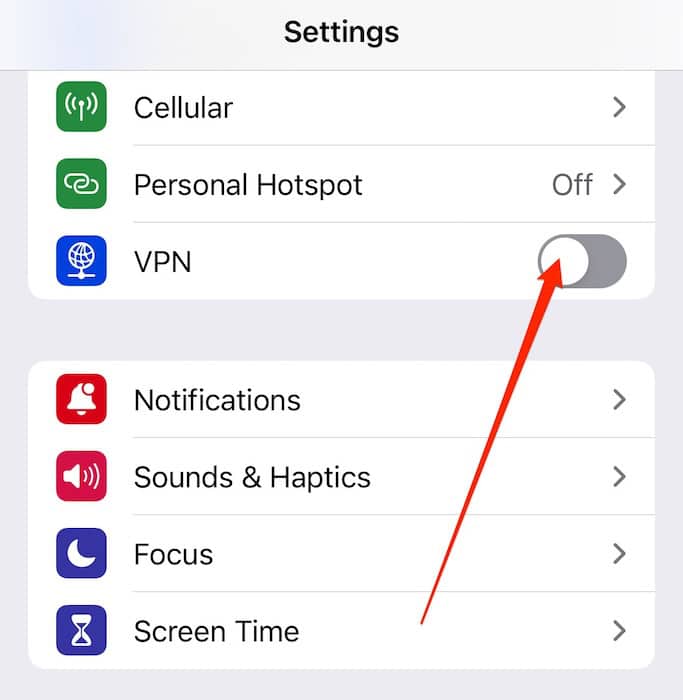
- Disconnect from your VPN. Toggle off VPN in your Settings app.


If you’re on your cellular network, I’d recommend one of the following:
- Connect to a Wi-Fi network.
- Disconnect from your VPN.
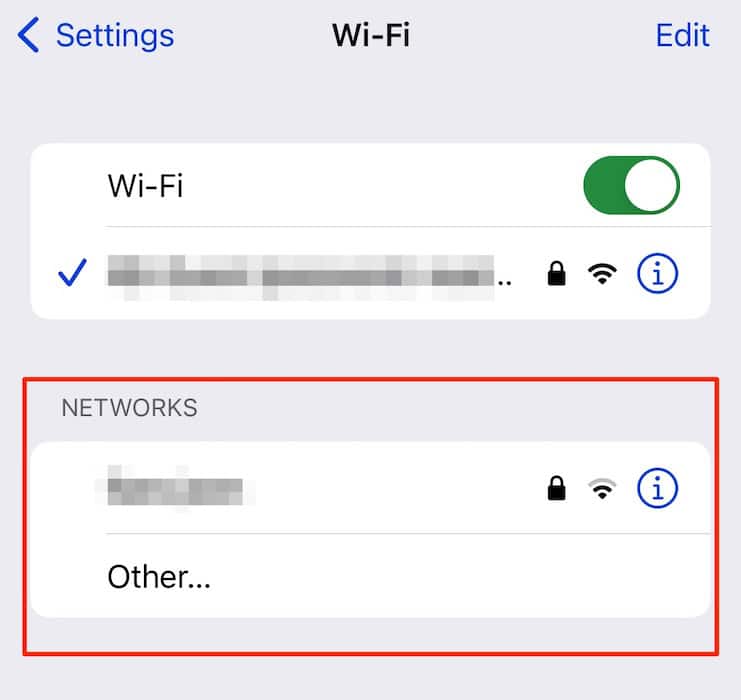
To choose a different Wi-Fi network or connect to a new one, follow these steps:
- Go to Settings > Wi-Fi.
- Wait for the list of Wi-Fi networks to load and choose another one. If necessary, enter the network’s sign-in details.

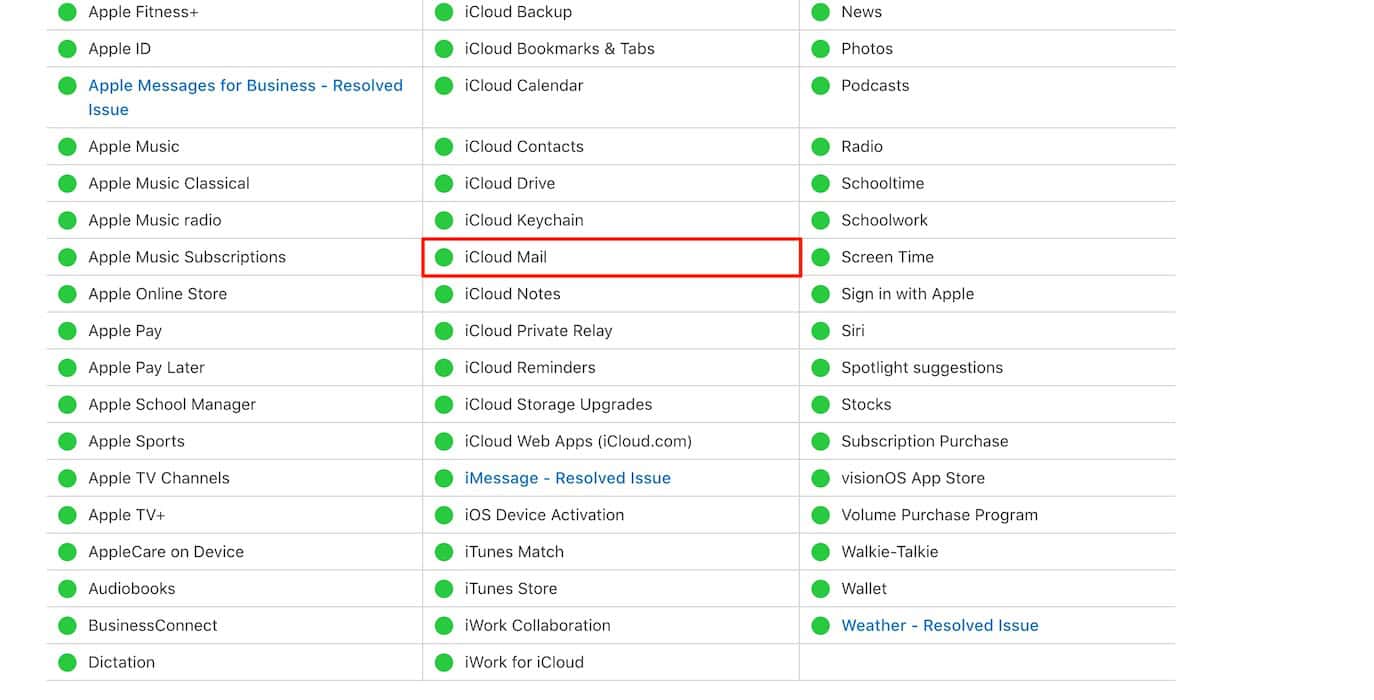
5. Check Apple’s System Server Status (for iCloud Mail)
Apple’s servers will impact whether you receive messages if you use iCloud Mail. You can quickly check the iCloud Mail server status by following these instructions:
- Go to the Apple System Status website.
- Check to see if iCloud Mail has a green dot next to it. If it does, you shouldn’t have problems retrieving mail from the server. But if the dot isn’t green, you’ll have to wait until Apple’s technicians have fixed the problem.

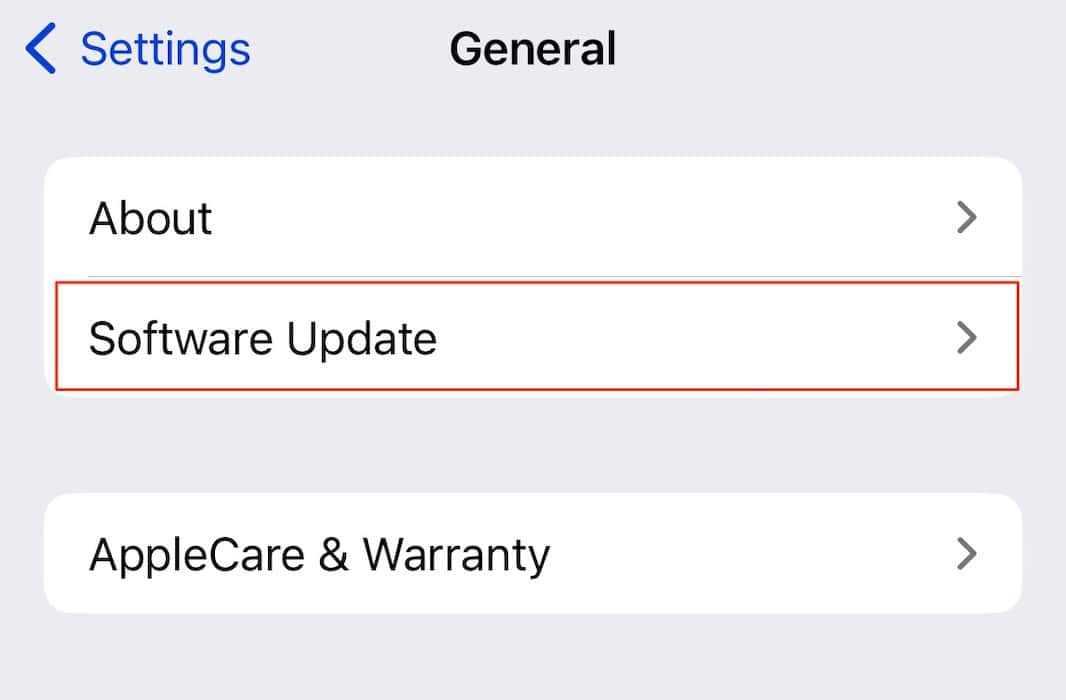
6. Look for an iOS Software Update
If you don’t use iCloud Mail, or the server status has a green dot, updating your iPhone software can patch the problems you’re experiencing. Follow these instructions to download the latest iOS version.
- Go to Settings > General > Software Update.
- If you see a software update, select Update Now.
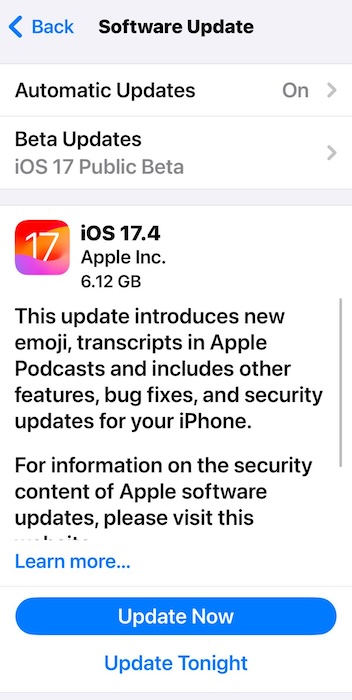
- Wait for your iOS software to download. Then, re-open the Mail app and try fetching your emails.


7. Restart Your iPhone
Although seemingly simple, a quick reboot can fix a lot of minor bugs and glitches.
Here’s how to restart an iPhone 8 or newer model:
- Press and hold the standby button and one volume button.
- Wait for slide to power off to appear and move the slider.

- Hold the standby button once your device has switched off to turn it back on.

Here’s how to turn off an iPhone 7 or older model:
- Press and hold the standby button until you see slide to power off.
- Move the slider to the right and wait for your device to turn off.
- Press the standby button until your iPhone has switched on again.
8. Force Restart Your iPhone
If a regular restart doesn’t work, try force restarting your iPhone instead. Again, the steps vary based on your iPhone model.
Here’s how to force restart an iPhone 8 or newer model:
- Press one volume button before quickly tapping the other.
- Hold the standby button and wait for your device to restart.
In addition to fixing Mail app server issues, force restarting can also help fix an iPhone 15 stuck in SOS mode.
Here’s how to force restart an iPhone 7 or older model:
- Press and hold the standby button and home button.
- Wait for your iPhone to turn off and back on.
9. Delete and Then Add Your Mail Accounts
While deleting and then adding your Mail accounts is the most inconvenient step on this list, it’s also an effective way to force Mail to update your inbox.
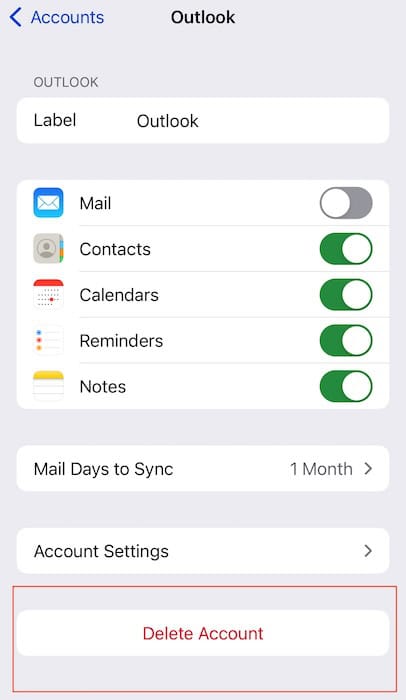
- Open the Settings app and go to Mail > Accounts.
- Tap on each of your logged in accounts.
- At the bottom of each window is a Delete Account button. Click on this.
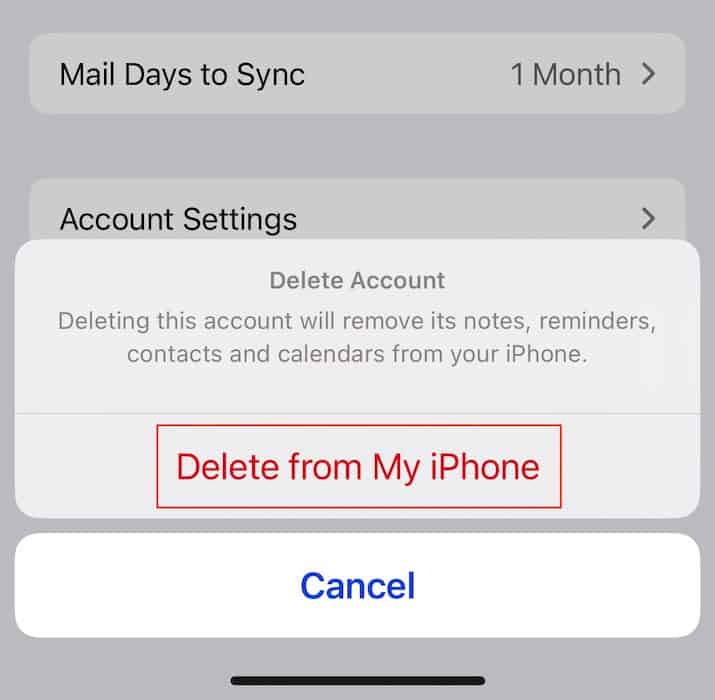
- Tap Delete from My iPhone.
- Re-add your account by going back to the Accounts window and selecting Add Account.
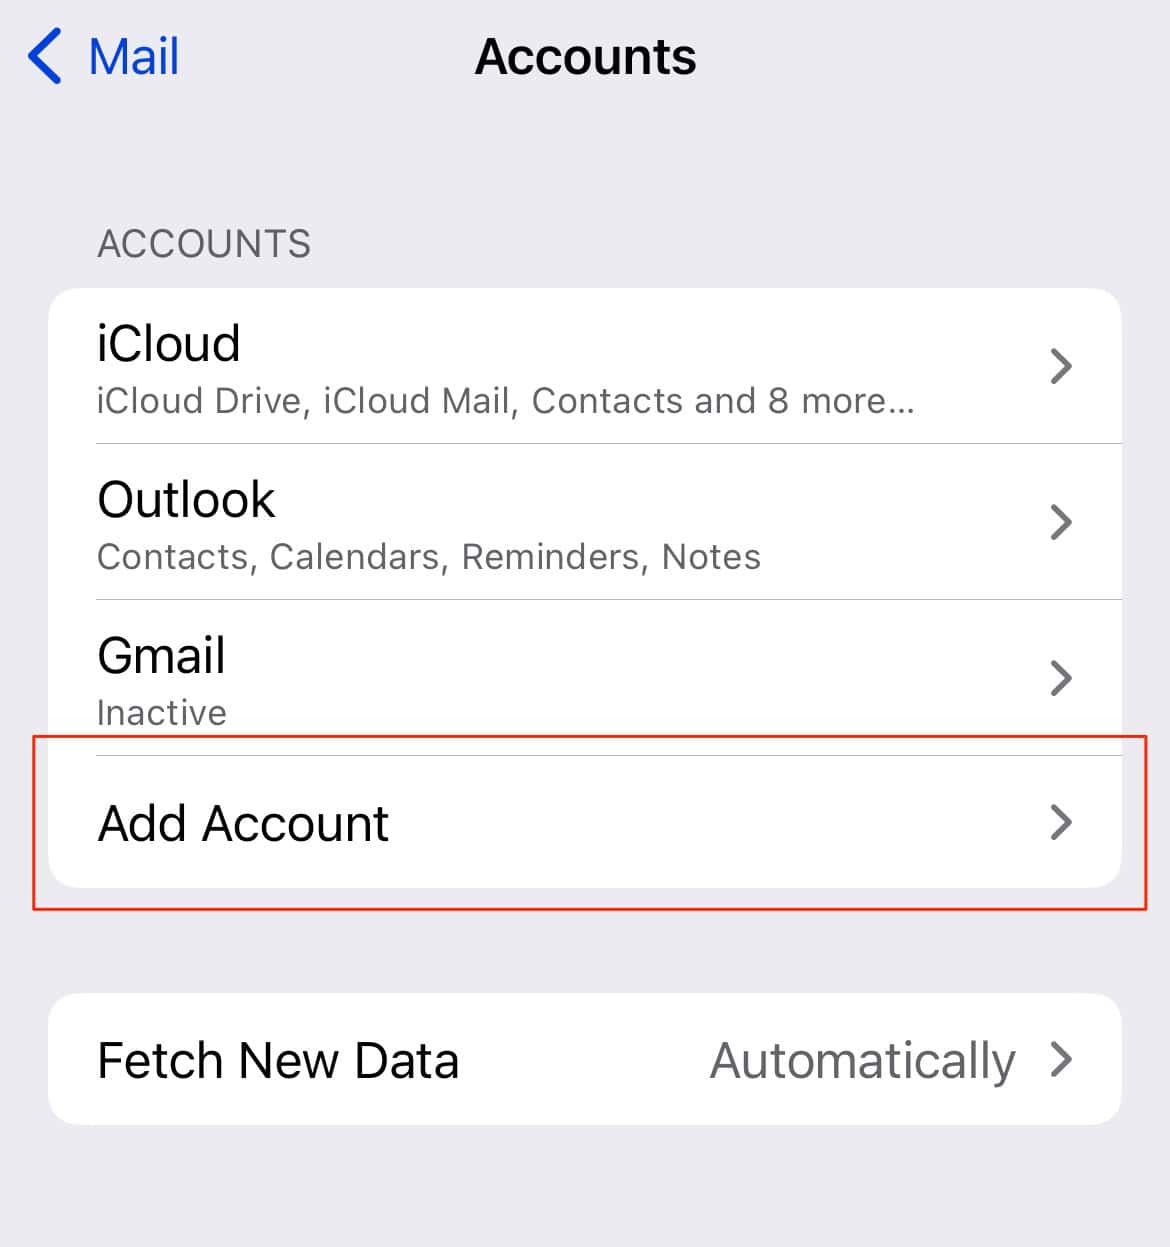
- Choose your email provider and enter your account details.


Thank you for addressing this issue! I’ve been struggling with that error for a while, and your solutions were really helpful. Especially the part about checking the Mail preferences. I appreciate the clear steps you provided!
ALL steps taken. Outlook mail on iPhone 18.6. mail app won’t download messages (but previews the first line). Tried every option this page offered. No improvement.
I’m sorry to hear that. Please try to re-set your Mail account and delete the old one: Settings> Apps> Mail> Mail Accounts> Add Account> Outlook.com