As more and more people shift from Windows PC to Mac, some of them may not realize the changes they are about to face. One of these is the fact that there are not too many popular Windows games available for the Mac. What’s even worse is that the AAA games they play are not easily playable on macOS.
Can you play Windows games on a Mac? You absolutely can. So, if you’re one of those Mac owners or possibly would-be owners of an Apple machine who are asking how you can play Windows games on Mac, we have the answers for you. Read along to find out how to play PC games on your Mac.
How to Play the Newest PC Games on Your Mac via GeForce Now

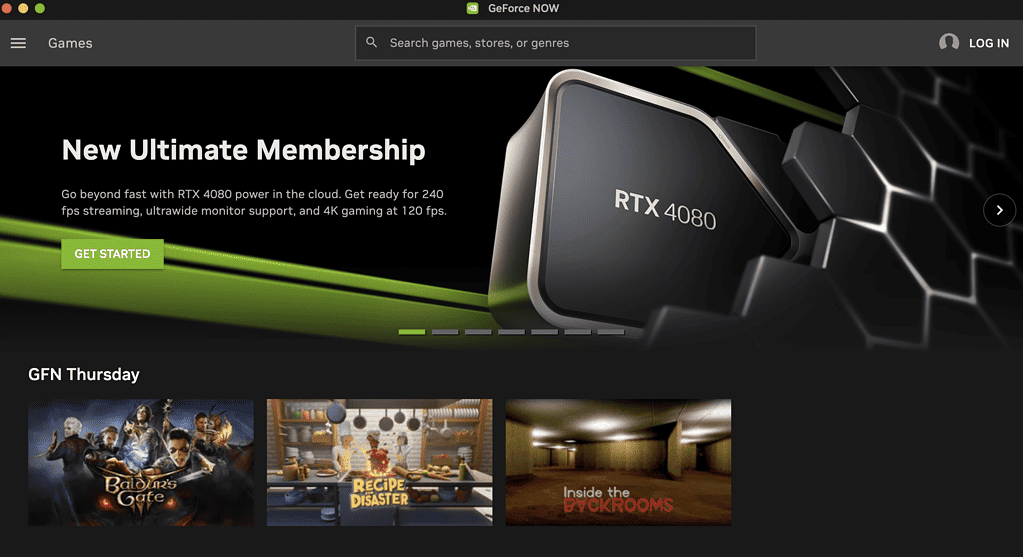
For the unfamiliar, GeForce Now is a cloud-based streaming service powered by Nvidia servers. This service allows you to run games remotely, without the need to install them on your machine. When it comes to its game collection, you’ll be glad to know that GeForce Now has an extensive library consisting of Steam, Battle.net, and Uplay titles. Those who are hardcore PC gamers know these online gaming platforms.
While you can download and install GeForce Now on your Mac for free, you are limited to only a one-hour session, and most of the time you’ll have to wait in a queue before you can start playing a game. If you don’t have the patience to wait that long, you may opt to get a priority membership for $10.
Time needed: 5 minutes
Follow the steps below to download and install GeForce Now on your Mac.
- Create an NVIDIA account by visiting its website.
You can also log in using your Google or Facebook account.
- Download and Install GeForce Now for Mac.
- Log in using your NVIDIA account.
- Look for Games, and then start playing.
Play Windows Games via Boot Camp
Apple’s Boot Camp is one way you can install Windows on your Mac, another being via Parallels Desktop. The difference between the two is that if you use Boot Camp, you can only boot to either macOS or Windows. To switch between the two, you need to restart your Mac.
On the other hand, if you use Parallels Desktop, it will run both macOS and Windows at the same, allowing you to switch between them easily.
It should also be noted that installing Windows 11 via Boot Camp is only possible for Intel-based Macs. So, if you have an Apple Silicon Mac, you should skip this part and proceed with the other methods of playing Windows games on Mac.
Follow this Apple support document to guide you through installing Windows using Boot Camp
Play using Parallels Desktop
Finally, you can also play Windows games that are available on Steam via Parallels Desktop. However, this may take up a lot of your Mac’s resources. But if you’re already running Parallels Desktop, then this step would be easier for you.
If this is your first time running Parallels Desktop on your Mac, be forewarned that doing so will use up a lot of your machine’s resources. But the good news is, you can easily switch between Windows and macOS without restarting your computer. If that’s okay with you, follow the steps below to set up Parallels on your Mac.
- Create a new account on the Parallels website.
- Install the app by following the procedures below:
– From the Dashboard, go to Parallels Desktop for Mac page.
– Scroll down to the Install and Activate section.
– Download the latest version of Parallels.
– Grab the activation key. - Download Windows (Apple Silicon Mac users must download the ARM version).
- Start Windows Installation via Parallels.
- Go back to Installation Assistant and click Continue to set up a virtual machine on your Mac.
- When Parallels finds Windows 11, click Create.
- Enter your activation key.
- Once Windows 11 is installed, install and open Steam.
- Browse and install the Windows games that you want to play.
Play Windows Games via WineBottler
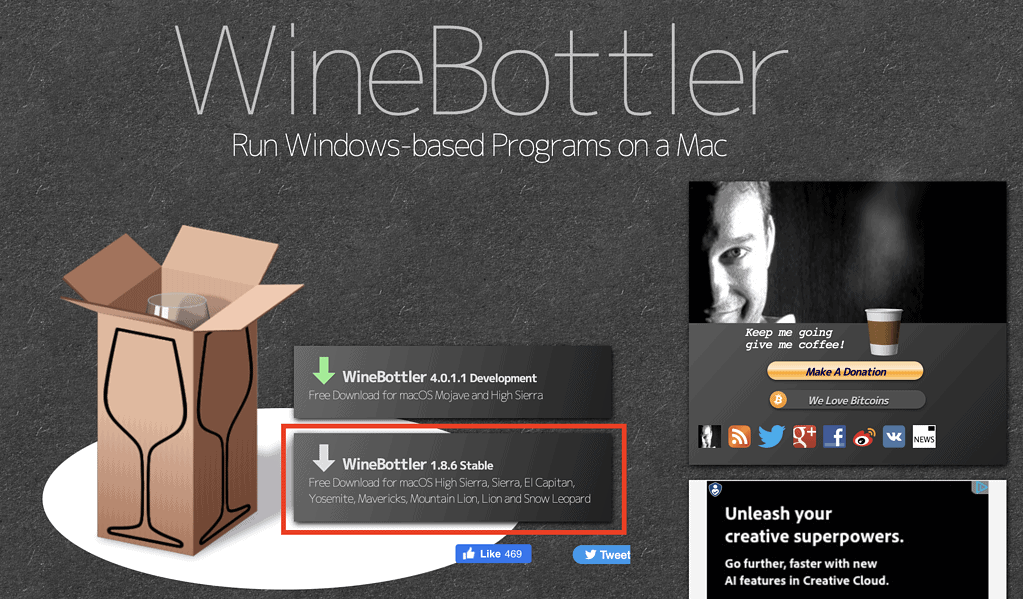
WineBottler is an online game hub where you can download Windows apps. To do so, you must install the Wine app, a compatibility layer capable of running many Microsoft applications. Follow the steps below to use WineBottler to play PC games on your Mac.

- Go to https://winebottler.kronenberg.org/, then download the stable version of the app.
- Install WineBottler on your Mac.
- Open WineBottler on your Mac, then select the Games tab.
- Look for Steam, then click Install.
- Log in using your Steam account (create an account if you don’t have one yet).
- Browse through the Steam Store and download the PC games that you want.
- To start playing, simply go to your Steam library and select the game you want to play.
Note that there are not many Windows games compatible with Wine. However, the selection is better than nothing at all.
Use CrossOver Mac to Play Windows Games
Another application that you can use to play Windows games is CrossOver Mac. This app also uses Wine technology. However, CrossOver is a paid app, unlike WineBottler. So, if you don’t mind paying $40 to play Windows games, you can opt for this option. The good news is this app will let you play Windows games even on an Apple Silicon Mac.
To play Windows games on your Mac via CrossOver Mac, you simply need to download and install the app on your machine. Once CrossOver Mac is running, install Steam through the CrossOver Software Installer. Once installed, open Steam and find the games that you want to play. Check out how to download and install CrossOver 23 on macOS and play any game you want.
Final Words: Choosing the Best Way to Play Windows Games on Your Mac
With the five options listed above, the choice of which one to use so that you can play Windows games on your Mac depends on your preferences, the type of Mac you are using, and the money that you are willing to spend. It should also be noted that playing Windows games through these methods may not always replicate the same gaming experience as playing games native to macOS. But like I said before, it’s better than not being able to play Windows games on your Mac at all.
