
When you see Error 75 while trying to update or restore your iPhone via iTunes or Finder, it indicates that the software process could not complete, often due to connection issues, storage trouble, or system conflicts.
Let’s walk through practical fixes that have helped others resolve this!
Table of contents
- How to fix iPhone Error 75 on iTunes?
- 1. Disable security or antivirus software temporarily
- 2. Make sure your iPhone has enough storage space
- 3. Check your USB connection and internet
- 4. Update iTunes or your computer’s system
- 5. Restart your iPhone and your computer
- 6. Remove jailbreak if applicable
- 7. Use Recovery Mode or DFU Mode if needed
- 8. Contact Apple Support if the error persists
- Tips
- Frequently Asked Questions
- Summary
- Conclusion
How to fix iPhone Error 75 on iTunes?
1. Disable security or antivirus software temporarily
- Turn off any antivirus programs running on your PC.
- Pause or disable firewall software.
- Reconnect your iPhone and run the update again.
This is an easy fix and one that has worked for most users encountering Error 75 on iPhone or iPad.
2. Make sure your iPhone has enough storage space
- Go to Settings > General > iPhone Storage.
- Check available space.
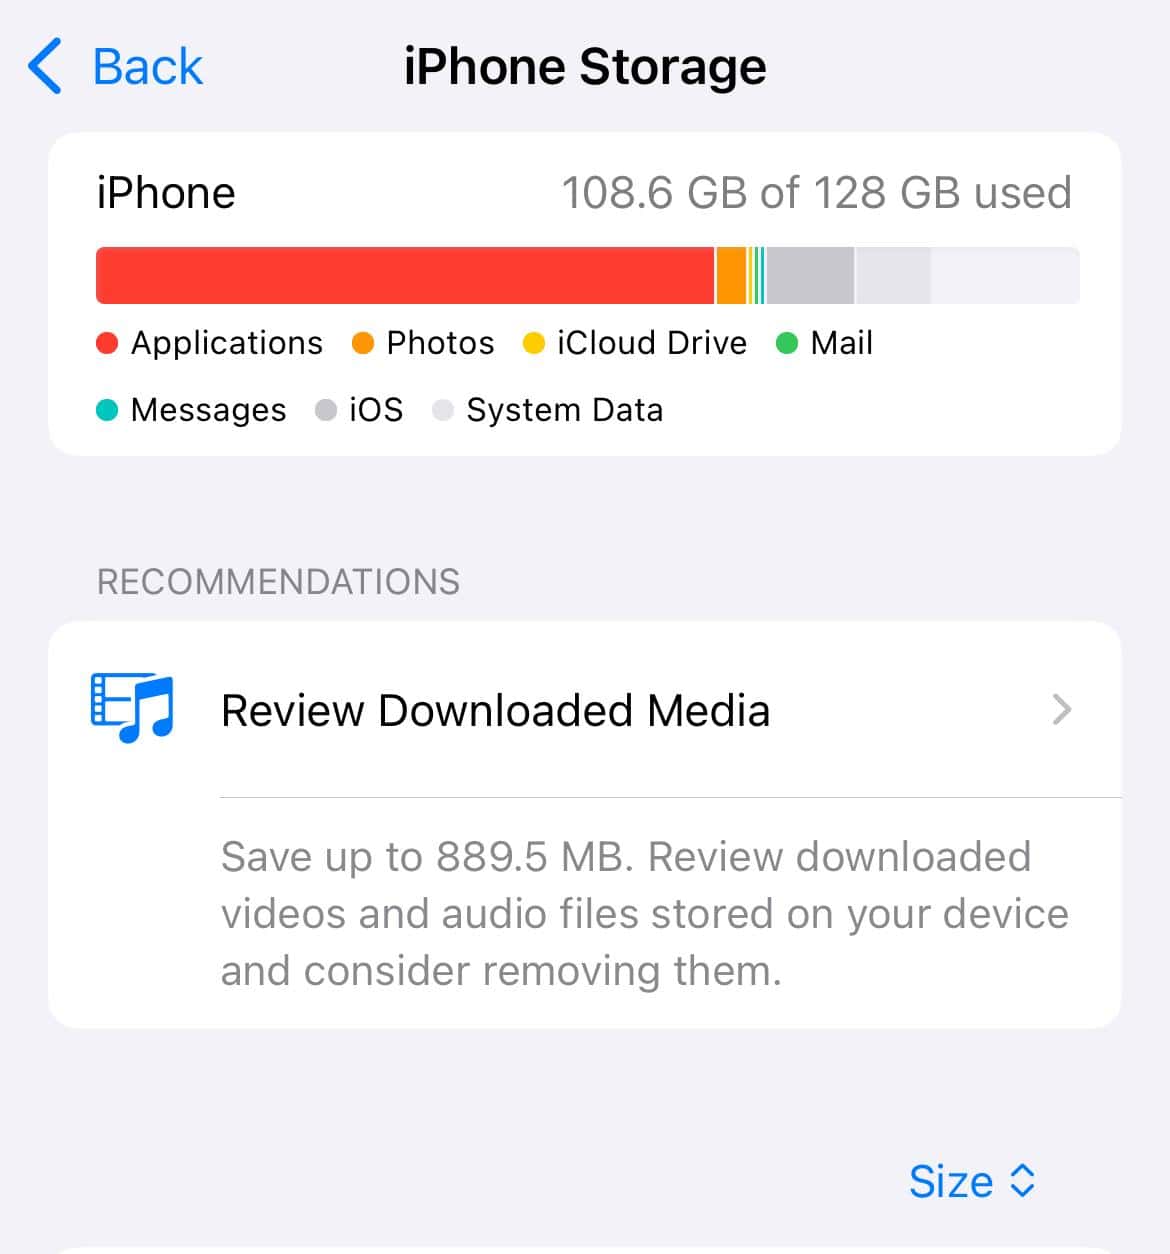
- Delete apps, photos, or files you don’t need.
- Try the update or restore again.

3. Check your USB connection and internet
- Use an Apple-certified USB cable.
- Try a different USB port on your computer.
- Switch to another cable if needed.
- Make sure your computer has a stable internet connection.
4. Update iTunes or your computer’s system
- On Windows: Open iTunes and select Help > Check for Updates (if it’s not downloaded from the Microsoft Store).
- On macOS: Update your system from System Settings > General > Software Update.

Install all available updates for iTunes before retrying the process. This has helped many fix Error 75 and Error 4013 on iPhone.
5. Restart your iPhone and your computer
- Restart your iPhone using the standard power off slider.
- Restart your computer completely.
- Reconnect your iPhone and try again.
6. Remove jailbreak if applicable
- Connect your iPhone to iTunes or Finder.
- Choose Restore iPhone to remove jailbreak modifications.

- Set up your iPhone as new or restore from a backup.

7. Use Recovery Mode or DFU Mode if needed
- Connect your iPhone to the computer.
- Put the device into Recovery Mode and select Update first.
- If the Update fails, enter DFU Mode and select Restore (this erases the device).
- Restore your data from backup after the process.
To find out more, read our guide on restoring an iPhone.
8. Contact Apple Support if the error persists
When nothing else works, the last option is to contact Apple Support. And if you have an Apple Care plan for the iPhone, you may receive a discount on the repair, if it’s chargeable.
Tips
- Always begin with simple steps like freeing up storage and restarting your devices.
- If you intend to use Recovery or DFU Mode, double-check that you have a recent backup.
- Turn off security tools before starting, since some are known to interfere.
- Updating directly on your iPhone through Settings can bypass some iTunes-related causes.
Frequently Asked Questions
It often signals a failure in the communication or storage process while updating via iTunes or Finder.
Yes, updating via Settings can often bypass iTunes-related errors when a connection issue is the root cause.
Restoring in DFU Mode erases all content. Be sure you have a backup before proceeding.
Yes, outdated software or interference from security tools can contribute to update failures.
Summary
- Free up storage if needed.
- Use a proper USB cable and a stable internet.
- Update iTunes and your computer’s system.
- Restart both the iPhone and the computer.
- Temporarily turn off the antivirus or firewall.
- Remove jailbreak if present.
- Use Recovery or DFU Mode if needed.
- Try a software repair tool.
- Contact Apple Support if needed.
Conclusion
Error 75 on iPhone can be stubborn, but following a clear sequence of actions from basic restarts to mode-based restores often resolves it. Start with the easiest steps, like storage and cable checks, then progress to more advanced methods only if needed.


