

Touch ID is one of those small conveniences that spoils you fast. One tap and you’re in—no passwords, no typing, just instant access. But if you’ve noticed your Mac suddenly stops accepting your fingerprint after a few minutes of use, you’re not alone. Many users have found that Touch ID works perfectly at first, then inexplicably stops recognizing fingerprints or asks for a password instead. Let’s break down what’s happening and how to fix it.
Why Touch ID Stops Working After a Few Minutes
Here’s the thing: Touch ID on Mac isn’t meant to work endlessly without occasional re-authentication. macOS has built-in security rules that temporarily disable Touch ID after certain conditions are met. For example, you’ll need to enter your password manually if:
- You’ve just restarted or logged out of your Mac.
- You haven’t unlocked your Mac in over 48 hours.
- You’ve changed Touch ID settings.
- Your fingerprint wasn’t recognized five times in a row.
- Your Mac is set to log in automatically.
However, if Touch ID stops working after just five minutes of being idle, that’s not a normal security timeout—it’s a sign that something’s off, likely with your settings, software, or even the sensor itself.
Don’t miss the best of The Mac Observer
Set us as a preferred source and our Apple reporting ranks higher in your Google Search results and Discover feed — one tap, no account changes.
Step 1: Clean the Sensor and Your Finger

It sounds basic, but Touch ID is extremely sensitive. Sweat, oil, hand lotion, or even dry skin can confuse the sensor. Wipe the Touch ID button gently with a soft, lint-free cloth, then wash and dry your hands before trying again.
Step 2: Restart Your Mac
A quick restart often resets the sensor’s communication with macOS. Restarting also clears temporary files that could be interfering with Touch ID’s system process.

Step 3: Re-add Your Fingerprint
- Go to System Settings > Touch ID & Password, hover over your saved fingerprint, and click the small “x” to delete it.
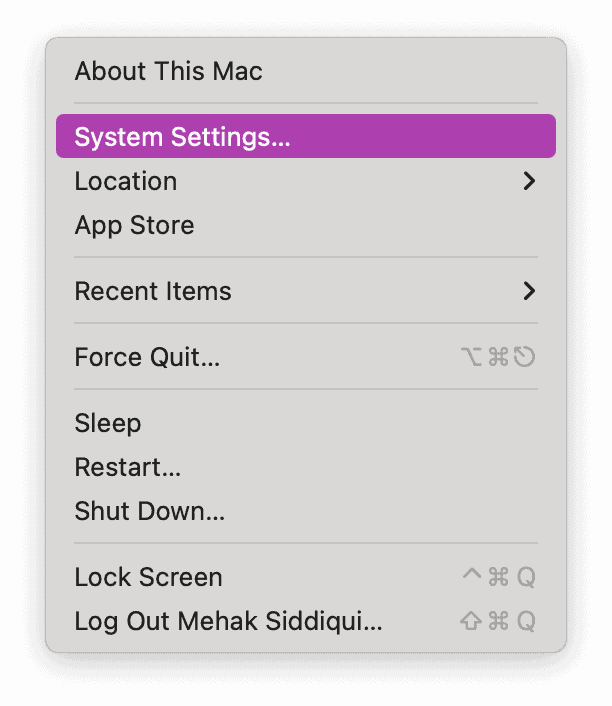
- Then click the plus sign to add a new one.
- When setting up, move your finger slightly each time so the scanner captures different angles of your print.

Step 4: Update macOS
Bugs can mess with Touch ID recognition, especially after a system update or sleep cycle. Open System Settings > General > Software Update and install the latest version of macOS.

Step 5: Check for External Keyboard Issues
If you’re using a Magic Keyboard with Touch ID, plug it in via USB-C or Lightning cable and leave it connected for at least ten seconds. Some models require specific macOS versions (like Sequoia 15.1 or later) to work properly. Wireless interference can also cause intermittent disconnections, which might explain the five-minute cutoff.
Step 6: Reset the SMC
The System Management Controller handles low-level functions like power and fingerprint recognition. Resetting it can clear up stubborn Touch ID bugs. The process depends on whether your Mac uses Intel or Apple silicon, so check Apple’s support page for the right steps.
Step 7: Know the Limits
Even when everything’s working correctly, Touch ID isn’t designed to replace your password forever. After certain periods of inactivity—or specific security events—macOS requires a manual password to confirm it’s really you. That’s by design, not a glitch.
Final Thoughts
If your Mac forgets your fingerprint too soon, it’s usually a mix of minor software quirks or sensor confusion. Clean things up, restart, re-add your fingerprint, and stay updated. In most cases, Touch ID goes back to being the effortless unlock feature it’s meant to be—just the way you like it.


Discussion