
Activating iMessage on your iPhone 13 allows you to send encrypted texts and high-quality media. This service works over Wi-Fi or cellular data between Apple users. Most devices activate this automatically. However, you might need to toggle settings manually to ensure your messaging service functions correctly.
Table of contents
Setting Up iMessage on iPhone 13
You must configure your device within the iOS settings menu to start using Apple messaging. Follow these specific steps to activate the service and resolve common connection hurdles quickly.
Don’t miss the best of The Mac Observer
Set us as a preferred source and our Apple reporting ranks higher in your Google Search results and Discover feed — one tap, no account changes.
1. Enable iMessage in Settings
The primary method involves the dedicated messages menu within your configuration app. This toggle connects your phone number to the global iMessage network. You should verify your internet connection before starting this process. Additionally, ensure you have signed into your Apple account. This simple step usually fixes most delivery issues immediately.
- Open the Settings app on your iPhone 13.
- Scroll down and tap Apps.
- Scroll down and tap Messages.
- Switch the iMessage toggle to the on position.

- Wait for the activation process to finish.

2. Configure Send and Receive Addresses
You can choose which phone numbers or email addresses people use to reach you. Managing these identities ensures your conversations stay synced across all your Apple hardware. Consequently, you will never miss a message when switching between devices. Check these settings often to keep your personal contact information accurate and secure.
- Tap on Send & Receive in the Messages settings.

- Check your phone number to verify it.
- Select any email addresses associated with your Apple ID.
- Set your preferred start address at the bottom.

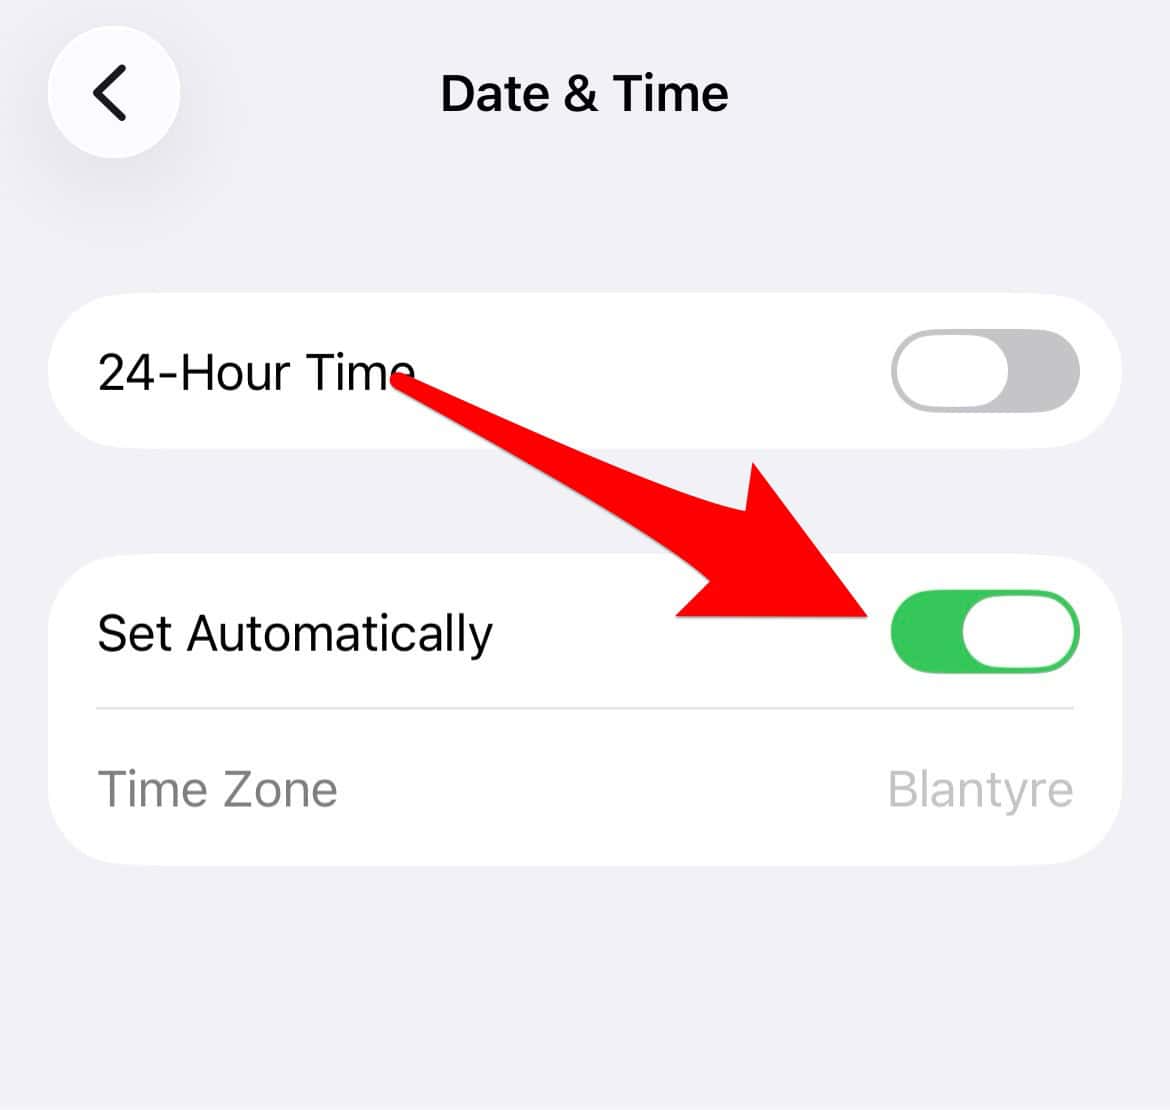
3. Verify Internet and Time Zone Settings
A stable connection and accurate system time help your phone communicate with Apple servers. Incorrect time settings often cause activation errors that persist for hours. Therefore, you must allow the phone to update its clock automatically. This prevents synchronization failures during the initial handshake. Always use a strong Wi-Fi signal first.
- Connect to a reliable Wi-Fi network.
- Open Settings and select General.
- Tap on Date & Time.
- Turn on the Set Automatically toggle.

4. Restart iMessage and FaceTime
Sometimes the background process gets stuck and requires a fresh start. Toggling both services often clears minor software glitches that prevent initial registration. Furthermore, restarting the entire device refreshes the cellular handshake. This method provides a quick fix for the common waiting for activation bug. Try this before changing deeper settings.
- Turn off iMessage in the Messages settings.
- Navigate to FaceTime and turn it off.

- Restart your iPhone 13 completely.
- Turn both services back on in Settings.

5. Reset Network Settings
A deeper reset of your connection configurations might fix persistent issues. This step helps after two years with the iPhone 13 upgrade because settings can become cluttered. Furthermore, check how long your iPhone 13 really lasts before Apple drops support to maintain your device properly. This reset deletes saved Wi-Fi passwords and temporary cache files.
- Open Settings and tap on General.
- Select Transfer or Reset iPhone.
- Tap Reset and choose Reset Network Settings.
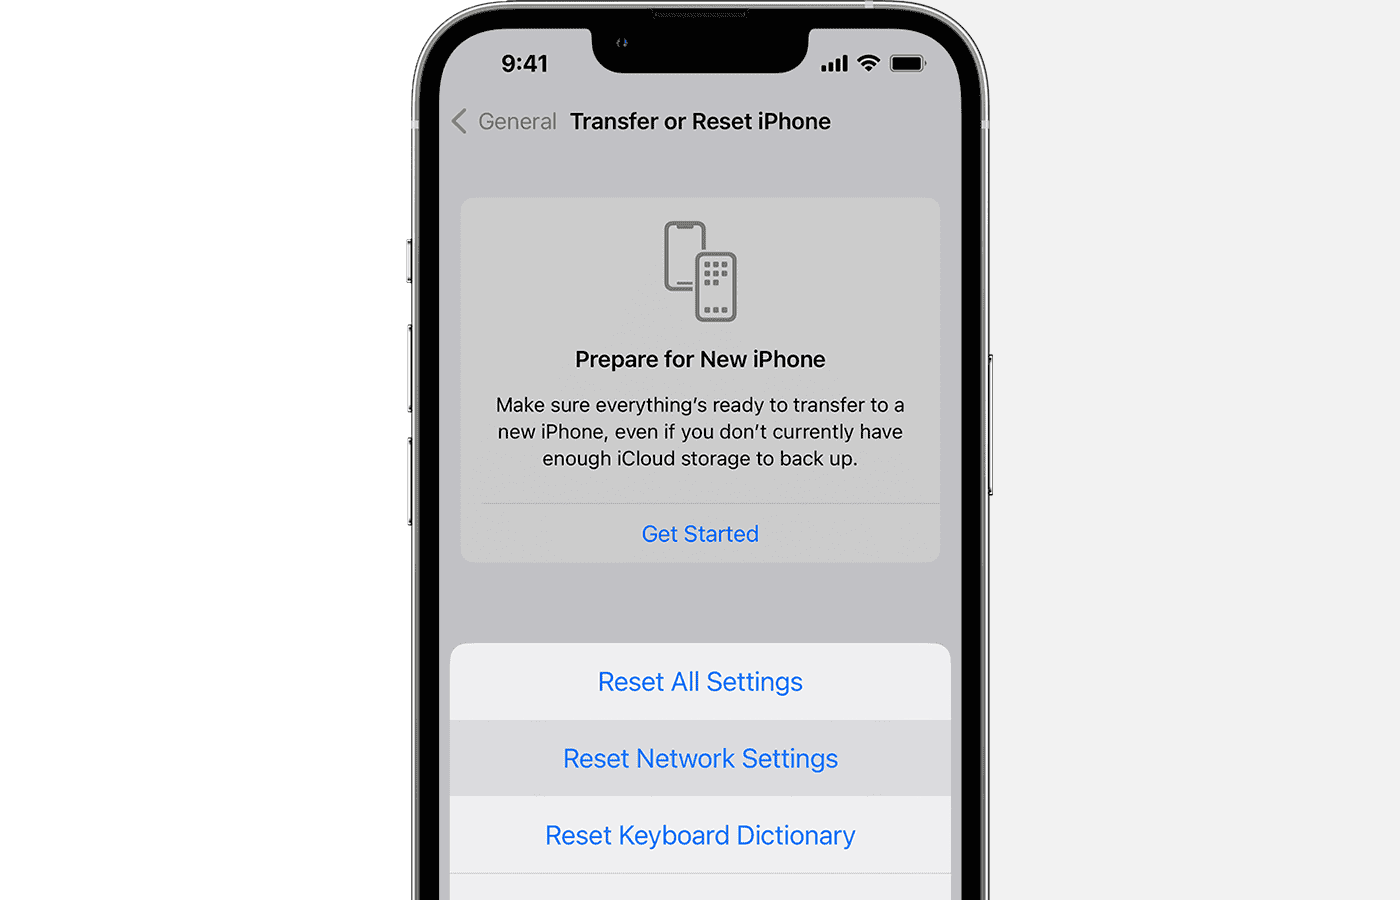
- Enter your passcode to confirm.

FAQ
This message appears because your device is still communicating with Apple servers. It can take up to 24 hours to activate fully.
Yes, you can use an email address linked to your Apple ID over Wi-Fi. A physical SIM is not strictly necessary.
iMessage uses cellular data or Wi-Fi instead of traditional SMS allotments. Standard text rates do not apply to these blue bubbles.
Optimizing Your iPhone 13 Experience
Correct messaging settings ensure you stay connected. Read an iPhone 13 battery review to see how data usage affects power. Finally, learn when Apple will stop supporting the iPhone 13 and 14 to plan your future hardware upgrades effectively. These steps guarantee a smooth mobile experience.


Discussion