
Random restarts aren’t just annoying; your Mac will also be unusable unless you fix frequent kernel panic errors permanently. In my case, my MacBook kept crashing even while running lightweight apps. It was rebooting nonstop until I learned the proper troubleshooting steps. I’ll explain which ones actually yield results so that you don’t waste time like I did.
Should I Worry About Kernel Panic?
Kernel panic (Mac users might call it the Blue Screen of Death on Windows) is an issue where your MacBook or iMac restarts for no reason. You’ll see a warning message pop up on your screen. It will either say, “You need to restart your computer.” or “Your computer restarted because of a problem.”
Don’t miss the best of The Mac Observer
Set us as a preferred source and our Apple reporting ranks higher in your Google Search results and Discover feed — one tap, no account changes.
Forced reboots every few months or so are expected, especially if you often run RAM-heavy programs. But if your device crashes regularly, you’re dealing with a Mac kernel error. The most common culprits behind these crashes include:
- RAM issues
- Limited hard drive space
- Software conflicts
- Incompatible hardware and peripherals
- Corrupted disk permissions
- Defective drivers
How Can I Fix Kernel Panic Issues?
See if these quick troubleshooting tricks will fix the kernel panic error on your Mac before moving to more complex, time-consuming methods:
- Delete outdated drivers that you suspect are malfunctioning: Launch Finder, click Go in the menu bar, select Go to Folder, and then search the driver’s name.
- Disconnect your third-party peripherals: Check if your Mac will still malfunction after disconnecting your peripherals and rebooting.
- Keep tabs on app crashes: Click the Apple menu > Force Quit, and then click the unresponsive program you need to shut down.
However, a Kernel Panic error can also occur due to a lack of free disk space. This issue can easily be fixed with a notable app like Intego ONE, as it can remove all build-up files and save valuable disk space within seconds.
If none of these methods fix the kernel panic error on your Mac, proceed with the below troubleshooting steps.
1. Check Your Crash Logs
If you can’t pinpoint which programs are causing your Mac to reboot, check your crash reports. They show all your recently terminated functions. While they won’t tell you the exact cause of unwanted reboots, you’ll at least know the parts of your Mac that keep crashing. You might even notice some patterns while reviewing the logs.
Time needed: 5 minutes
Here’s how to check the crash log files on your Mac:
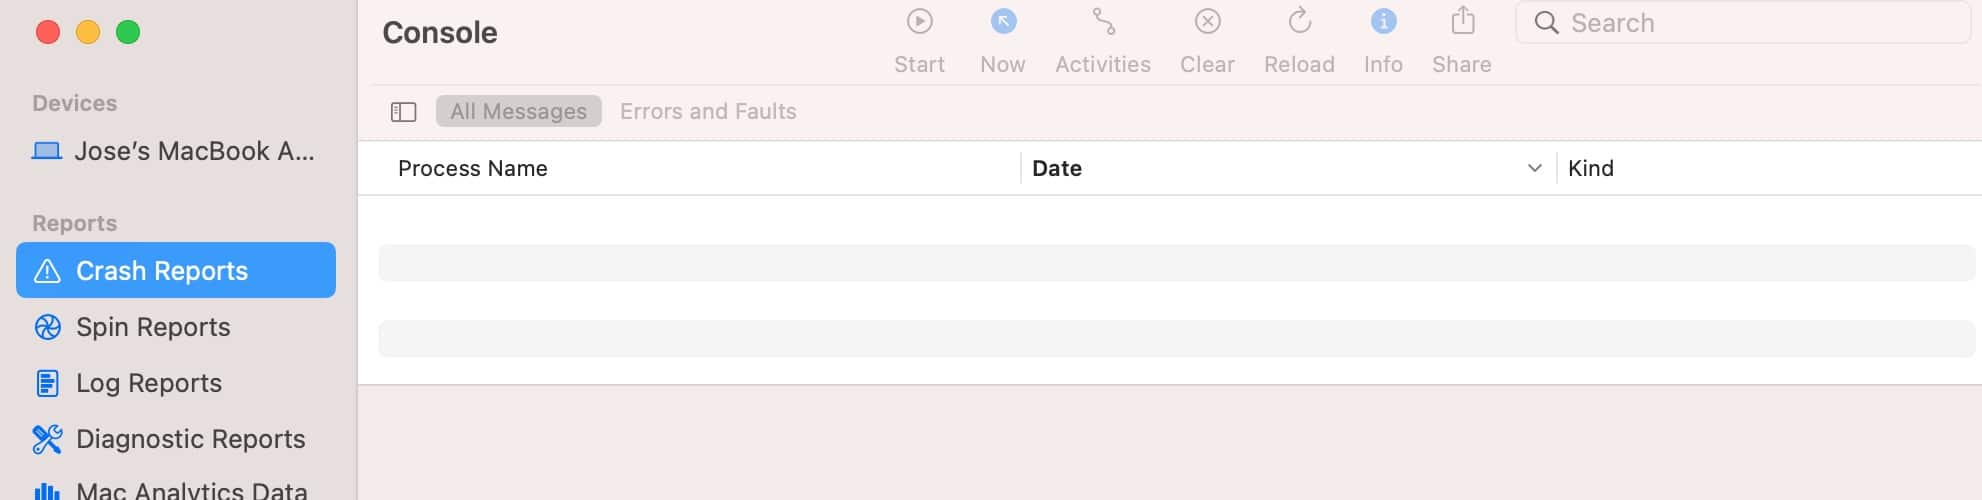
- Open Launchpad and go to Console, which you’ll likely find in the Other folder. You can also access it through Finder > Applications > Utilities > Console.

- Select Crash Reports in the navigation pane. You’ll see all the terminated apps logged under Process Name, and for accurate troubleshooting, sort them based on Date.
- Once you find your primary suspects, stop them from running in your background or delete them entirely.


2. Force Quit All Apps Running in Your Background
Mac users simultaneously running multiple RAM-heavy programs might have trouble pinpointing their defective processes. In these cases, it’s best to force quit all your apps. Back up your files on iCloud, terminate your active background apps, and see if your Mac stops rebooting.
1. Click the Apple menu > System Settings > General > Login Items.

2. Here, you’ll see two sections. Remove all the apps in the Open at Login section, then toggle off the active apps in Allow in the Background.

3. Lastly, close the window, click the Apple menu > Force Quit, and then select whatever app is still running.

3. Restart Your Mac in Safe Mode
Launch your Mac in Safe Mode if you still can’t pinpoint which apps are causing the kernel panic error. It halts all non-essential system extensions, third-party apps, and excess functions. You can also repeat all the troubleshooting steps you did—they might yield different results in Safe Mode.
Here’s how to launch Apple Silicon Macs (MacBooks with an M1, M2, or M3 chip) in Safe Mode:
1. Shut down your Mac and let it rest for a few minutes before pressing the power button.
2. Keep holding the power button until the Loading Startup Options page appears.
3. Click your startup disk volume, hold down Shift, and then wait for the Continue in Safe Mode prompt to appear.

4. Release Shift after the login page loads.
Here’s how to launch Intel-based Macs in Safe Mode:
1. Restart your Mac and quickly press Shift once your device turns on.
2. Just keep holding the Shift key until the login page appears.

To check if your Mac is in Safe Mode, hold the Option key and click the Apple Menu > System Information > Software. The Boot Mode section should say Safe instead of Normal.
4. Run Apple Diagnostics for Hardware Issues
If launching in Safe Mode and terminating all background apps doesn’t fix the kernel panic error on your Mac, the next step is to run Apple Diagnostics. It checks your device for hardware issues.
Here’s how to run Apple Diagnostics on an Apple Silicon Mac:
1. Press and hold the power button until the Startup Options page appears.
2. Release the power button, and then press the Command + D combination.

Here’s how to run Apple Diagnostics on an Intel Mac:
1. Reboot your Mac and immediately hold down D after your Mac starts.
2. Wait for a progress bar to appear.

3. Select your language, and then follow the on-screen instructions.
5. Use the First Aid Function of Disk Utility
First Aid is a built-in tool that automatically scans and repairs directory structure errors on your Mac’s hard disks and volumes.
1. Open Launchpad and launch Disk Utility—you’ll likely find it in the Others folder.
2. Highlight the appropriate hard disk or volume in the sidebar, click First Aid in the window’s navigation pane, and then hit Run in the pop-up dialog box.

3. Wait for the process to complete, click Done, then repeat with the other hard disks and volumes on your Mac.

4. If First Aid detects any issues, it will notify you and ask for confirmation before executing anything.
You can also use Disk Utility through Safe Mode if your Mac isn’t staying on long enough for you to run First Aid. Launch your Mac in Safe Mode, click Options, and log in to your primary user profile.
6. Delete Hidden Files Through a Dot_Clean Command
As a last-ditch effort, you can scan drives and clean hidden files manually. The process is a bit risky, so only try it if you’ve executed Terminal commands before.
1. Launch Finder > Applications > Utilities > Terminal or open Launchpad > Terminal (you’ll likely find it in the Others folder).
2. Type cd /Volumes/Drive Name but replace Drive Name with the actual drive you want to move to in order to scan.

3. Enter the command dot_clean and press Enter.
7. Delete Extra Apple Kernel Extensions
If you’re still running macOS versions prior to macOS Big Sur, third-party kernel extensions might be causing your Mac to reboot excessively. See if deleting them stabilizes your device’s performance.
1. Launch Terminal and type this command: kextunload.
2. Go through the commands and see which third-party extensions you can remove, but make sure you retain system kexts.
3. Type the command: sudo kextunload /System/Library/Extensions/kext name, then hit Return. Note: replace the kext name placeholder with the actual name of the kext.
4. Type your User Profile’s password, then hit Return again to finalize the deletion.
Warning: Although you can still use macOS Catalina, Apple stopped releasing security updates for this version last November 2022. You should update your macOS to the latest supported version.
Conclusion
Call Apple Support if your MacBook or iMac still frequently reboots even after you go through these troubleshooting steps. You’re likely dealing with hidden hardware issues.
That said, you should also consider your Mac’s model. It might be time for users with outdated Intel-based Macs to get the newer M1, M2, or M3 Apple Silicon MacBook.


These are all good tips, but they still may not fix the root cause of the Kernel Panic issue, which may be a firmware issue / corruption. Running the hardware / software tests and disk check is a good idea, however. If these pass and there still is an issue, I’d do a firmware update, which requires a second Mac. You can go down a “rabbit hole” chasing Kernel extensions and performing Mac updates and doing clean installs and yet still get the panics. Apple stores will run a series of low-level diagnostics and perform that firmware update for you if you don’t have the second Apple silicon Mac to perform the firmware update, which involves this procedure – https://support.apple.com/en-us/108900