
The Empty Trash option is a useful built-in feature of your Mac. It’s supposed to unburden not only you but your Mac of files that you no longer need. But what if you can’t empty trash because one or more of the files are in use on your Mac? Continue reading to learn to know what to do when the Mac trash folder won’t empty because the files are still being used.
Basic Checks Before Moving On to Fix the Can’t Empty Trash on Mac Issue
As the title of this article indicates, the reason you can’t empty trash on your Mac could be that a file may be in use in the background. So, the quickest solution to this is to identify the app that is causing the issue. Once you know what the app is, you can simply delete it by right-clicking on the app and doing a quick erase or uninstall.
Other reasons why you get the error message that your Mac’s Trash won’t empty are file permissions or perhaps your Mac is running low on storage space, causing it to fail to perform certain functions like emptying the Trash folder. Unfortunately, since you can’t empty Trash on your Mac, you can’t do anything about freeing up storage space. So, you can proceed in doing the troubleshooting steps outlined below.
Specific Solutions
Restart Your Mac
If there are too many apps running in the background and some of these apps are still using files that you’ve placed in the Trash folder, you can easily force quit these apps by simply restarting your Mac. Doing so will terminate all active processes on your Mac.
Boot Your Mac into Safe Mode
Booting your Mac into Safe Mode allows you to isolate apps that are causing the can’t empty trash issue due to files being used by apps. While your Mac is in Safe Mode, it will not load certain software, including login or startup items and system extensions. Hence, you can easily check which apps are interfering with the Empty Trash function of your Mac.
Follow the steps below to reboot your Intel-based Mac into Safe Mode.
1. Click the Apple icon in the top menu.
2. Click Restart.
3. Hold down the Shift key as your Mac reboots.
4. Release the key when the Apple logo and progress bar appear on the screen.
5. If your Mac successfully entered Safe Mode, you see “Safe Booth” on the upper-ride side of the screen.
Follow the steps below to reboot Apple Silicon Mac to Safe Mode.
1. Shut down your Mac, then wait for 10 seconds.
2. Press and hold the power button until the startup options window appears on the screen.
3. Click your Mac’s Startup Disk.
4. Press the Shift key and click Continue to Safe Mode.
5. Release the Shift key.
Now that your Mac is in Safe Mode, try emptying your Mac’s trash bin. You should be able to do so since no third-party apps are running.
Use Terminal Command Prompt to Empty Your Mac’s Trash Folder
For those who are used to using the Terminal command prompt to perform various tasks and processes, you can also use it to force empty trash on your Mac. However, be extra careful when typing the command since you might enter the wrong command that could damage your Mac.
Time needed: 2 minutes
Follow the steps below to force empty trash on your Mac.
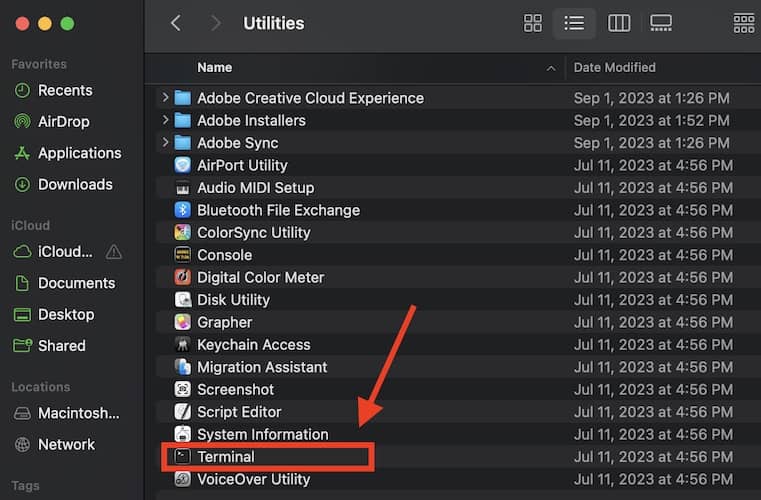
- Open the Finder app, then click Applications on the left sidebar.
- Scroll down and click Utilities.
- Double-click Terminal.
- Type “sudo rm ” (remembering the space at the end) on the Terminal command prompt.

- Click Trash on the Dock, then drag and drop files into the Terminal window.
- Press Return, and enter your password to confirm.
- Press Return to empty the Trash bin.


Check for Locked Files in the Trash Folder
Finally, another possible reason you can’t empty the Trash on your Mac is because one or more of the files you’ve dragged into it are locked. Follow the below steps to check whether files in your Trash folder are locked.
1. Open the Trash folder and look for the files that you cannot delete.
2. Control + click on the file, then choose Get Info.
3. Select the Locked checkbox.
Now, try emptying the Trash folder and see whether this step solves the issue.
Conclusion
I can’t count the number of times when I couldn’t empty the Trash on my Mac for various reasons. But most of the time, simply restarting my Mac quickly resolves the issue. If you encounter the same issue, you are now equipped with various means of solving it.
Feel free to share your experiences when it comes to your Mac failing to get rid of trash files. This will help our fellow Mac owners save some time whenever they encounter the same problem.


A quick way to identify culprit preventing deleting files or ejecting disks (and then use Activity Monitor to force quit) is
What’s Keeping Me?
https://www.macupdate.com/app/mac/27807/whats-keeping-me
Other tools for that (albeit not as good) are:
WhatsOpen
https://apps.tempel.org/WhatsOpen
Sloth
https://sveinbjorn.org/sloth