
Greyed out folders on a Mac usually indicate that the folder is inaccessible. This can be due to various reasons such as incorrect permissions, file system corruption, or an issue with macOS itself. Fortunately, in most cases, this can be resolved without resorting to drastic measures like reinstalling the OS. Without further ado, let’s dive into the solutions to fix the new greyed out folders on Mac.
Why Is My Folder Greyed Out?
Usually, folders appear in blue and open effortlessly. However, sometimes they may turn grey due to interruptions while copying them between drives, issues with external volumes, problems with remote servers, or corrupted creation dates. When a folder is greyed out, it’s generally unresponsive to clicks, and accessing the contents becomes a challenge.
How To Fix a Greyed Out Folder on Mac
Before trying any fixes, ensure you have backed up the data on the disk where the greyed out folder resides, as these grey folders may indicate a disk problem. To enable greyed out folders on your Mac, follow these steps:
1. Check Connections and Permissions
Ensure that external drives are securely connected and servers are mounted properly. Also, check if you are logged in with an account that has administrative privileges in order to fix the folder greyed out Mac issue.
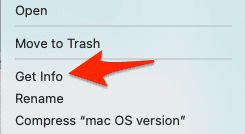
- Control-click the greyed-out folder and choose Get Info.
- Scroll to Sharing & Permissions. If the permissions are incorrect, click the lock icon, enter your password, and set your user account to Read & Write.
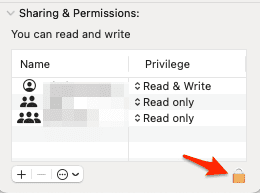
- While we are here, also untick the box next to Locked.

Remember that permissions can cascade, so check parent folders too.
2. Check for Alias or Symbolic Link
Make sure the folder isn’t an alias or symbolic link to a folder that doesn’t exist anymore.
- Right-click the folder and select Get Info.
- Check the General section. If it is an Alias or Link, it will be stated there.
- If necessary, delete the alias or create a new one pointing to the correct location.
- To generate an alias of the greyed-out folder, control-click on the folder, then select Make alias.
- Create a new folder by control-clicking on Desktop and selecting New folder.
- Relocate the files from the alias folder to this new folder.
- Move both the alias and the original greyed-out folder to the Trash, and then empty the Trash.
- Assign the new folder the same name the old greyed-out folder had.
For further reading, we recommend checking out what to do if you can’t delete a folder from Launchpad.
3. Remove Caches and Temporary Files
Excess caches and temporary files can sometimes cause issues.
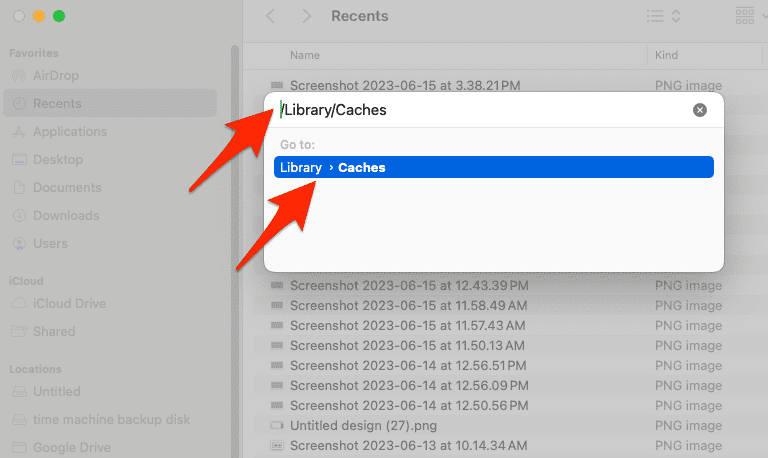
- Open Finder, press Shift + Command + G then type ~/Library/Caches and press Enter.
- Move the contents to the trash (not the folder itself, but its contents).
- Repeat for /Library/Caches.
- Empty the trash and restart your Mac.
If you’re looking for a more in-depth cleaning solution, we always rely on the Intego ONE software, and here’s why: it can safely clear caches, temporary files, and all unneeded files that waste a great amount of your Mac’s disk space.
Intego ONE detects files you no longer use or need and deletes them from your device, increasing your Mac’s health and performance.
Intego ONE
Boost your Mac’s speed and let Intego instantly clean all unnecessary and build-up files.4. Open the Folder via Terminal
Time needed: 1 minute
Try accessing the greyed out folder on Mac via Terminal. Here’s how to do it:
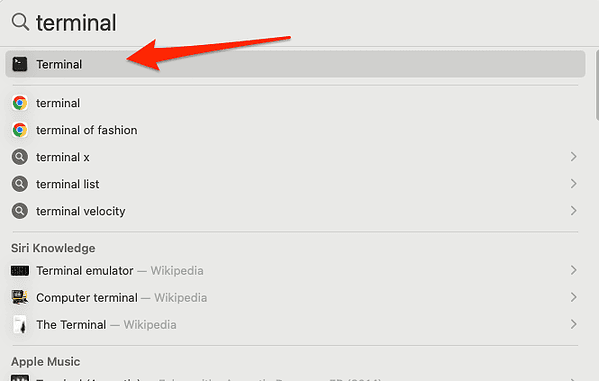
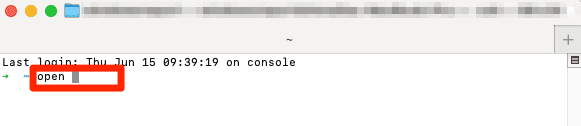
- Press Command + Spacebar and type Terminal in the Spotlight search.
- Once you’re in Terminal, type open then drag the folder into the Terminal window and hit Return.

5. Repair Disk
Using Disk Utility, you can check the filesystem for errors and repair them.
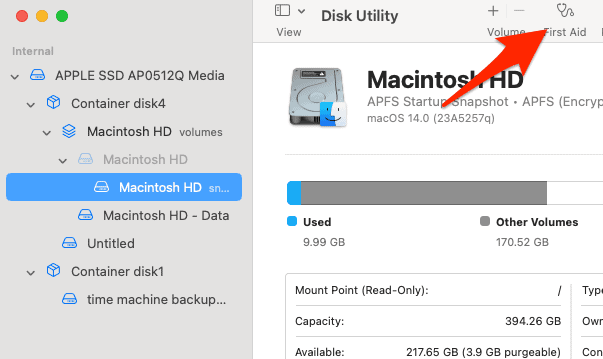
- Open Disk Utility then select your main volume (usually named “Macintosh HD”).
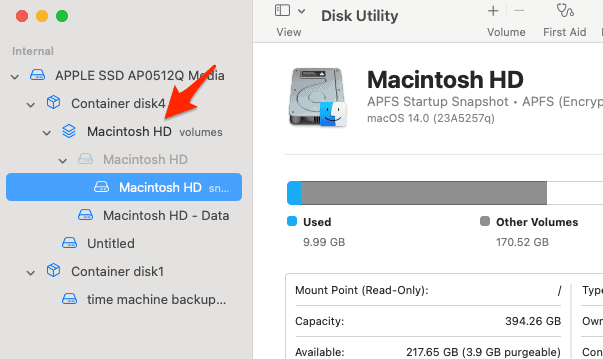
- Click on First Aid and then Run. This will check and repair any file system issues.
6. Relaunch Finder
Sometimes, a simple relaunch of Finder solves the issue.
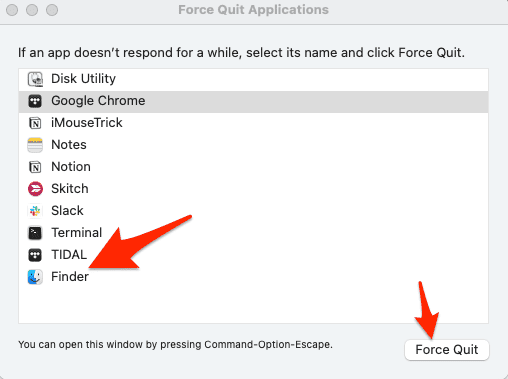
- Press Option + Command + Esc to open the Force Quit Applications window.
- Select Finder and click Relaunch.
7. Enter Safe Mode
Boot your Mac in Safe Mode to see if the issue persists. Safe Mode disables certain software and services from auto-running.
- Turn off your Mac.
- Turn it on and immediately press and hold the Shift key.
- Release the Shift key when you see the login window.
Check if the folder is still greyed out in Safe Mode.
8. Update macOS
Lastly, check for macOS updates and install them if available.
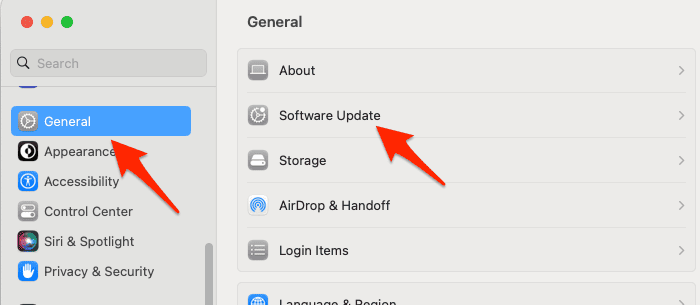
- To do this, go to Apple menu > System Settings.
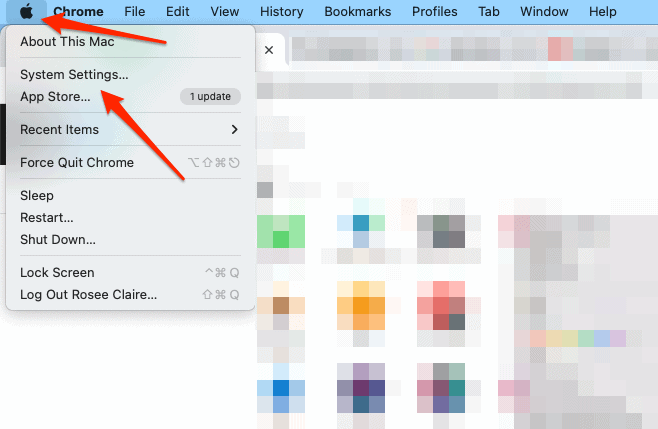
- Next, go to General > Software Update and install any available update.
If you have tried all the steps and still cannot enable the greyed out folder, it might be time to seek professional help. Contact Apple Support or visit the nearest Apple Store or an authorized service provider for assistance.
Why Are Icons Greyed Out on Mac?
Icons can be greyed out due to various reasons such as incomplete file transfers, disk errors, or connection problems with external volumes or remote servers. It could also be due to a lack of permissions if you are not logged in with an account that has the necessary privileges.
Conclusion
Greyed out folders on your Mac can be a result of various issues including incomplete file transfers, disk errors, or connection problems with external volumes. This guide has given you multiple strategies to try in resolving the issue. Remember to always back up your data before trying any fixes, and don’t hesitate to seek professional help if you are unable to resolve the issue on your own.


