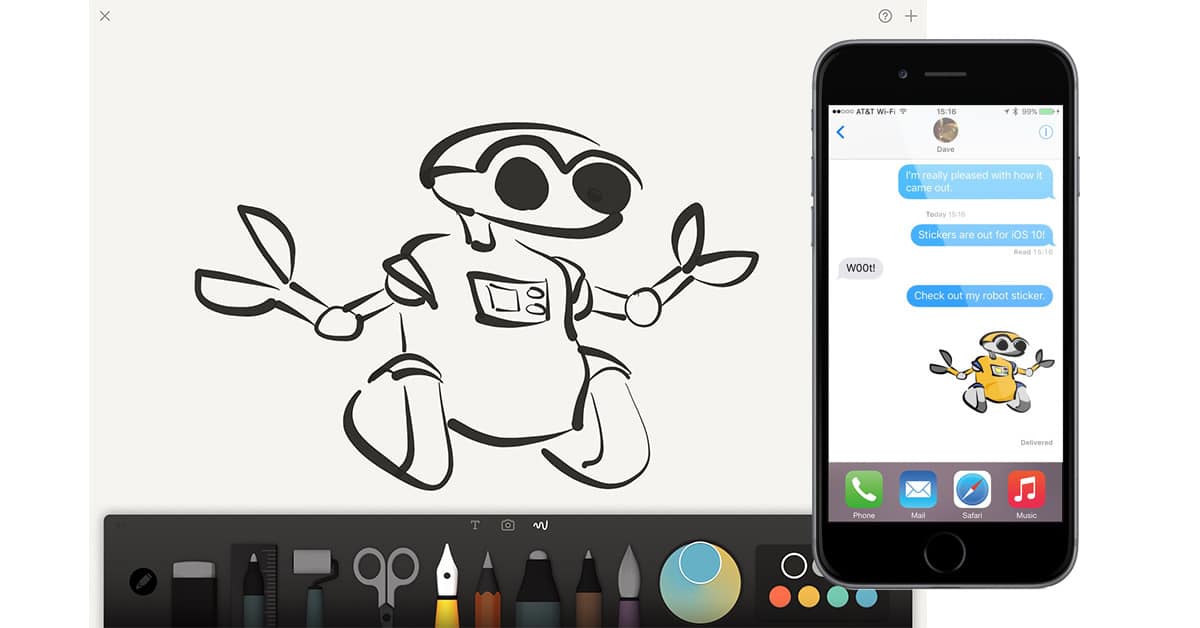
What happens when you tell artists they can make sticker packs for iOS 10 Messages easily? They do, and I took that as an invitation, so I went through the process of creating two sticker packs to learn how the process works. It’s a win-win scenario, because I know a lot more about what developers experience, and you get two sticker packs.

Sticker Packs are collections of graphics you can add to chats in iOS 10’s Messages. They can show up on their own inline, or attached to chat bubbles. They’re fun, and despite the poo-pooing some people are giving them, Sticker Packs are one of the iOS 10 features people have been clamoring for.
Creating Sticker Packs isn’t hard, but it does take some work—and taking the time to get everything set up right in the beginning is totally worth the extra effort. I teamed up with Armada Faction’s Michael Dusing to get these packs (Space is the Place) out in time for iOS launch day, which was great for making sure I didn’t make any painful mistakes along the way. I’ll talk about handling the process all on your own soon.
Let’s Make Some Art
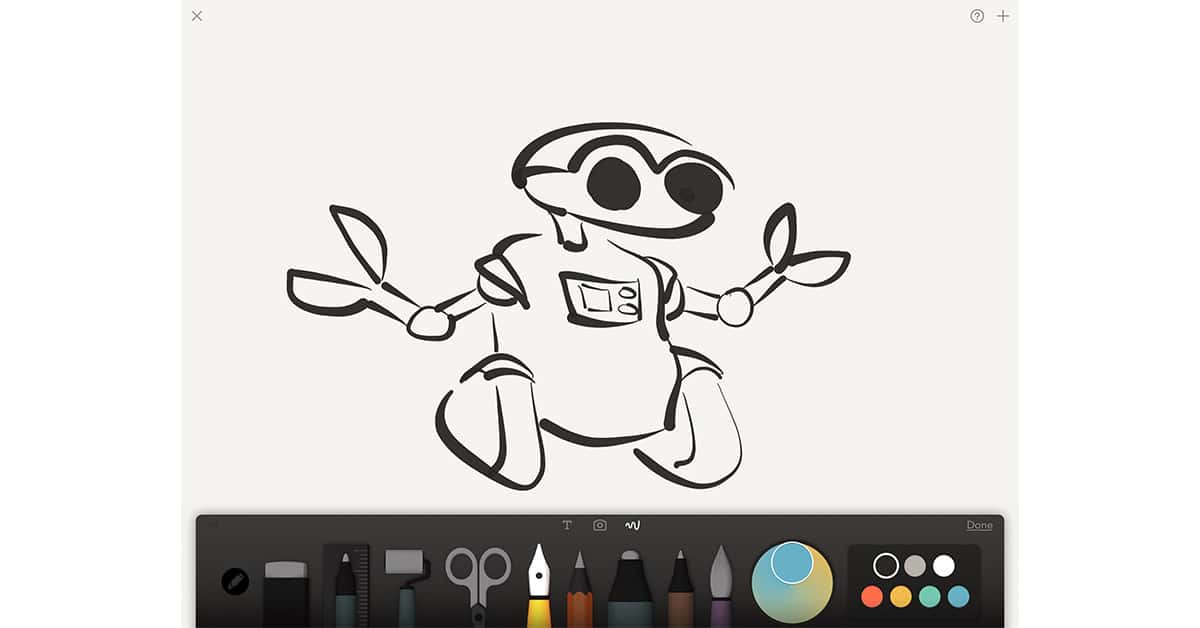
Since I drew the art for my stickers, I needed to get my creations from my head and into my Mac. I could’ve drawn the images on paper and scanned them, but I chose to do my work on my iPad.

My tools of choice were a 12.9-inch iPad Pro, Paper by FiftyThree, and an Apple Pencil. After I was happy with my drawings I exported them from Paper to Photos where they synced automatically with my Mac.
Tip: Go to Paper’s in-app settings and turn off Export with Background Color so there isn’t any risk of accidentally including the app’s subtle grainy pattern in your art.
From Drawing to Vectors
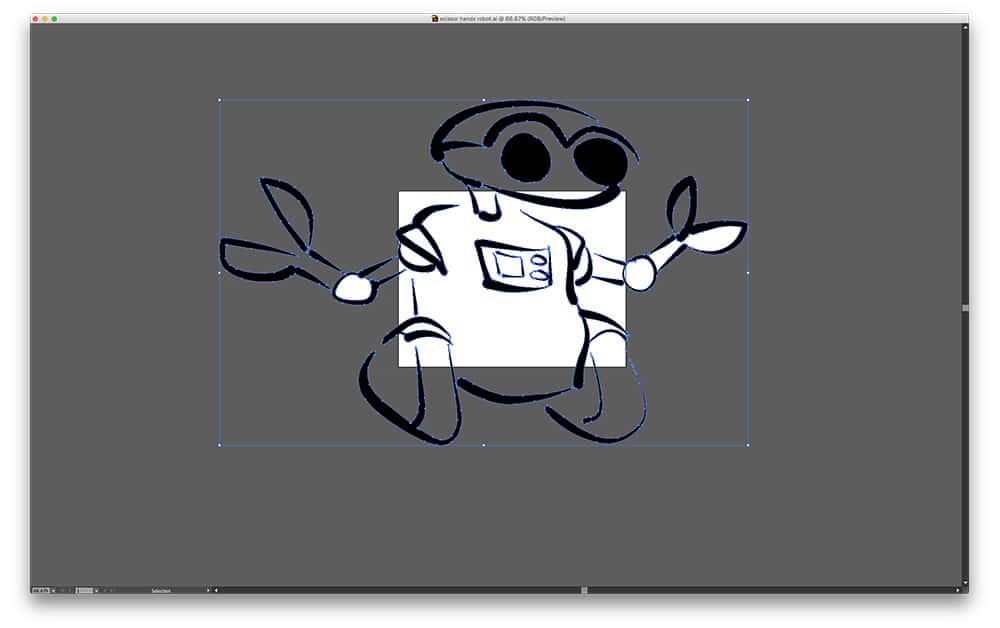
Once my art was on my Mac in Photos, I selected the files and drug them into a folder on my Desktop. I needed to convert them to vector art, which meant a trip to Adobe Illustrator where I spent a lot of time.
You can use whatever vector art app you like. For me the choice was Illustrator since that’s already on my Mac. I used Illustrator’s Image Trace feature to convert my hand drawn lines into vectors. You can find Trace by going to Object > Image Trace > Make and Expand.

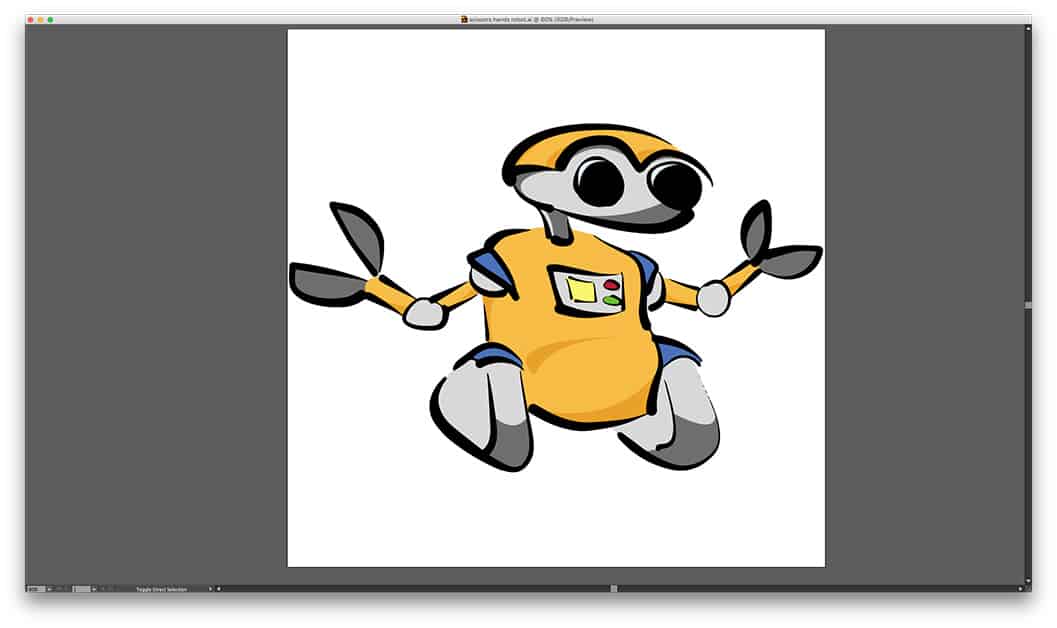
After converting each drawing into vector art, I stayed in Illustrator to add the color. I made my canvas 2000 x 2000 pixels so the images would all be the same size, which was a huge time saver when we had to make final adjustments before submitting the sticker packs to the App Store.

The Payoff
Paying attention to the details up front was a big deal because I ultimately ended up with 66 graphics, not including the drawings I didn’t include in the packs. There are 33 stickers in each pack, for those keeping track at home.
The color and black and white versions of my Sticker Packs went through Apple’s approval process without any trouble. Michael gets to share in the credit for that because he made sure we didn’t have little problems like the edges of graphics getting cut off in Xcode. That’s the sort of thing I could’ve easily missed had I gone through the process for the first time on my own.
The end result was Space is the Place – Color and Space is the Place – BW, and I’m really pleased with how both Sticker Packs turned out. With those packs done and on the App Store, the next step is to handle the process completely on my own so you don’t have to. My step-by-step on that is coming soon.
How many days is the approval process once you submit to the app store?
Thanks Jeff, I am thinking of dabbling in this.
Either should be fine. It’s all about making sure you don’t end up with jaggy or blurry graphics.
What vector art format, ai, eps?