
Setting up an Apple Watch sets the foundation for health tracking, notifications, and apps. You can pair the watch directly with your iPhone, use manual pairing when the camera scan fails, configure a cellular watch for someone who does not have an iPhone with Family Setup, or transfer a watch to a new iPhone. Each method produces a fully configured watch, but each path has its own prerequisites and common pitfalls. This guide explains each method in detail and gives clear step lists you can follow.
Table of contents
Methods
1. Standard Setup with iPhone
Use standard setup when you own both the Apple Watch and the iPhone. This path is the fastest and the most complete. It supports restoring from a backup or starting fresh. The iPhone detects the watch, links the two with the animated pairing flow, and walks you through Apple ID, passcode, permissions, and optional cellular. Keep both devices charged and close together during the entire process.
When you use standard setup you get the choice to restore previous settings and data. That restores watch faces, activity history, and many settings. Some sensitive items such as Apple Pay cards need to be re-entered for security.
- Confirm prerequisites. Make sure your iPhone is an iPhone XS or later running iOS 18 or later. Turn on Bluetooth and Wi-Fi. Keep the watch charged and within a few feet of the iPhone.
- Power on the watch. Press and hold the side button until the Apple logo appears. Strap the watch on so sensors sit correctly against your wrist.
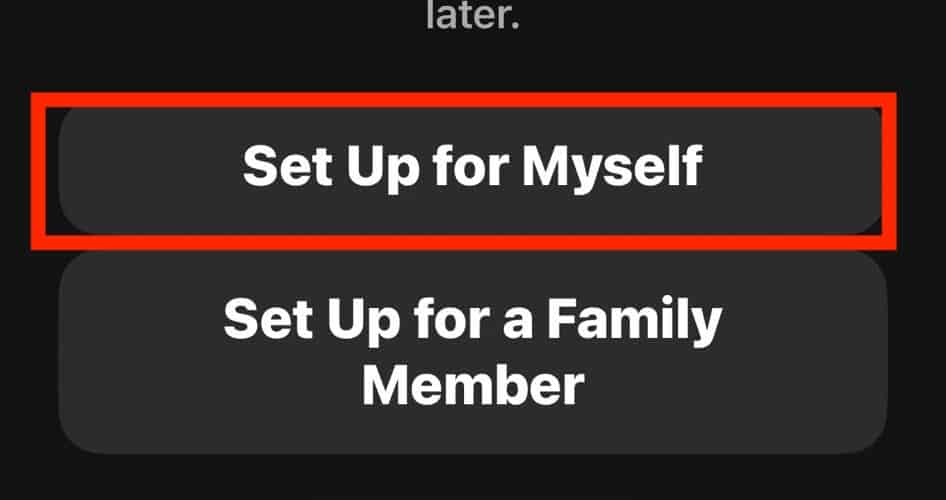
- Start pairing. Hold the watch near the iPhone. Tap Continue on the iPhone when the prompt appears or open the Watch app and choose All Watches > Add Watch > Set Up for Myself.
- Scan the animation. Use the iPhone camera to align the watch face animation inside the viewfinder so the devices pair automatically.
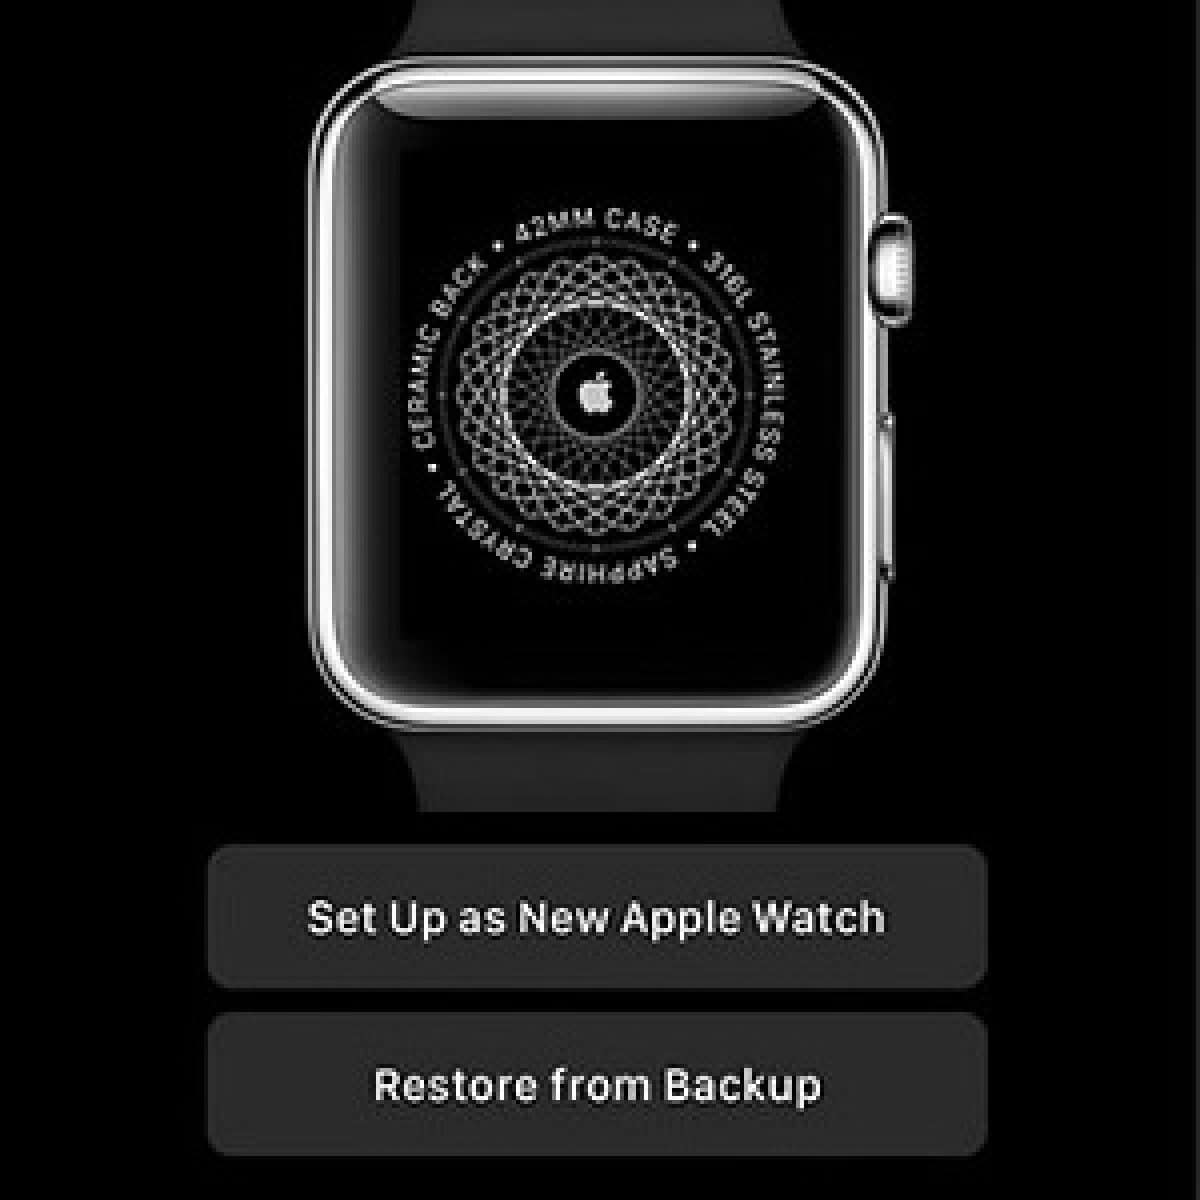
- Choose setup mode. Select Set Up as New Apple Watch or Restore from Backup. Pick Express Setup for speed or Customize Settings to control permissions and features.

- Configure essentials. Sign in with your Apple ID, create a passcode, choose wrist and Digital Crown orientation, set display text size, and grant health and activity permissions.
- Update and sync. Install any required watchOS updates and wait for apps and data to sync. Keep both devices on power until syncing finishes.


Standard pairing relies on stable Bluetooth and Wi-Fi. If either connection degrades the pairing or first sync can stall. Let the initial sync finish before testing notifications or fitness features.
For full instructions, see how to connect Apple Watch to iPhone.
2. Manual Pairing Fallback
Manual pairing is the fallback when your iPhone cannot scan the animated pattern. It yields the same final configuration as standard setup. You identify the watch using the small information icon and a numeric code, then enter that code on the iPhone. Manual pairing is secure and often solves scan failures caused by lighting, camera issues, or animation glitches.
The watch displays the pairing code after you tap the small i button on its pairing screen. If the i button does not appear, restart the watch or erase it to re-enter pairing mode.
- Open manual pairing. On the iPhone pairing screen tap Pair Apple Watch Manually. If the option does not appear, open the Watch app and choose All Watches > Add Watch.

- Show the code on the watch. Tap the i icon on the watch face. The watch shows a device name and a numeric code.

- Select the watch on your iPhone. Choose the watch from the list of nearby devices and enter the code shown on the watch to authenticate.
- Choose setup mode. Pick Set Up as New Apple Watch or Restore from Backup and proceed.
- Finish configuration. Sign in with Apple ID, create a passcode, enable health permissions, and choose which apps to install.
- Wait for sync. Keep the devices together and on power until updates and data sync complete.


Manual pairing removes the camera dependency and is a reliable option when scanning fails. If you repeatedly cannot enter pairing mode, erase the watch under Settings > General > Reset > Erase All Content and Settings.
Once paired, you can explore the basics of how to use Apple Watch.
3. Family Setup (for someone without an iPhone)
Family Setup lets you configure a cellular Apple Watch for a child or relative who does not own an iPhone. The organizer manages the watch from their own iPhone. The watch works independently for calls, messages, and location while the organizer controls Screen Time, restrictions, and safety settings. Family Setup requires a cellular-capable Apple Watch and carrier support for family plans in many regions.
The organizer signs in with the family member’s Apple ID or creates one during setup. The organizer can manage contacts, health sharing, and emergency contacts. Carrier activation steps may be required to enable cellular.
- Prepare the watch. If the watch is used, erase it first. Power on the watch and keep it near the organizer’s iPhone.
- Start Family Setup. Open the Watch app on the organizer’s iPhone and choose Set Up for a Family Member. Tap Continue when prompted.

- Pair the watch. Use the animation scan or Pair Apple Watch Manually if the camera cannot read the animation.
- Assign an Apple ID. Select or create the family member’s Apple ID and sign in so the watch can use iCloud features and health sharing.
- Configure connectivity and services. Set up cellular if supported. Enable Wi-Fi sharing, Location Services, Siri, Messages in iCloud, and any health sharing you require.
- Set parental controls and safety settings. Configure Screen Time, Schooltime, communication limits, and emergency contacts.
- Manage later. The organizer can adjust settings in the Watch app under All Watches > Family Watches.

Family Setup expands Apple Watch functionality to users who do not carry an iPhone. Confirm carrier compatibility before you buy if cellular access is a requirement.
If you plan to stay connected on the go, learn how to use cellular on Apple Watch.
4. Transfer an Existing Apple Watch to a New iPhone
Transferring preserves activity, health, and watch settings when you switch iPhones. Apple stores Health data securely in iCloud when you enable Health in iCloud. Back up your old iPhone to iCloud so the watch can restore from that backup. After you sign in on the new iPhone, pairing will prompt you to restore the watch and its data.
Some features such as Apple Pay require re-authentication. Keep both iPhones and the watch on power and close during migration to avoid partial restores.
- Back up Health and the old iPhone. On the old iPhone open Settings > [your name] > iCloud and ensure Health is enabled. Make an iCloud backup of the device.
- Sign in on the new iPhone. Sign in to the new iPhone with the same Apple ID used on the old device.
- Begin pairing on the new iPhone. Hold the watch near the new iPhone. Tap Continue when prompted or open the Watch app and Add Watch.
- Restore from backup. When prompted choose Restore from Backup and select the most recent backup that contains your watch data.
- Keep everything close and powered. Keep the watch and new iPhone connected and on power until the migration completes.
- Verify services. Check Health data, activity rings, notifications, and re-add Apple Pay cards if required.
A successful transfer keeps your activity history intact. If you see missing data confirm that Health was included in the iCloud backup and that you restored from the correct backup.
Follow the step-by-step guide on how to pair an Apple Watch to a new iPhone.
Tips
- Charge both the iPhone and Apple Watch before you start and keep them on power until setup finishes.
- Stay close to a stable Wi-Fi network or maintain good cellular coverage during updates and syncing.
- Use Express Setup when you want speed. Use Customize Settings when you want control over permissions and apps.
- If pairing stalls, restart both devices, update iOS and watchOS, then try again.
- For Family Setup confirm carrier support for family plans and cellular activation steps in your region.
- After setup, manage notifications, privacy, and permissions from the Watch app on your iPhone.
FAQs
You need an iPhone XS or later running iOS 18 or later for standard pairing.
Yes. Family Setup lets an organizer configure a cellular Apple Watch for someone who does not own an iPhone.
Use Pair Apple Watch Manually on the iPhone then enter the numeric code shown on the watch’s small i screen.
Enable Health in iCloud on your old iPhone, back up the device, then pair the watch to the new iPhone and choose Restore from Backup during setup.
Yes. You can add or activate a cellular plan later from the Watch app under Cellular or Mobile Data.
Summary
- Standard setup pairs the watch with your iPhone via the animated scan. Configure Apple ID, passcode, health permissions, and wait for syncing.
- Manual pairing uses the watch’s displayed code when the camera cannot scan the animation. It leads to the same configuration as standard setup.
- Family Setup configures a cellular Apple Watch for a family member without an iPhone. The organizer manages the watch from their iPhone.
- Transfer to a new iPhone requires iCloud Health sync and an iPhone backup. Restore the watch from backup after pairing with the new iPhone.
Conclusion
Apple Watch setup is flexible and dependable when you prepare the devices, confirm iCloud and carrier requirements, and allow the initial sync to complete. For most people standard pairing is the simplest route. Use manual pairing to work around camera issues. Use Family Setup to give a child or relative a managed, standalone watch. And use the transfer path when you upgrade your iPhone so you keep your data.


