
For the average Mac user, simply knowing how to install and uninstall apps or software packages through the Mac’s graphical user interface is enough. But not all Mac owners are average users. There are a lot of brave ones who’ve managed to explore deep beyond the facade of their Macs. One way of simplifying an otherwise daunting task on your Mac is through the use of managing software packages. Many advanced users found solace in Homebrew, shortened to just Brew, a free, open-source package management software that lets you install, update, and remove unneeded software. In this guide, I will show you how to install Brew on your Mac and some other essential things you need to know to use the software.
What is Homebrew and What Can It Do
Homebrew is a free and open-source software package management system that allows you to install software on macOS. According to its website, Homebrew lets you install the stuff you need that Apple does not allow you to do. As a package manager for Mac, many users commend Homebrew for its simplicity and effectiveness in saving users time and effort. Others also dubbed the software “the missing package manager for macOS.”
If you are one of our more technically-savvy readers, you will understand if I mention that Homebrew is built upon Git and Ruby.
Below are some of the things that Homebrew can do.
- Collect and manage all your different libraries and software packages in one place.
- Using command-line-based tools, Homebrew can automate workflows
- If you’re familiar with python scripts, Homebrew will help you install them on your Mac.
- Those in software development will be glad to know that the software can help you set up a testing and development environment.
- Finally, and probably the most important for most Mac users, Homebrew allows you to install apps unavailable in the App Store.
How to Install Brew on Mac
Before proceeding with the installation of Homebrew on your Mac, check first if it’s already installed by typing brew on the Terminal command line. Although Brew is not installed on the Mac by default, you can still check if it is already installed. If Homebrew is not installed, you will see the message below.

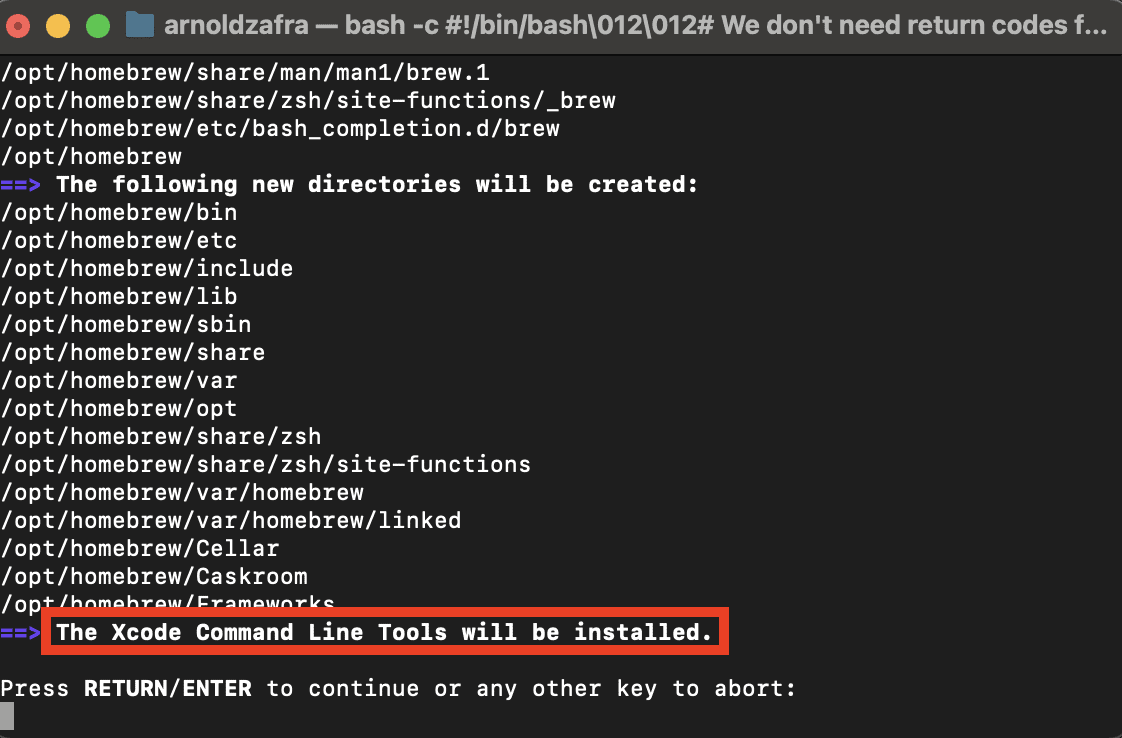
Then you can proceed to install Homebrew on your Mac. The first thing you need to do is install the Xcode Command Line Tools. For the unfamiliar, Xcode is an integrated development environment tool for macOS. It is a prerequisite for Homebrew to function properly.
Follow the steps below to install the Xcode Command Line Tools.
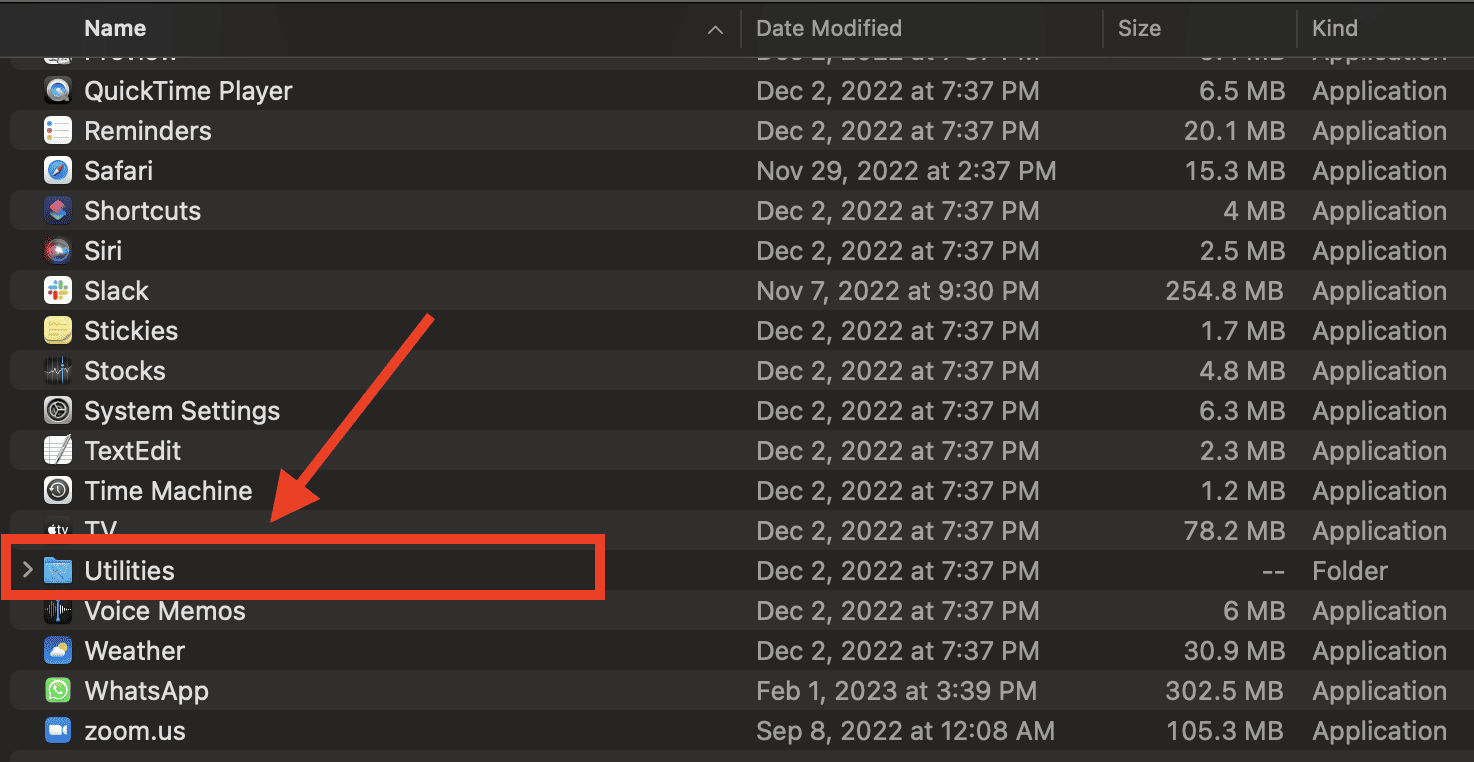
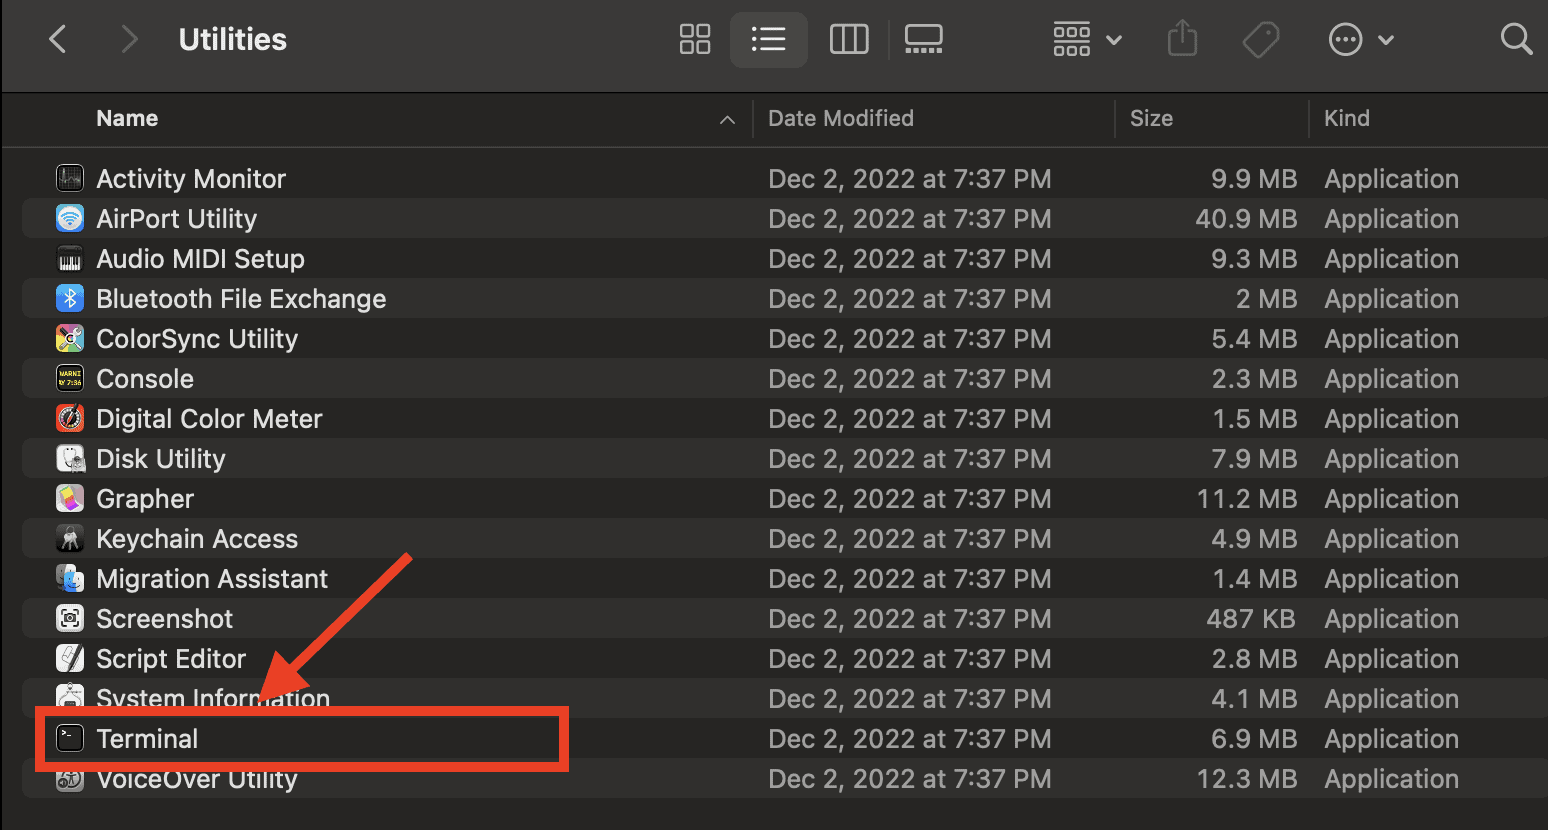
- Go to Finder > Click Applications.
- Click Utilities > Terminal.
- Run the line below on Terminal.
xcode-select --install - Click Install when prompted.
- Click Agree to the License Agreement.
- Wait for the installation to finish.


Once you’ve installed the Xcode Command Line Tools on your Mac, you can install Homebrew.
Time needed: 5 minutes
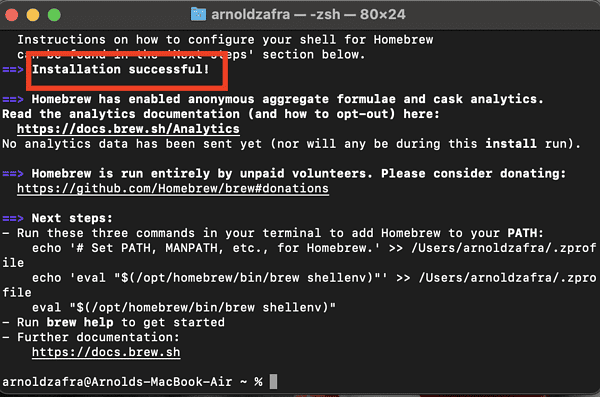
To install Homebrew on your Mac, follow these directions.
- Type the following command line to download the installation script.
/bin/bash -c "$(curl -fsSL https://raw.githubusercontent.com/Homebrew/install/HEAD/install.sh)"
- Enter your administrator password and press Return to proceed with the installation.
- Wait for the message “Installation Successful” to appear.

If you try to use Brew and you get the “brew command not found” prompt, you might have skipped the notifications below during the installation. I missed those and encountered the error. But once I followed the steps, I was able to use Homebrew and stopped asking myself, “Why is Brew not found on my Mac?”

How to Install, Remove or Update Packages Using Homebrew
Now that Homebrew is installed on your Mac, you can start using it by installing, removing, or updating packages.
To install packages, use the command below:
brew install [package name]
Use the command below to update packages:
brew update [package name]
To remove packages, use the command below:
brew uninstall [package name]
How to Uninstall Homebrew on Mac
Now that you know how to install Brew on Mac, you might want to know how to uninstall it, in case you don’t need it anymore. Follow the steps below to do so.
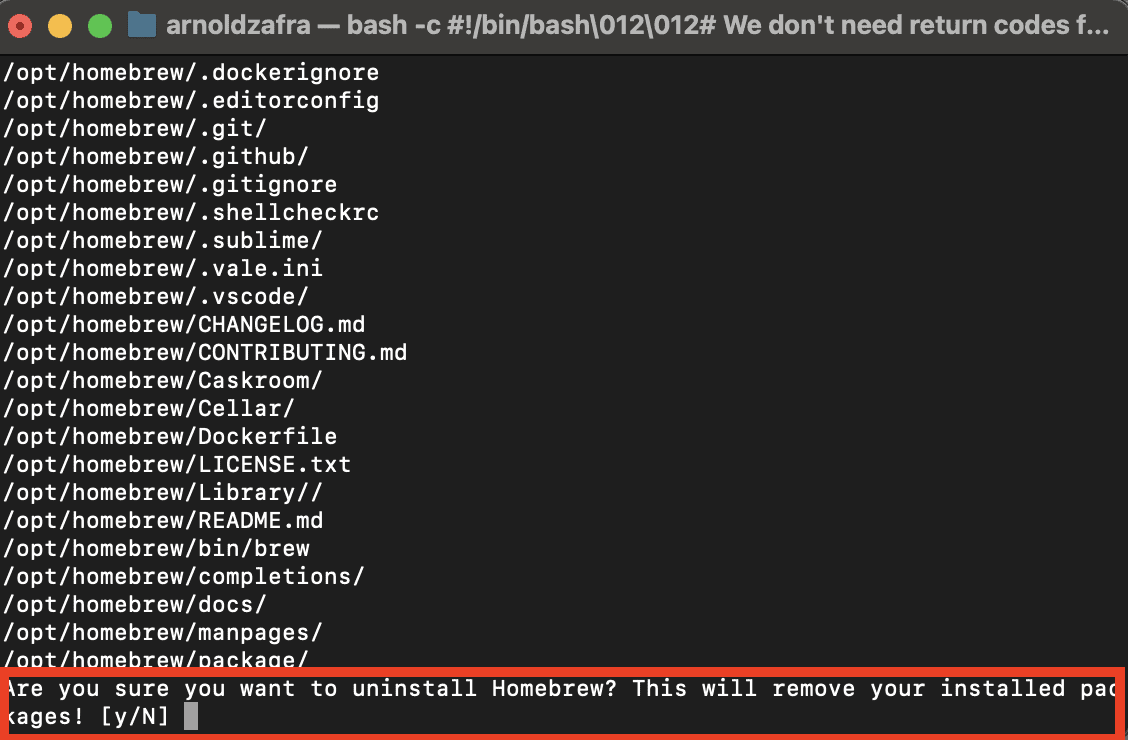
- Run the following command:
/bin/bash -c "$(curl -fsSL https://raw.githubusercontent.com/Homebrew/install/HEAD/uninstall.sh)" - Press Y to uninstall Homebrew

Bonus Tip: How to Disable Homebrew Analytics
It should be noted that when using Homebrew, it collects system information and sends it to the developers. These include the Homebrew user agent, Google analytics version, a Homebrew Analytics tracking ID and Homebrew Analytics user ID, and Events, such as those in the Homebrew install event category.
If you don’t want that to happen, you can disable the Analytics function of the software by running the command:
brew analytics off


