
For a number of reasons, you might miss out on important noises. Maybe something has you distracted or you’re jamming to your favorite tunes. Or, perhaps your hearing isn’t what it used to be. Using personalized sound recognition on iOS 16, your iPhone can help you know about the critical noises you may not hear. Let’s walk through how to set it up and record custom sounds you want your iPhone to alert you to.
Setting Up Sound Recognition on Your iPhone
Sound Recognition is a feature located within your iPhone’s Accessibility settings. Once enabled, your iPhone can alert you to a number of critical sounds you may not notice. Apple built quite a few into the operating system. These include smoke detector alarms, dogs barking, car horns, doorbells and much more.
To turn on Sound Recognition, start in the Settings app on your iPhone. Next:
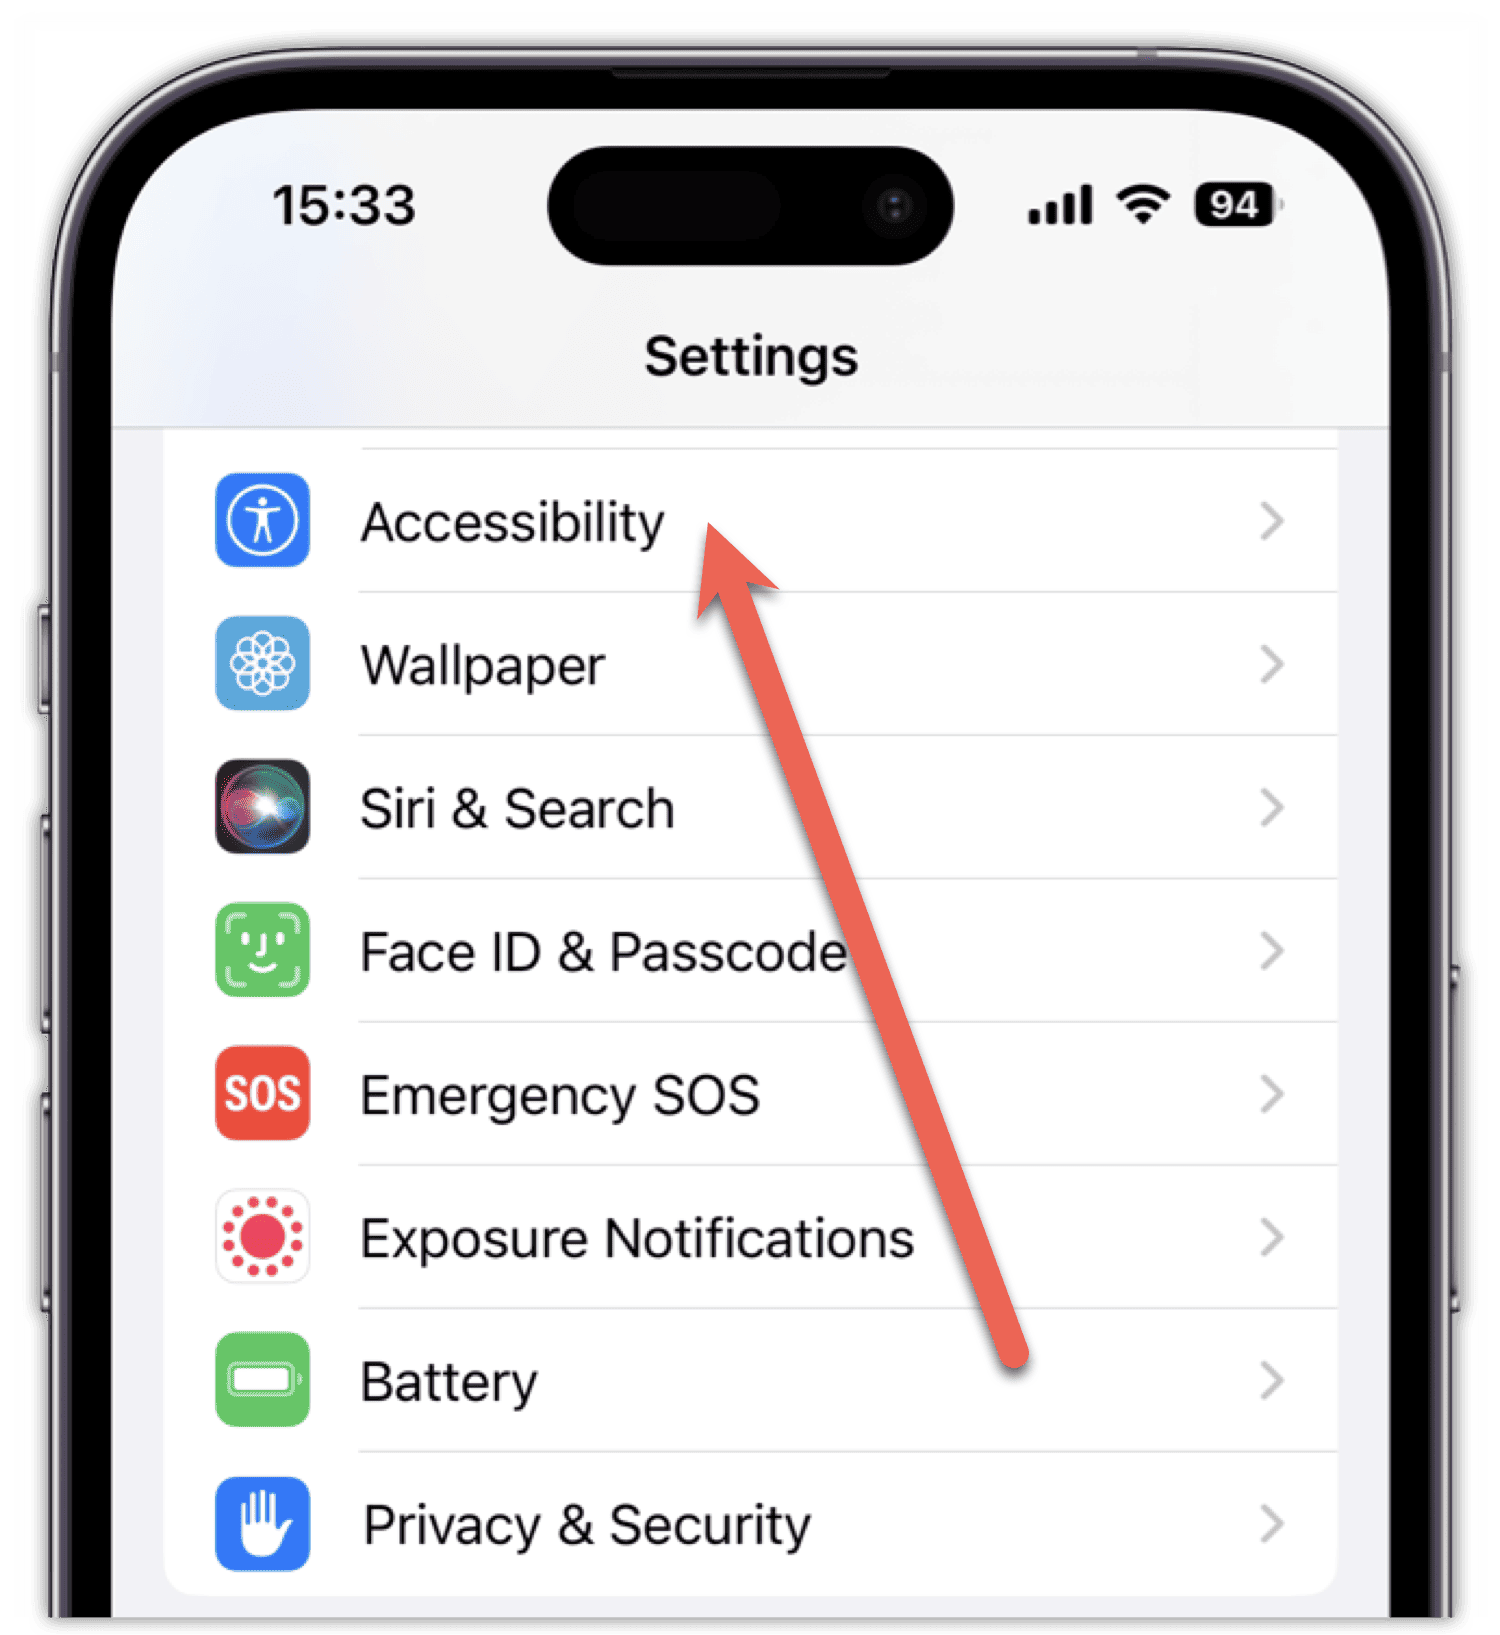
- Scroll down and tap Accessibility.
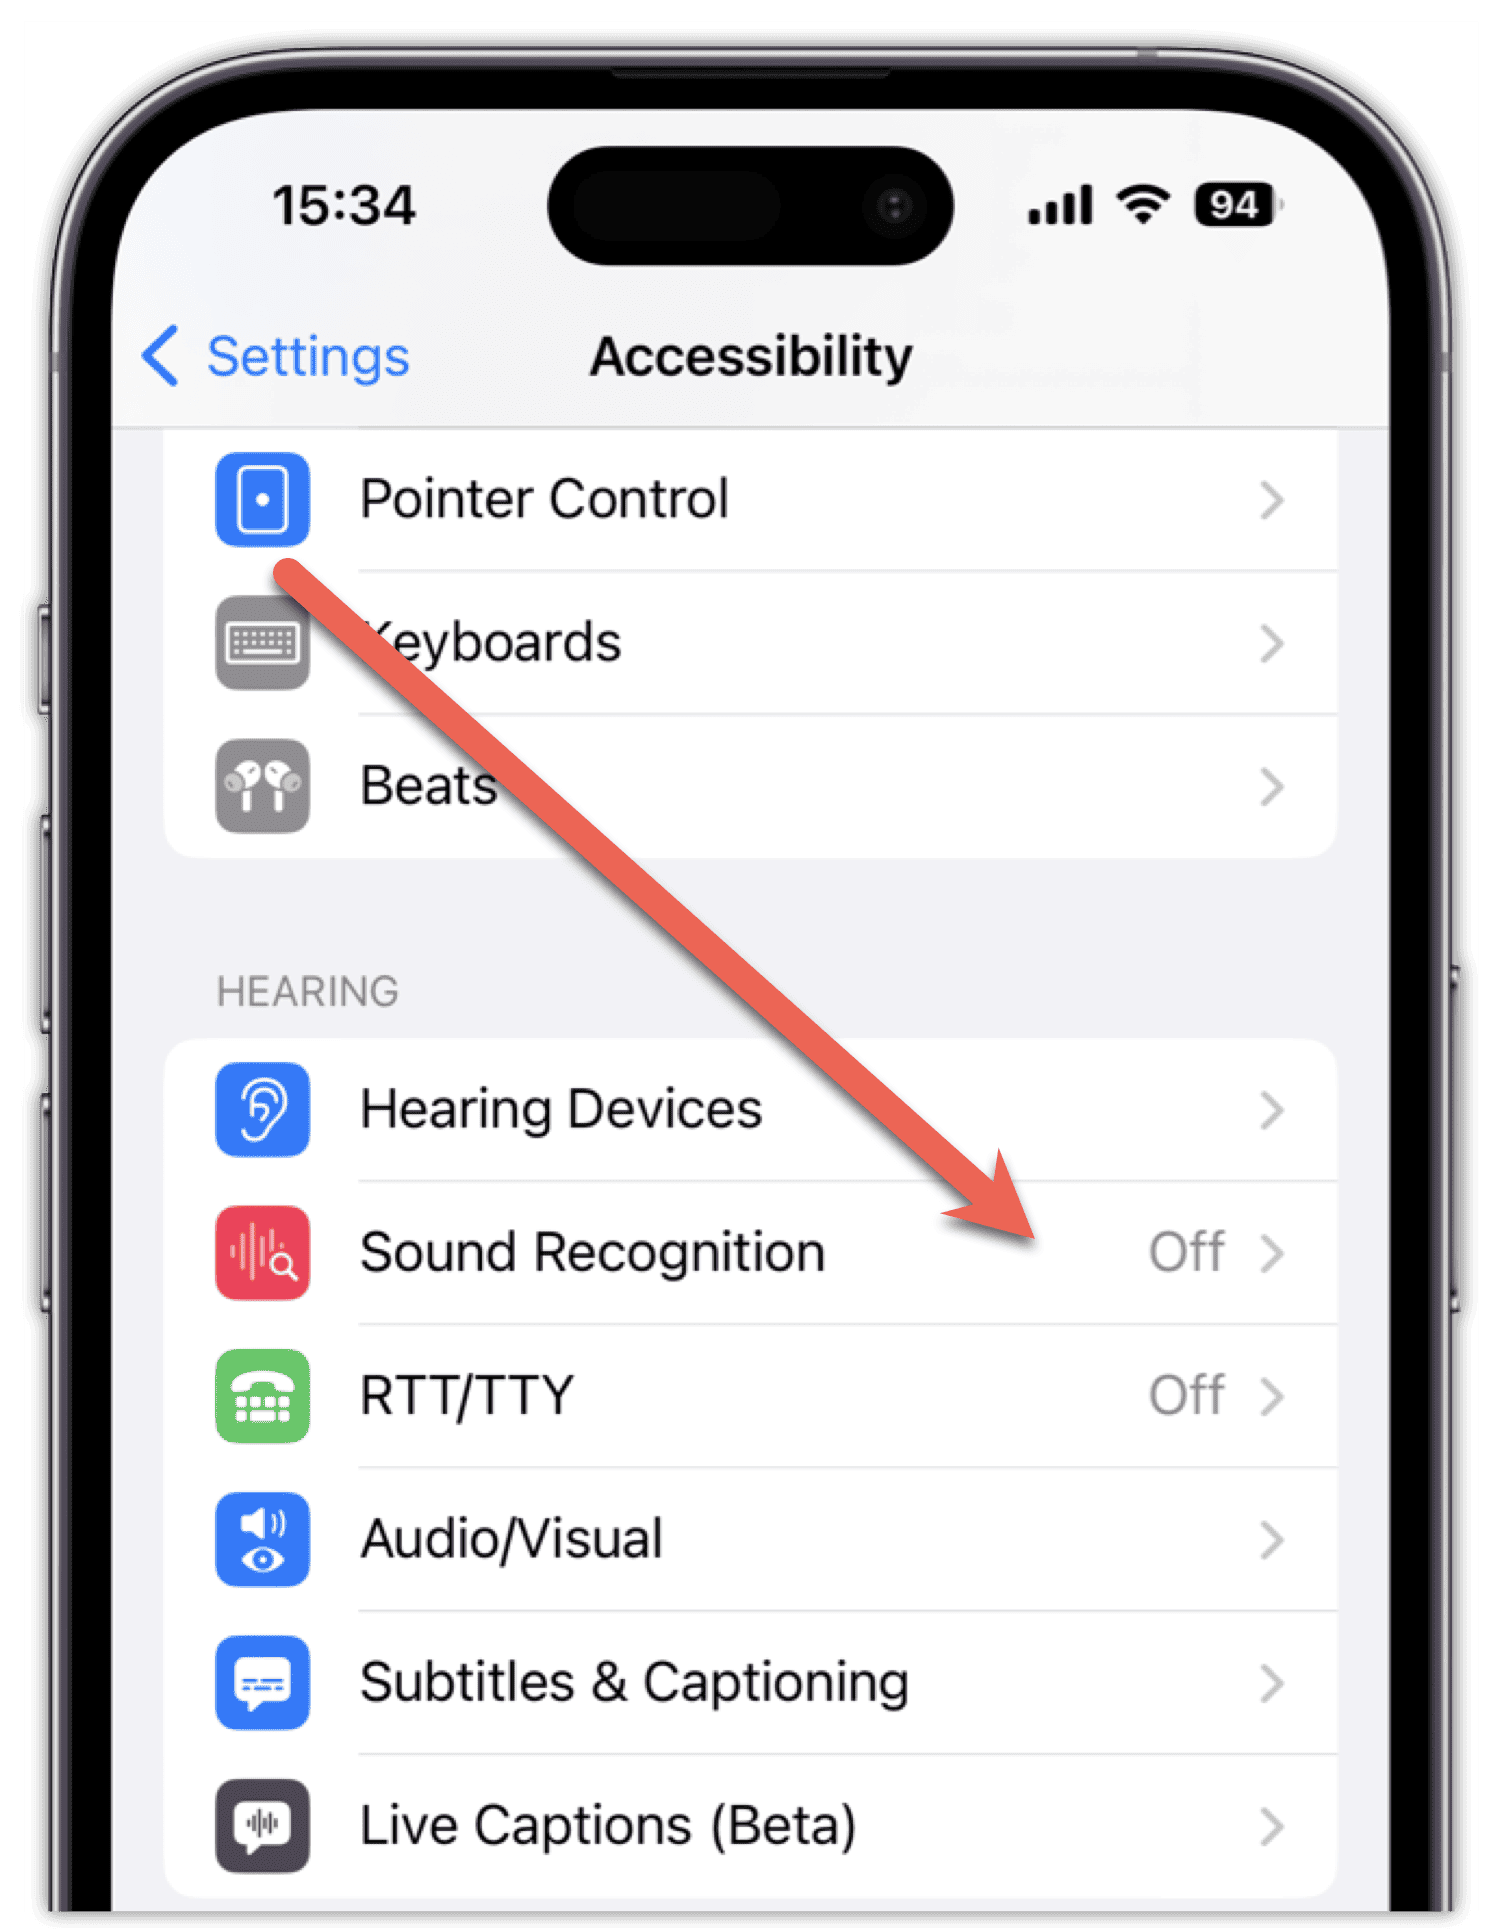
- Under Hearing, tap Sound Recognition.
- Toggle the switch On.
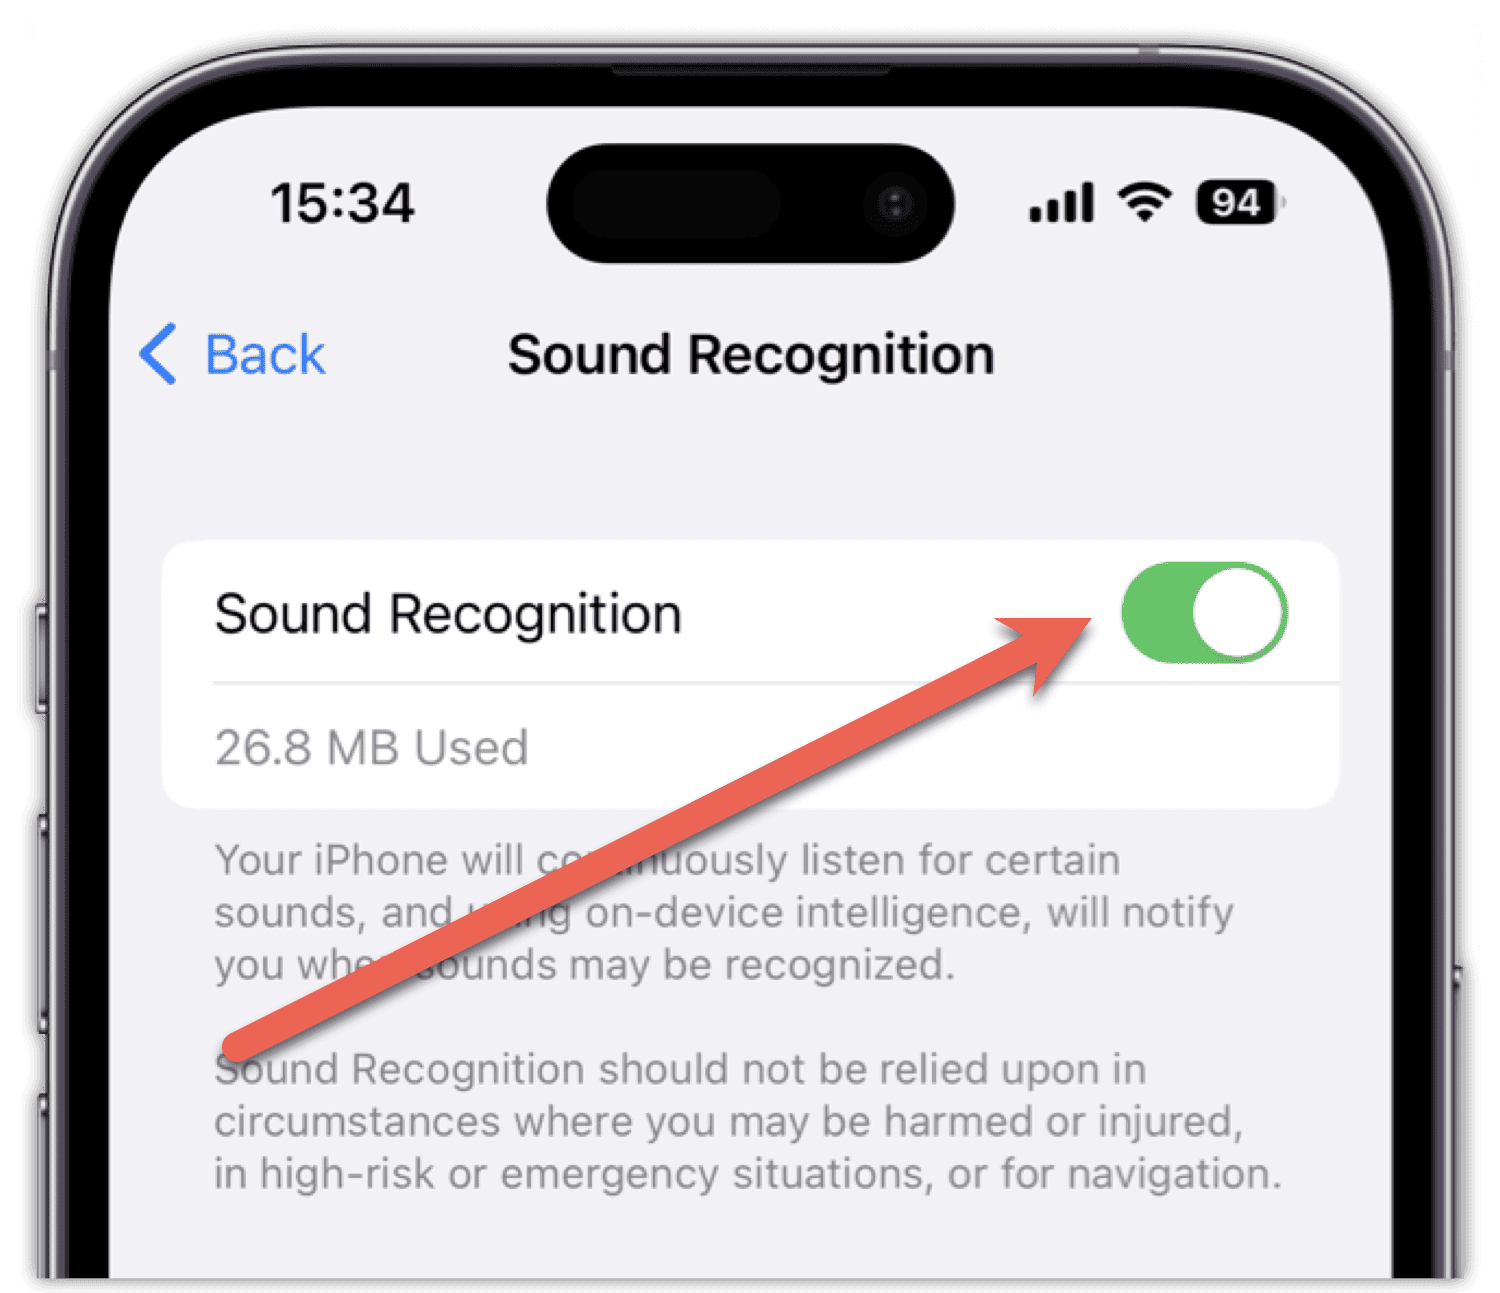


It’s important to realize your iPhone isn’t perfect, either, at hearing or recognizing these sounds. Apple states:
Sound Recognition should not be relied upon in circumstances where you may be harmed or injured, in high-risk or emergency situations, or for navigation.
Recording Personalized Alerts for Sound Recognition to Listen For On iOS 16
Of course, you aren’t limited to just the noises Apple gives you in the feature. You can also record sounds to create personalized sound recognition alerts.
Time needed: 5 minutes
Here’s you can add personalized sound recognition to iOS 16.
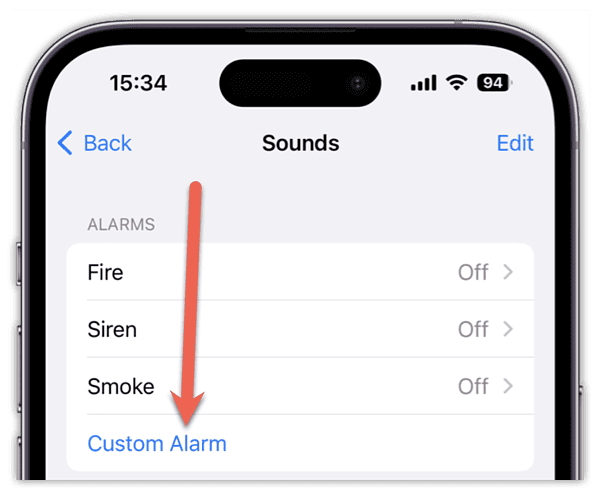
- Go back to the previous Sound Recognition menu.
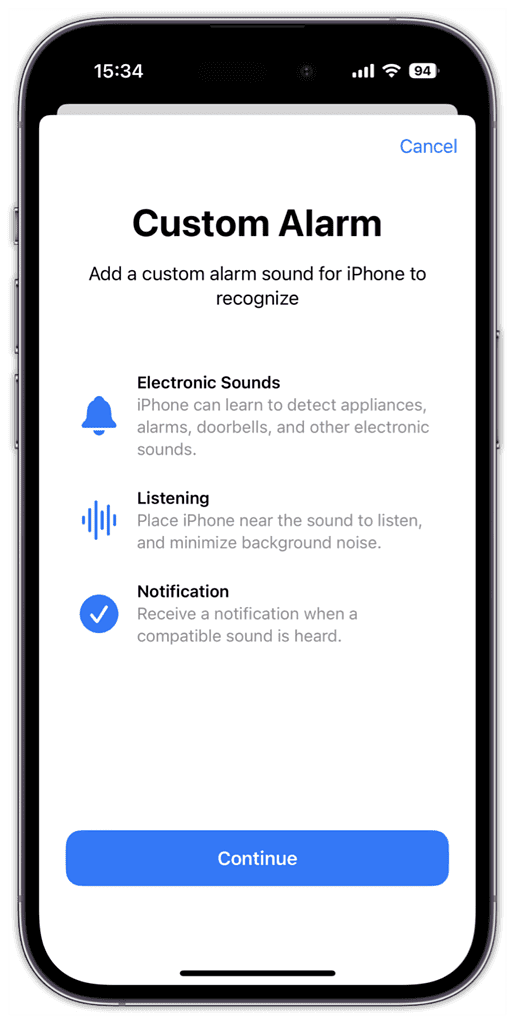
Tap Custom Alarm.
- Your iPhone explains the feature and walks you through setting it up.
Tap Continue.
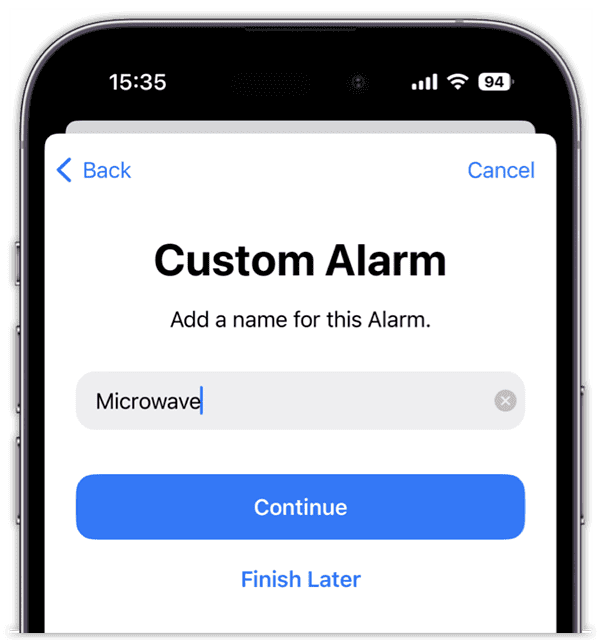
- Give your custom alarm a name.
Next, tap Continue.
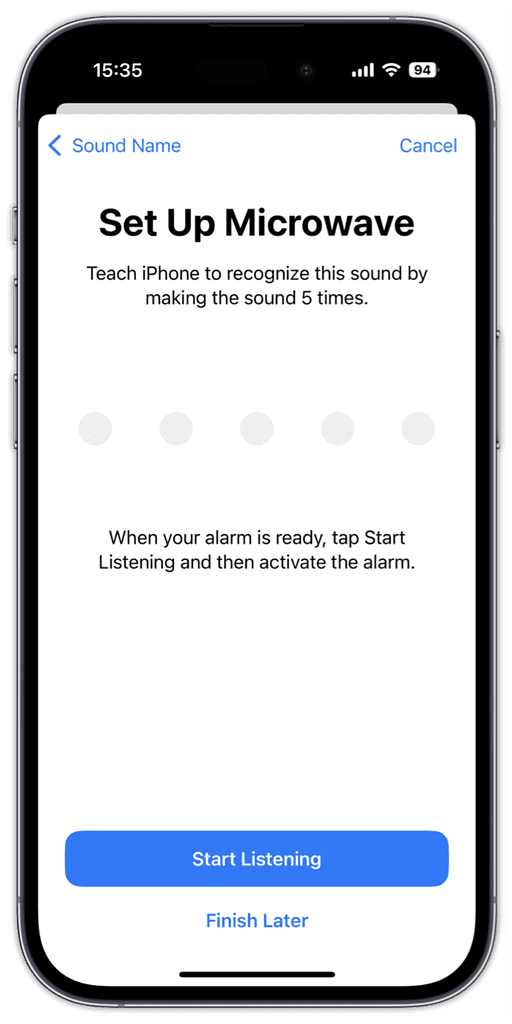
- Next, you’ll need to teach your iPhone to recognize the sound.
To do this, tap Start Listening as the sound is about to go off.
- If your iPhone detected the alarm, it will say so.
Tap Save Sound if you’re sure you activated whatever alarm you’re setting up.
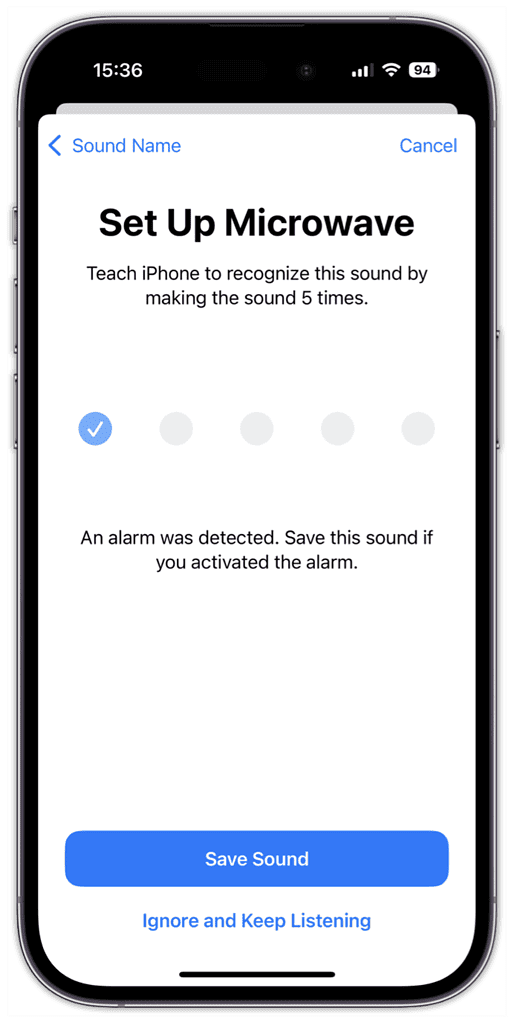
- Repeat this process until your iPhone has recorded the sound 5 times.


Once done, your iPhone will take a few minutes to process the recordings. After it’s done, you’ll get a notification that the custom alert is ready. Once that’s done, your iPhone will alert you whenever it detects that noise.
If you decide you don’t wish to use sound recognition anymore, just go to Settings > Accessibility > Sound Recognition, and toggle the feature off. You can also toggle Sound Recognition from the Control Center.


