
Over the last ten days, I have worked with three clients who attempted to migrate to new Macs using Migration Assistant, Apple’s built-in program for transferring applications, user documents, music, photos, and so on from an old Mac. In all three cases, the old computers and the new ones were running High Sierra, and all three migrations failed and had to be redone.
I’m not sure whether this is an indication of a problem with High Sierra, necessarily, but I thought I’d take the opportunity to give you all some pointers on how to make sure Migration Assistant works properly (and what to do if it doesn’t). Many things in tech are frustrating, but few are more upsetting than getting a new machine that then takes hours and hours to get set up. Argh.
1. Make sure both Macs are running the latest version of their operating systems.
This doesn’t necessarily mean that you have to update your 2014 iMac to High Sierra; rather, just make sure to go to the App Store’s “Updates” tab to check for any incremental updates to Yosemite or whatever it’s running.

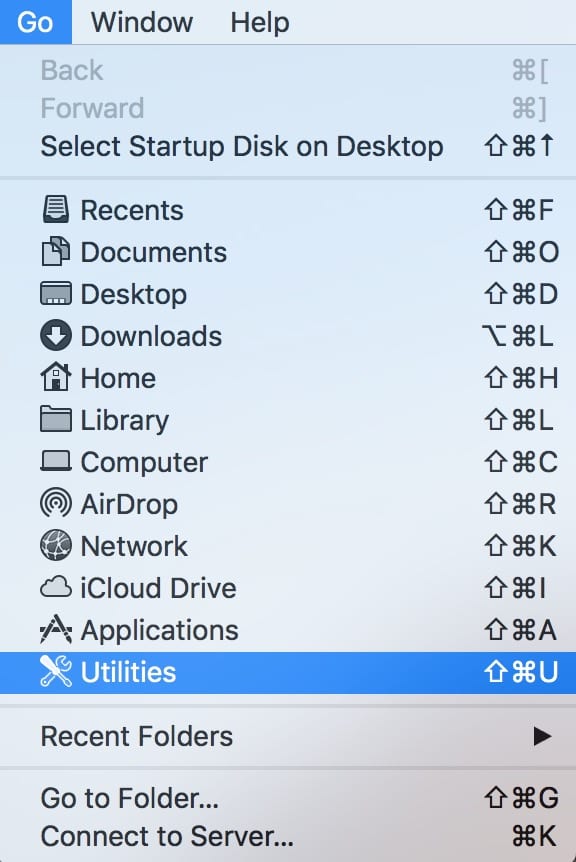
Your new Mac will offer to let you transfer your data to it before you even go in and configure a user account; if you’re migrating from a Mac that has the latest version of High Sierra, though, I think it’s always best to set up your new computer with a blank user account instead, install any High Sierra updates that are available, and then move your files over using the Migration Assistant program from the Applications> Utilities folder, a shortcut to which is available under Finder’s “Go” menu.
Afterward, you can just delete the dummy account you created from System Preferences> Users & Groups. This’ll keep you from running into issues because you moved data from, say, a Mac running 10.13.2 to a Mac that shipped with 10.13; going from a newer version of the OS to an older one can be problematic.
2. Consider migrating from a Time Machine (or other) backup instead of between machines.
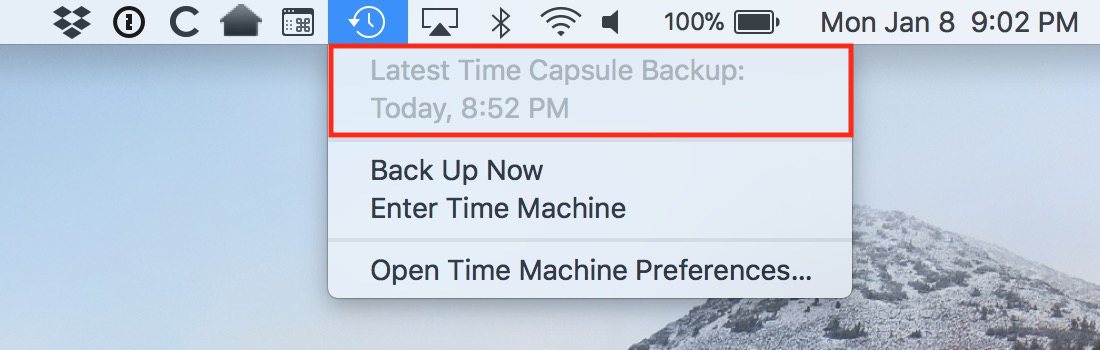
If you’ve got a backup that’s directly connected to your old Mac—or a Time Capsule that you’ve been backing up to over your network—you can use the data on that to restore from, and lately, this has been a more consistent method for me. Just make sure that the backup you’re using is recent, which you can check from Time Machine’s circle-clock icon in your menu bar.
If your backups are on an external drive, plug it in to your new Mac and select it as Migration Assistant’s source; if they’re on a Time Capsule, you could restore wirelessly if you had to just by joining the network that the Time Capsule is on. However, I’d strongly suggest plugging an Ethernet cable between your new Mac and the Time Capsule to migrate for speed’s sake.
3. Speaking of which: Don’t use Wi-Fi.
Apple points out in the support article on migrations that all you technically have to do to migrate between two Macs is to have them on the same Wi-Fi network and near each other if they’re running Sierra or higher, but…yeah. Connect them with an Ethernet cable instead (with the appropriate adapters if necessary). Or consider using a different type of cable and Target Disk Mode. I’ve had terrible luck attempting to use Wi-Fi for migrations; plus, if you don’t have the latest hardware and Wi-Fi router or your network isn’t running at optimum (which they usually aren’t), it could be slow. So I’d avoid it.
If all else fails and you end up with a migration that locks up in the middle of the process or just never completes, then you’re going to have to do some extra work. If only some of your data has been transferred, don’t try to go back and start the migration again immediately—if you do so, you’ll likely end up with duplicated user accounts, and the second try will probably fail too.
Should that happens to you, boot the new machine up into macOS Recovery, use Disk Utility to erase the startup disk, and then reinstall macOS. (Don’t erase your old machine accidentally, please.) Afterward, you can attempt the migration again. This time, however, try doing it from a backup if you did it Mac-to-Mac the first time. Or try Target Disk Mode, as I mentioned. Anything to prevent having to wipe and reinstall AGAIN. There’s a certain level of tech frustration I can take, and that would be beyond it, I think.
I kinda need a drink just thinking about it.


I too have had terrible problems with Migration Assistant. One option I don’t see in discussions is Thunderbolt Bridge. Thunderbolt Bridge makes migration between the old and new Macs much easier. It does require a direct thunderbolt cable connection. IMHO it is well worth the money to buy a cable just for this.
I see there is no information on being able to transfer just ONE application, or a handful of data, or anything from the TIME MACHINE individually. I assume since this isn’t covered this thread is also an “all or nothing” migration as the words “just” and “simply” are used 😉 If I’m incorrect, let me know if I can ‘just simply’ connect the TM from the old computer to the new computer and drag things off the TM. I’m trying to get a specific app off the old computer to use on the new one.
I used the migration assistant to try and install my backup files from a hard disk that was manually created (not using Time Machine) from my 2011 Macbook to a new High Sierra Macbook. Migration Assistant never stopped, even after letting it run overnight. Then, after disconnecting, it appeared the hard disk was completely empty. Recovering my backup files from the hard disk by a computer repair shop, it took them 2 days to recover files but in such a way that these had lost both the directory structure as well as file names. They could only recover the extensions and sort the files with hep of that (.doc, .excel, ‘pdf etc.) but it would take me years to get everything in order again. Would it have been possible to avoid this?
One other comment about a “dummy account”. It’s always a good idea to have an “admin” account for recovery and troubleshooting purposes. So on a new Mac I always create that as the “first account” and then do the migration for the everyday working account(s).
If something bad happens to them I know that there’s a solid recovery vehicle.
A good recipe, and the one thing I’d add is a large dose of patience. There are various points during the migration process where it may look like nothing is happening. I tend to advise clients to not even look at the screen for a couple of hours, and sometimes leave it overnight.