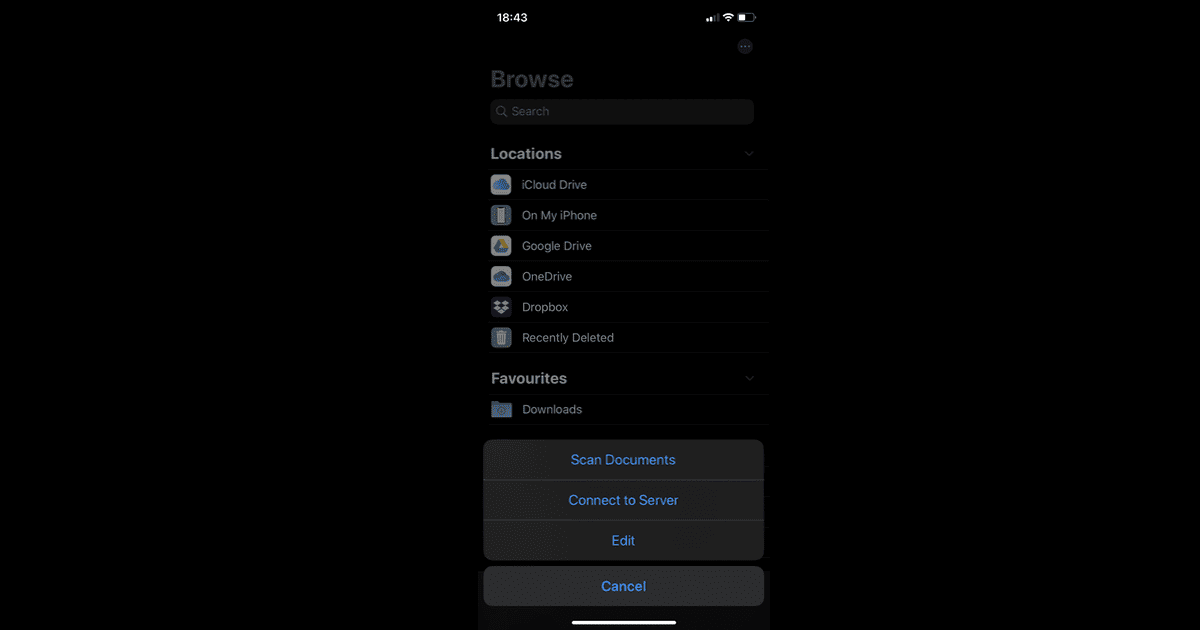
Apple introduced a great document scanning feature in iOS 13. In the Browse area of Files app, click on the three dots on the top right-hand side. In the drop-down menu, click scan documents. You can place your document underneath and the tool automatically locates the edges. You can scan multiple pages at one time. When one page is done, move the next one underneath your camera. When the document is complete, click ‘save; and you can store it either locally, or in the cloud. Before you save, select the option to rename the file so that it has a unique title – the auto title is ‘scanned document’.
How to Use the Scan Tool in iOS 13

does it do OCR?
Thanks! That feature will come in handy!