
Need to know how to use the updated text magnification tool in iOS 17? You’re in luck. Along with a wealth of new features and enhancements, the iOS 17 update also includes a revamped Loupe, which is what helps magnify text in a browser or window. This allows you to get a better look at the words on the screen. It can be quite helpful, especially for pages that contain a lot of text, and I’m going to take a look at how you can use it properly.
Along with exploring some of the history behind the Loupe in iOS, I will show you how to use the updated text magnification tool in iOS 17. Not only will I cover what exactly is new about the feature, but I will also show you how to get the most out of your magnification tool. From new Contact Posters to updates to some of your favorite enhanced features, there’s much to love about iOS 17, including updates to the Loupe. Let’s take a look.
Text Magnification in iOS 17: The Legacy of the Loupe in iOS
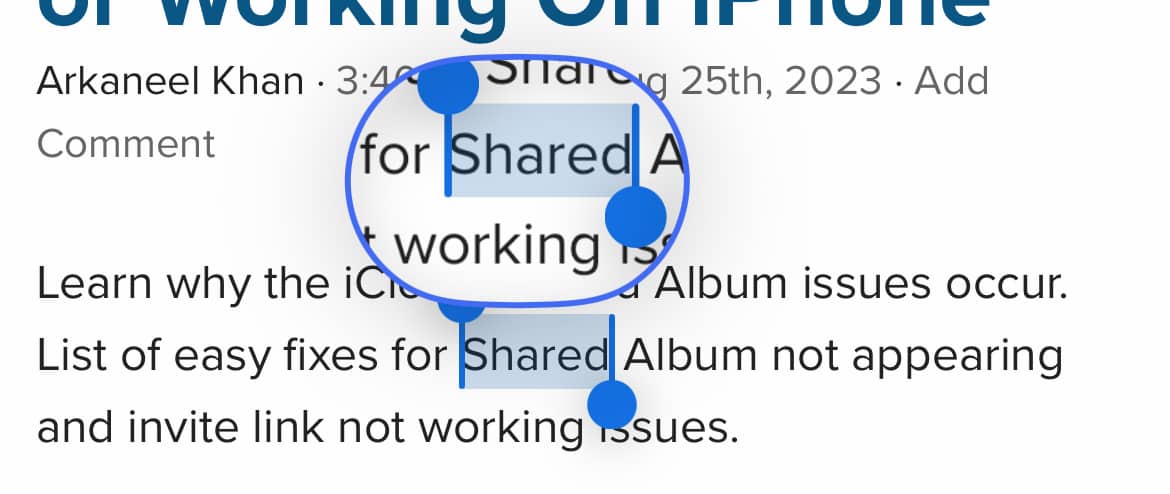
While most iPhone users may be aware that you can magnify text on your screen, they may not know the name of the magnifying glass that appears when you touch and hold text. Named after a jeweler’s magnifying glass, it is known as a Loupe, and interestingly, 2023 marks the tenth anniversary of Apple patenting this feature. However, this feature has been around for much longer. Capable of making text larger so that you don’t have to strain your eyes to read certain words, it can be extremely useful for those who need it.
A Quick Guide to Using the Loupe in iOS 17
If you need to use the Loupe or magnifying glass in iOS 17, the steps are fairly simple.
Time needed: 1 minute
Follow these steps to use text magnification in iOS 17:
- First, open a document or webpage which has the text that you want to select.
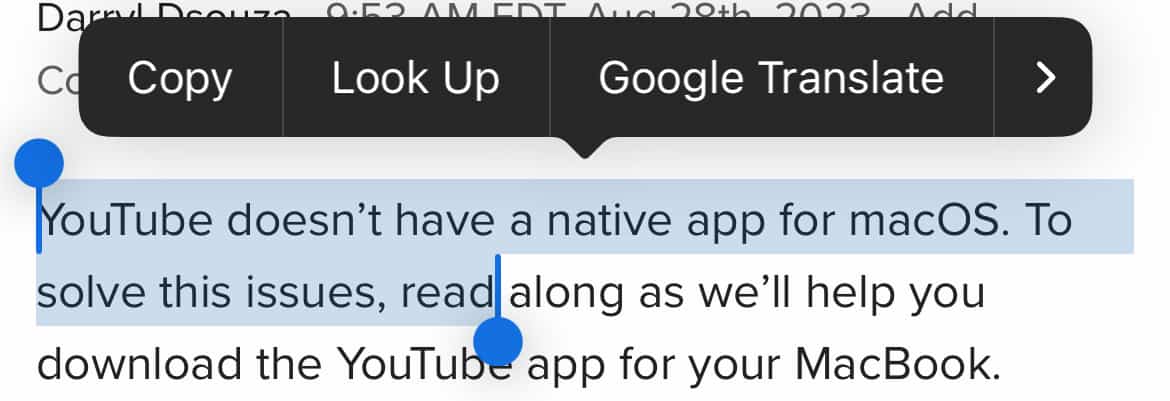
- You can then press and hold on a word or line to engage the Loupe.
- When the Loupe appears, you can drag it to hover and select additional text.
- Let go of your hold when you are finished. Selecting text can give you the option to Copy text, as well as other options.


Really, that’s all there is to it. It can be a great Accessibility feature for those who need it. The ability to zoom in and select text can be quite useful.
Enhancements Introduced in iOS 17
Thanks to iOS 17, the Loupe has some new improvements over past iterations. For example, there is now a border around the Loupe, allowing you to know where the magnification begins and ends. Before iOS 17, there was no border around the Loupe, making it something of a challenge to determine where things begin and end.
Additionally, the highlight color of the Loupe changes depending on what is happening in the background of the selection. This can make things a bit easier to see, which is always helpful. Overall, there are a lot of exciting changes that iOS 17 features. Not only do the new Contact Posters add a splash of colorful aesthetics to your Phone screen, but there are also new content sensitivity features. You may also be surprised at the updates to sending photos in messages. Why not try it out for yourself and see what you think?
Text Magnification in iOS 17: Limitations and Points of Caution
Take note that while the Loupe is an extremely useful feature, it does still have some small drawbacks. Though the new Loupe is iOS 17 and has a larger viewing area than the ones in the past, you may find yourself wanting it to be a bit larger. The amount of text that the Loupe displays is not much, though it is more than before.
You should also be careful with how you maneuver the Loupe so that you are not interacting with objects that you do not want to be selected. Move slowly as you navigate with the Loupe. Also, you should do your best to avoid images, as they can be selected but they will not be magnified. This can make magnifying text a bit of a challenge, so just remember that you can let go of the Loupe and start over from scratch.
Text Magnification in iOS 17: Tackling Accidental Selections
If there does come a time when you accidentally select something while using the Loupe, starting over is pretty easy. Simply click somewhere on the screen that doesn’t have any highlighted text, and press and hold to bring the Loupe back to a fresh starting point. It may take a couple of tries to get things perfect, but once you’ve got a handle on it you will be selecting text like a pro in no time.
As with most things in life, a little bit of practice can go a long way. Fortunately, there are no drastic side effects of using the Loupe incorrectly; at worst, you might find yourself accidentally copying something that you didn’t mean to. This means that experimentation can leave you free to explore this enhanced feature to its fullest extent, just remember how to activate it should the Loupe disappear.
How to Use the Updated Text Magnification Tool in iOS 17
From the new and enhanced Loupe to the ability to change and adjust your Lock Screen, there’s a lot to enjoy with the iOS 17 update. However, just ensure that your iPhone is compatible. In addition to the new enhanced features, the improvements to the Loupe should have you seeing things more clearly than before. Give it a try and see how it works for you. When you’re done, let us know in the comments what you think, or let us know if we missed anything about this exciting feature.


