
If you just got a new Mac and you want to move all your contents from an old Mac, the quickest and easiest way is to use Migration Assistant. While there are other means of transferring documents, apps, settings, user accounts, and other files from one Mac to another, Migration Assistant could easily be the most widely used. This is primarily because it’s free and readily available. If this is your first time upgrading to a new Mac and you want to know how to use Migration Assistant, this guide is for you.
What You Need to Do Before Using Migration Assistant
Before you start moving files from your old Mac to a new one, you need to prepare a couple of things. One is that you have to make sure that both machines are running on the latest version of macOS. Both Macs should have Wi-Fi turned on and be near each other. Finally, if you’ve installed antivirus or firewall software, turn them off until you’re done with the migration process.
Or, if you want to try a more intuitive option, you can go for an app like iMazing, with well-founded management features to transfer your data more straightforwardly between your Macs.
How to Use Migration Assistant to Move Files Between Macs
Follow the steps below to use Migration Assistant to move files from your old Mac to a new one.
Time needed: 1 minute
On your new Mac, you need to prepare to receive your files and settings.
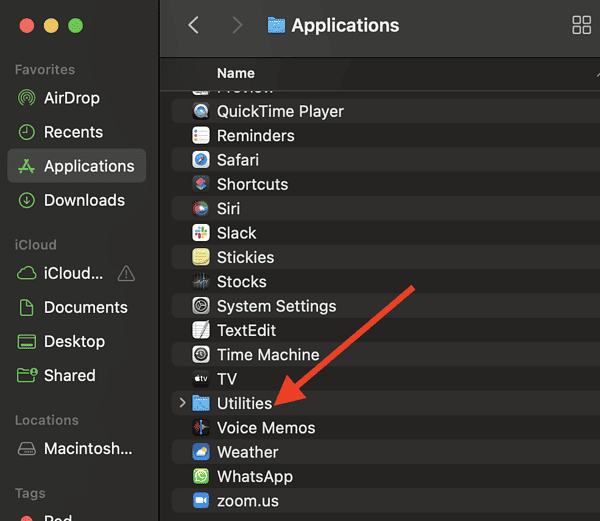
- Open the Finder app.
- Click Applications > Utilities.
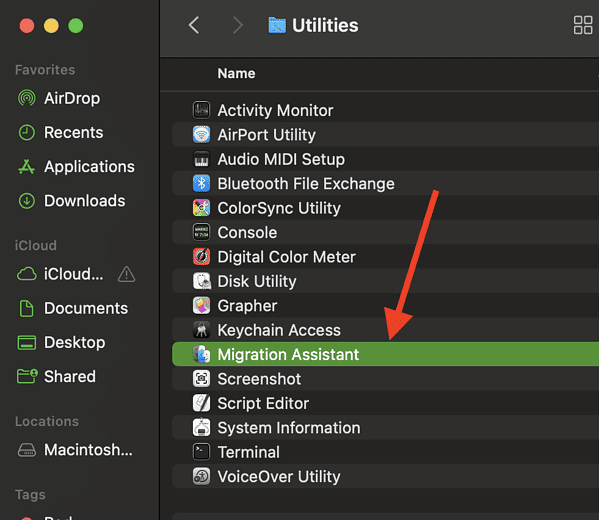
- Double-click Migration Assistant, then click Continue.
- Enter your admin password.
- Select From a Mac, Time Machine backup, or Startup disk.

- Click Continue.


On your old Mac, follow these steps.
- Launch Migration Assistant, then click Continue.
- Enter your admin password.
- Click Transfer to Another Mac > Continue.
Now, go back to your new Mac.
- Launch Migration Assistant, then click Continue.
- Enter your admin password, then click Transfer to Another Mac.
- Click Continue, then wait for the security code to appear.
If you see the security code in the new Mac, check if it’s the same as the one that appeared on your old Mac. Then click Continue.
Finally, go back to your new Mac and select the files or folders that you want to move from the old Mac. Click Continue to start the migration process. It may take several hours to complete the process, depending on the size of the files you are transferring.
Once the migration is complete, close Migration Assistant on both machines, then check if all the files you wanted to move from the old Mac are on the new one.
That’s it. Remember to factory reset your old Mac if you’re selling it or giving it to someone.
Other Ways of Moving Files from One Mac to Another
If Migration Assistant will not work on your Macs or you simply don’t want to use it, you can also transfer files wirelessly from one Mac to another. This can be done either through AirDrop, iMessage, email, File Sharing, Bluetooth Sharing, and iCloud storage.
However, you should note that transferring files wirelessly may take a longer time, depending on the size of the files you are transferring and the speed of your Wi-Fi connection.
Aside from transferring files from one Mac to another over the air, an alternative method is by using an external hard drive or Target Disk Mode. In the former, you simply connect an external hard drive to your old Mac, copy the files you want to move, and disconnect the hard drive. Then connect it to your new Mac, copy and paste the files and you’re done. You should note that by doing this step, your new Mac should already be set up as a new Mac.
Using Target Disk Mode, you need to connect the two Macs using Thunderbolt or USB cable. Once the two machines are connected, the internal hard drive of the old Mac will serve as the external hard drive of the new Mac. From there you can simply copy the files.
Final Words: Let Us Not Forget About Time Machine Backup
Finally, you can also use Time Machine backup to move files from your old Mac to the new one, assuming that you used external storage for the backup. Connect the external storage device yo your new Mac, restart your Mac into Recovery Mode, and then choose Restore from Time Machine Backup.


