
Are you unable to update your MacBook and getting the error “macOS Sonoma cannot be installed on Macintosh HD”? You are not alone. Many users have experienced this while trying to update to the latest version of macOS Sonoma. We have created this detailed guide to help you solve it in no time. Follow along!
Why Am I Getting the Error “macOS Sonoma Cannot Be Installed On Macintosh HD”?
Some reasons that could be causing this error are not enough storage space, hardware compatibility issues, unstable internet connection, VPN errors, or a corrupted startup disk.
Don’t miss the best of The Mac Observer
Set us as a preferred source and our Apple reporting ranks higher in your Google Search results and Discover feed — one tap, no account changes.
There could be a plethora of other reasons for the error, but the above are the most common ones. Without further ado, let’s dive into the solutions.
How to Fix macOS Sonoma Cannot Be Installed On Macintosh HD
1. Check Storage Space
If the macOS Sonoma cannot be installed on Macintosh HD, it could be because of insufficient storage space. macOS updates require a significant amount of free space to install. Hence, it is crucial to delete large files such as media, movies, etc…, or check what part of your MacBook takes up the most space.
Time needed: 2 minutes
Here is how you can do it.
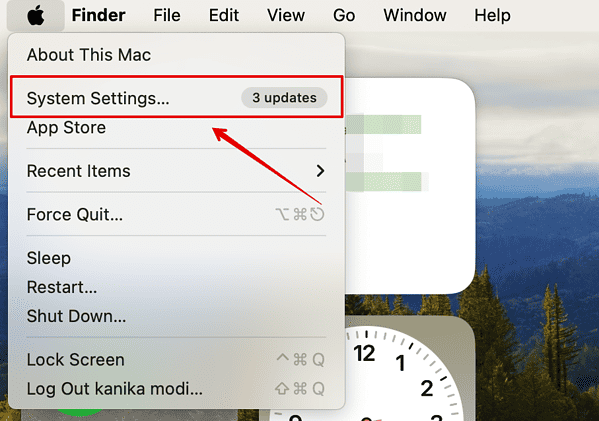
- Go to the Apple menu on the top-right corner of the screen.
- Then, click on System Settings.
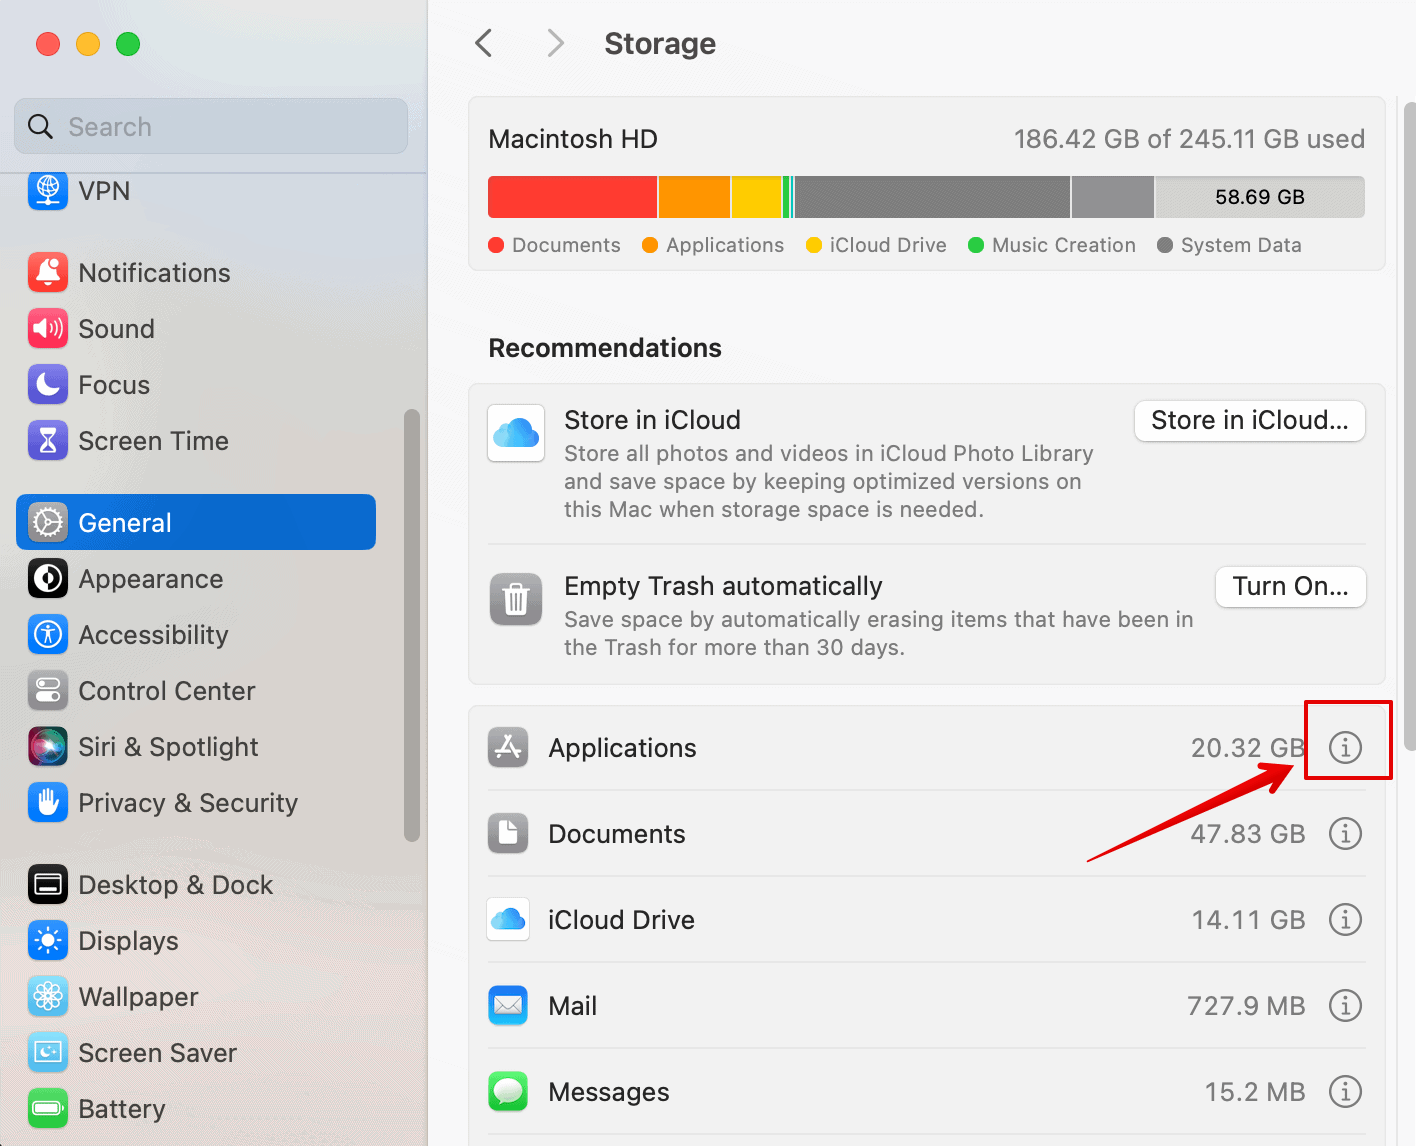
- Open General on the left sidebar and select Storage on the right.

- Wait for a few seconds while the system calculates the storage capacity.


You can now check the space acquired by each part of your system, such as Applications, Documents, Mail, Messages, etc. Here is what you can do to free up some storage.
- Click on the i icon beside the Applications folder.
- Select the app you no longer use and click on Delete.

- Then, click on Delete again to confirm.


The app will be removed from the system. You can repeat this process for other apps or documents.
In my experience, a reliable maintenance tool can also free up storage space, but even faster. If you don’t know which app to choose because there are quite a few options, you can try Intego Washing Machine. It has a dedicated macOS and iOS cleaning engine that empties duplicate files, junk files, and other unnecessary files, increasing your macOS health at its optimum state.
2. Check Your Internet Connection
As mentioned above, another reason for this error could be a poor internet connection. You need a strong and reliable connection to download and install macOS updates. Hence, make sure that there are no issues with your Wi-Fi.
- Open a browser and check if the Wi-Fi is working properly.
- Check the speed of the internet connection.
- Disconnect and then reconnect the Wi-Fi.
- Restart your router and connect to the Wi-Fi again.
- Don’t rely on mobile hotspots for macOS updates.
3. Is Your MacBook Compatible?
Before installing macOS Sonoma, ensure your MacBook is compatible with the update. Apple typically lists compatible models for each macOS release on its website. If your MacBook is not compatible, you cannot install macOS Sonoma.
Here is a complete list of all the MacBooks compatible with macOS Sonoma.
- iMac 2019 and later
- iMac Pro 2017
- Mac Pro 2019 and later
- MacBook Pro 2018 and later
- Mac Studio 2022 and later
- MacBook Air 2018 and later
- Mac Mini 2018 and later
4. Install in Safe Mode
If none of the above methods work for you, try downloading the macOS update in Safe Mode.
Before installation, create a backup of your Mac so that you do not lose any data during the installation. Also, plug in the charger so it does not shut down while the installation progresses.
Here are the steps to boot your Mac in Safe Mode:
For Apple Silicon
- Go to the Apple menu and shut down your Mac.
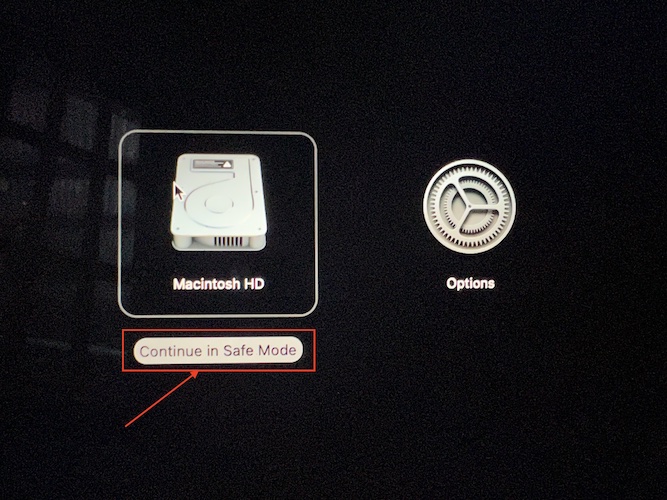
- Now, press and hold the power button until the Startup options appear on the screen.
- Select the startup disk. Then, press and hold the Shift key on your keyboard.
- Click on the Continue in Safe Mode button.
- Now, log in to your Mac. And proceed with the update.

For Intel Processor
- Restart your Mac and quickly press and hold the Shift key while it starts.
- Then, release the key when you see the login window on the screen.
- Log in to your Mac.
After logging in, you can see the Safe Boot written in the upper right corner of the window. You can now try updating your macOS.
5. Repair Startup Disk
Another reason you are getting the “macOS Sonoma Cannot Be Installed On Macintosh HD” error is because of a corrupted or damaged Startup disk. Here, you can use Disk Utility to first repair the Startup Disk and then try installing the update again.
We will be accessing Disk Utility directly from the Applications folder. Let’s look at the steps below to repair the Startup Disk.
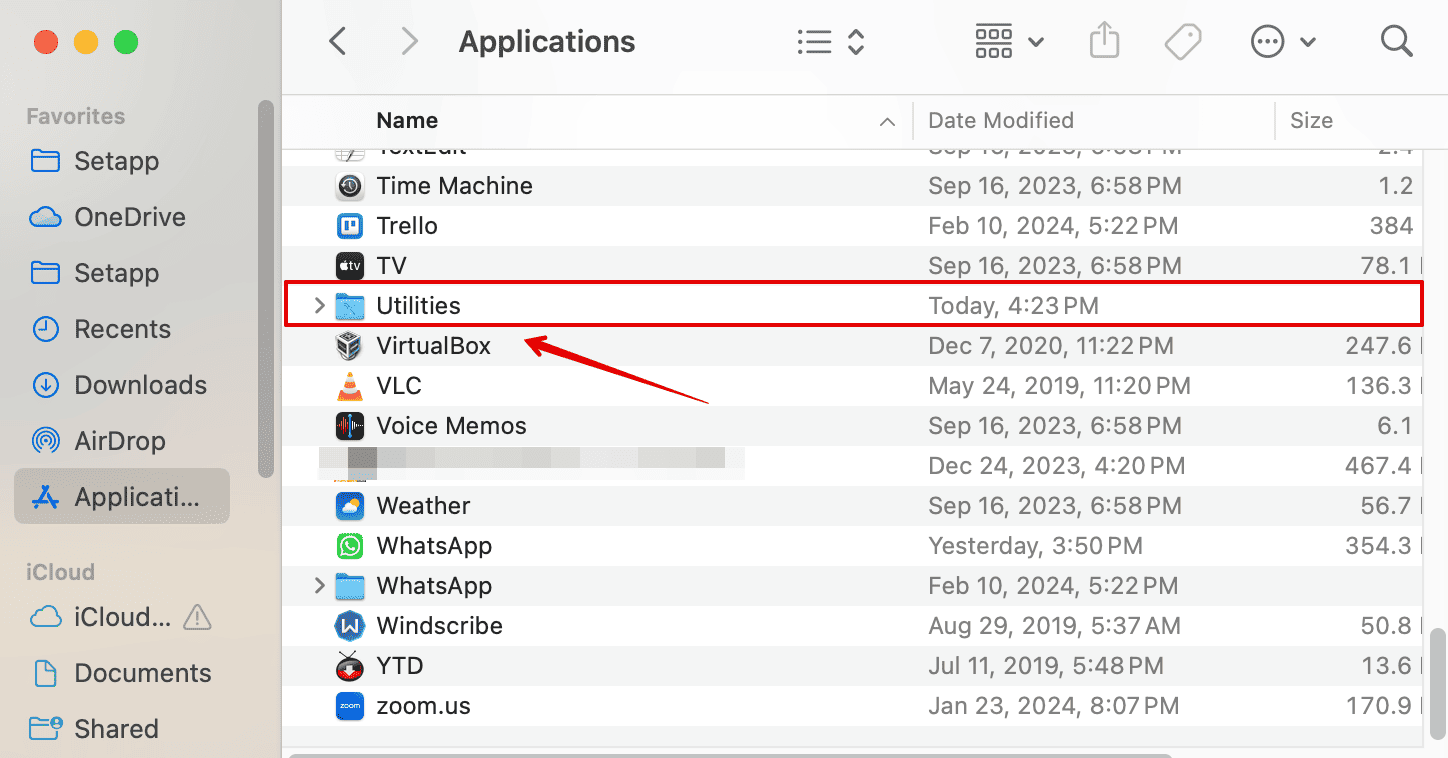
- Open Finder from the Dock below and go to Applications on the left sidebar.
- Scroll down and double-click on the Utilities folder to open it.
- Look for Disk Utility and double-click on it.

- Go to view on the top menu bar and select Show All Devices.
- Select your disk on the left sidebar and click First Aid in the top-right corner.
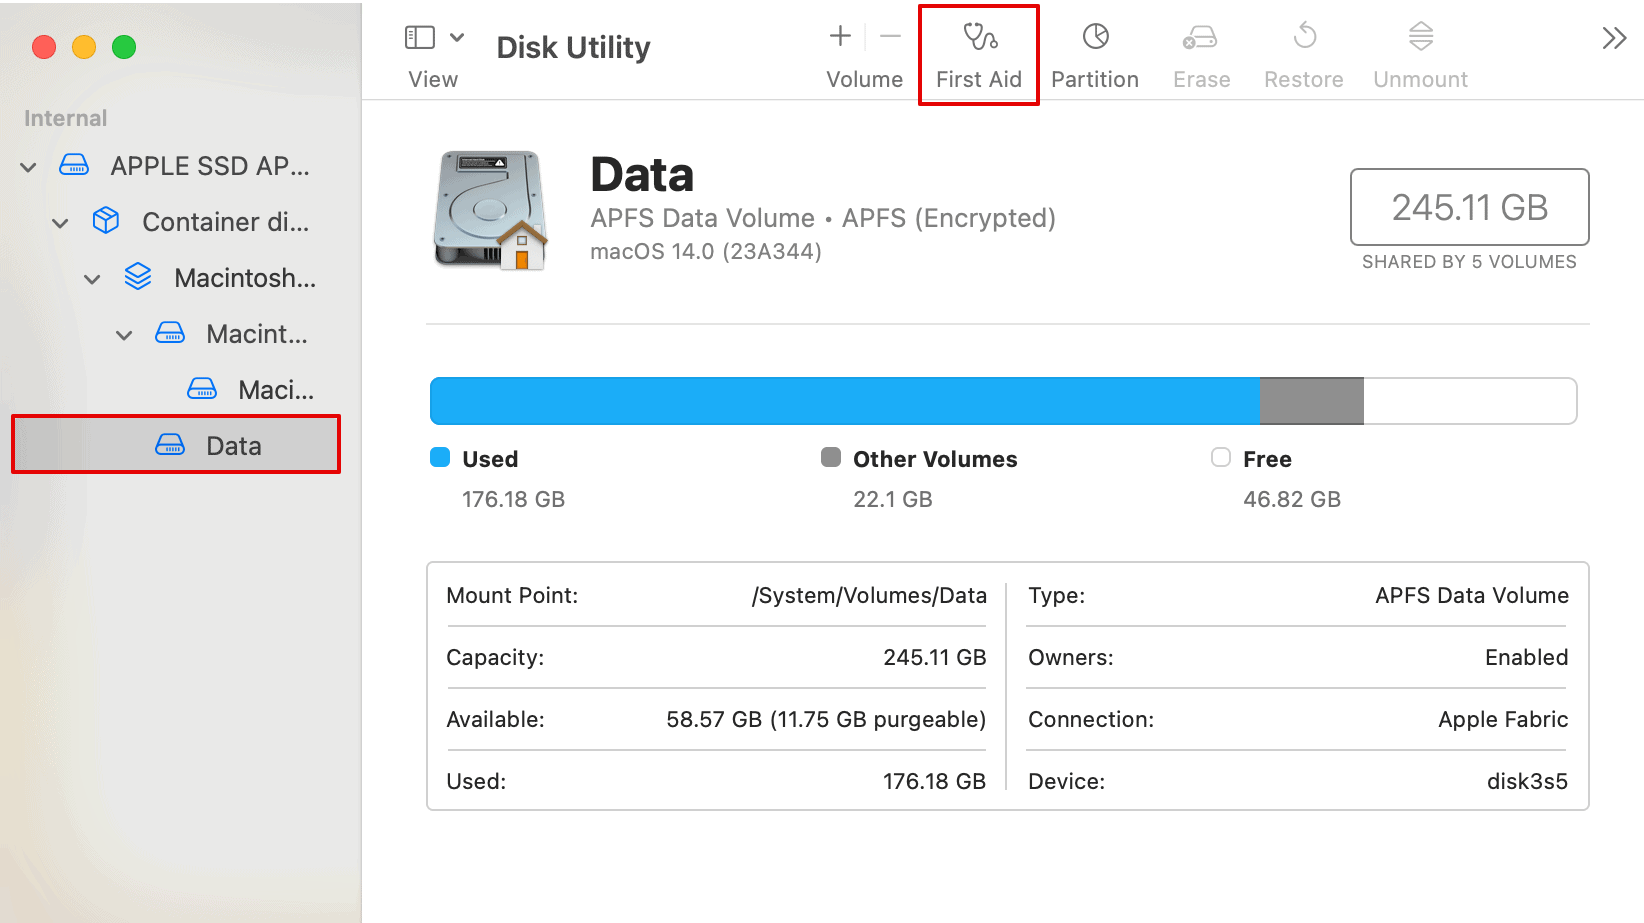
- Choose Run.
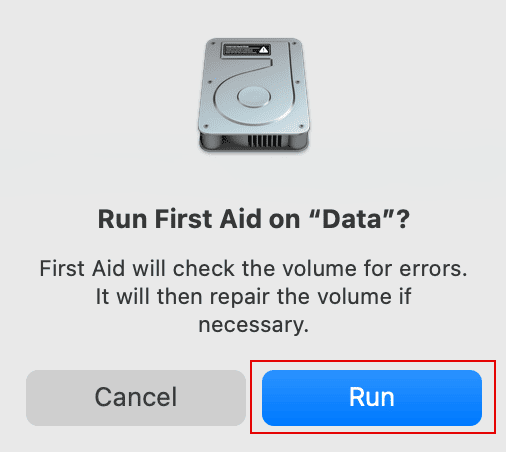


Wait for the process to complete. Then, do this for all the containers of your disk, starting from the bottom. Once you are done repairing, try installing macOS Sonoma again.
6. Update from macOS Recovery
Our last resort is updating the MacBook from macOS Recovery. When you update from macOS Recovery, you perform a fresh installation of macOS Sonoma. This can fix any corrupted or damaged system files that may be causing the update error.
This also gives you access to tools such as Disk Utility, which you can use to repair your Startup Disk. Furthermore, this process preserves your user data and settings, so you won’t lose any files or customization during the update process.
Before you start the process, make sure your MacBook is switched off.
For Apple Silicon
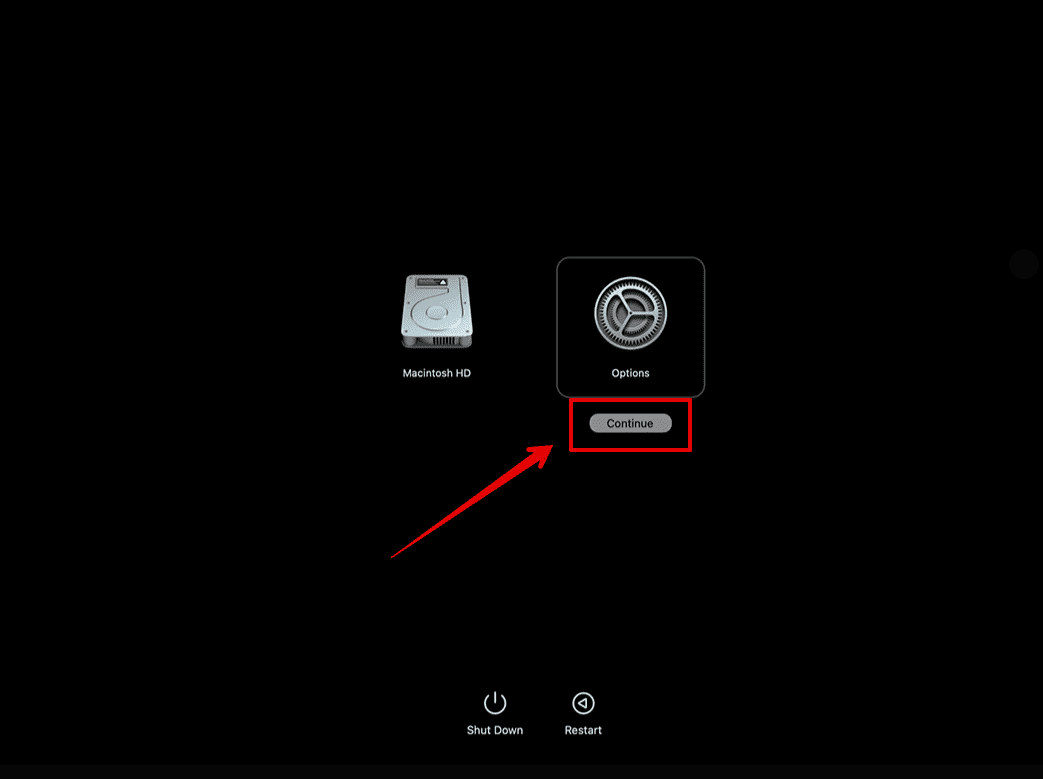
- Press and hold the power button until you see the startup options on the screen.
- Click on the Gear icon labeled as Options.
- Then, select Continue.

For Intel-based MacBooks
- Turn on your MacBook.
- Then, press and hold the Command + R keys on the keyboard till you see the Apple logo on the screen.
- Log in to your system, and you will enter the macOS Recovery Mode.
- You can then select the Reinstall macOS Sonoma option and begin the installation.
Although this process does not remove any data from your system, creating a Time Machine backup of all your data is still recommended in case anything goes wrong.
Did any of the above methods work for you? Let us know in the comment section below.


Discussion