
The moment you encounter the error message “The operation cannot be completed due to insufficient disk space,” it becomes apparent that your storage estimation was underestimated, leading to potential challenges. Allow me to present several strategies I have successfully employed in the past, along with additional remedies sourced from fellow Mac owners.
How Can I Fix ‘The Operation Cannot Be Completed Because the Disk Is Full’ on Mac?
To resolve “The operation cannot be completed because the disk is full” on your Mac, you can free up storage by deleting unnecessary files, cache, junk, and old Time Machine backups. You could also consider moving large files to an external drive or another Mac.
Don’t miss the best of The Mac Observer
Set us as a preferred source and our Apple reporting ranks higher in your Google Search results and Discover feed — one tap, no account changes.
Before proceeding with more advanced solutions, here are some initial steps and fundamental precautions to consider:
- Create a backup: Anything could go wrong as you try the next step(s), so you would want to have a means to recover anything you mistakenly deleted.
- Check if there’s anything in the Trash: If there is, try emptying the Trash.
- Clear Time Machine backups: While they’re important, Time Machine backups do accumulate over time and may take up some space on your Mac.
- Optimize Storage with Mac Recommendations: Go to Apple menu > System Settings > General > Storage to review and implement Mac’s storage recommendations. By following these recommendations, you can manage your storage, ensuring that your Mac runs optimally and you have enough space for your files and applications.
If “The operation cannot be completed because the disk is full” persists after following those steps, try the methods below.
1. Detect and Delete Large Files With macOS Storage Manager Tool
MacOS Ventura and later versions incorporate a handy feature known as Storage Manager, designed for seamless management of large files in your storage disk.
Time needed: 3 minutes
Detect and delete large files with the macOS storage manager tool as shown below:
- Navigate to Apple Menu > System Settings.

- Choose General > Storage.
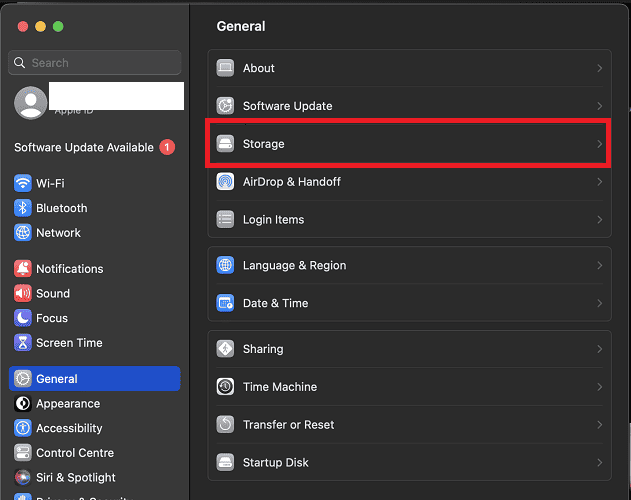
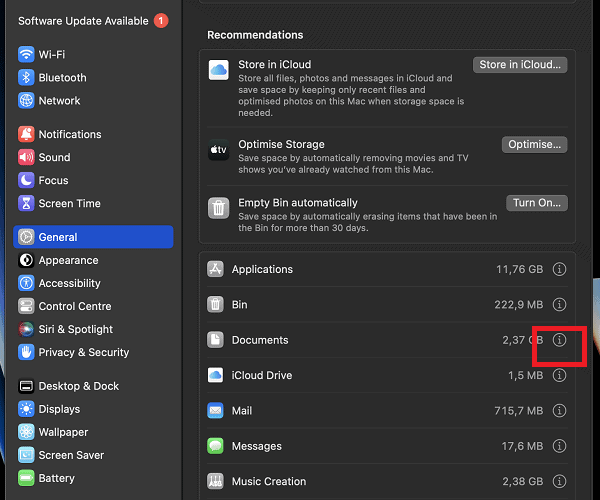
- Click the (i) icon beside Documents to access the file categories.
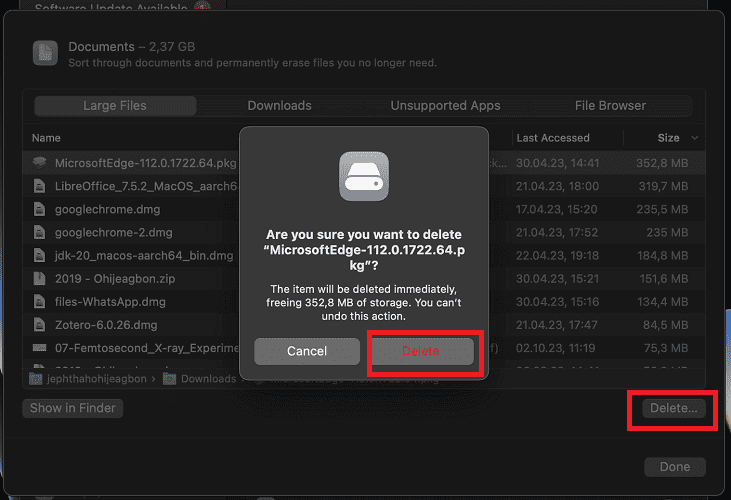
- Select Large Files at the top bar.

- Choose and delete all large files that are no longer needed, then click Delete.


By employing the macOS Storage Manager Tool, you can efficiently reclaim space on your Mac. This involves identifying and deleting large files, ultimately resolving the “disk is full” problem.
Besides this, there is also the option to use a cleanup tool to ensure perfect performance by automatically clearing out all large files, caches, and other unnecessary files that clog your system.
2. Move Files to Another Mac
If you don’t have external drives and can’t see yourself acquiring one soon, you can use another Mac to lighten the burden on yours. You may use Thunderbolt bridging if both Macs have Thunderbolt ports. You can find detailed steps to create the connection here. After establishing the connection, follow these steps to transfer files between the two Macs:
- Open Finder on one Mac and click Network in the sidebar.
- Look for the icon for the second Mac and double-click it.
- Click Connect As, and a prompt will ask you to select a connection type.
- Choose your preferred connection type and click Connect.
Alternatively, you may opt to go wireless and use AirDrop instead. Any way you choose, remember to delete the redundant copies of files you’ve moved from your Mac. Learn how to enable and use AirDrop on Mac.
3. Detect and Remove Large Files With Finder
You can also employ Finder to identify and delete space-consuming files on your Mac effectively. Here’s how to do it:
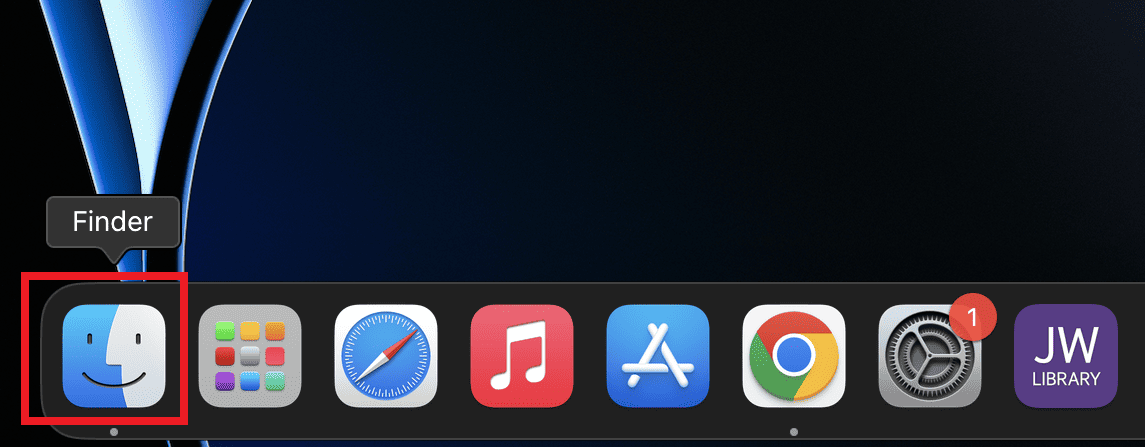
- Launch Finder from your homepage.
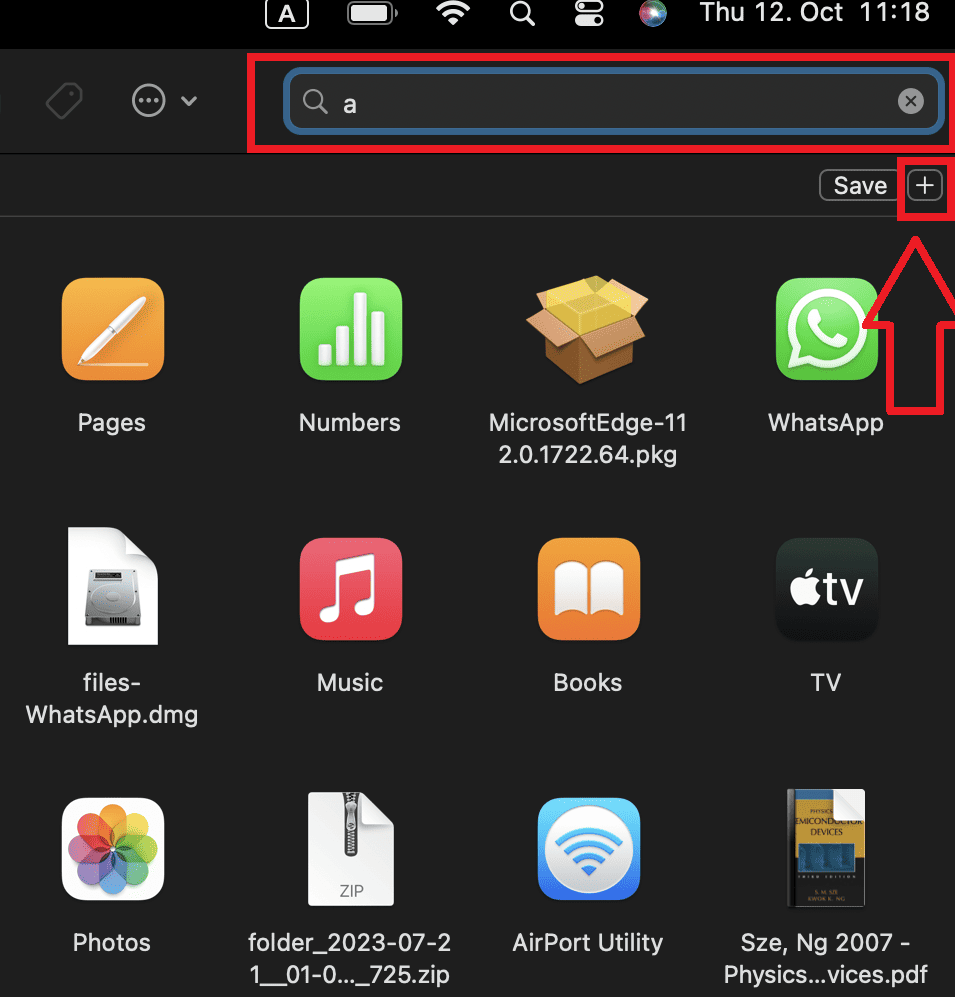
- In the top-right corner of your Mac’s screen, click on the search icon, and type any keyword in the search box. Then, click on the + icon.
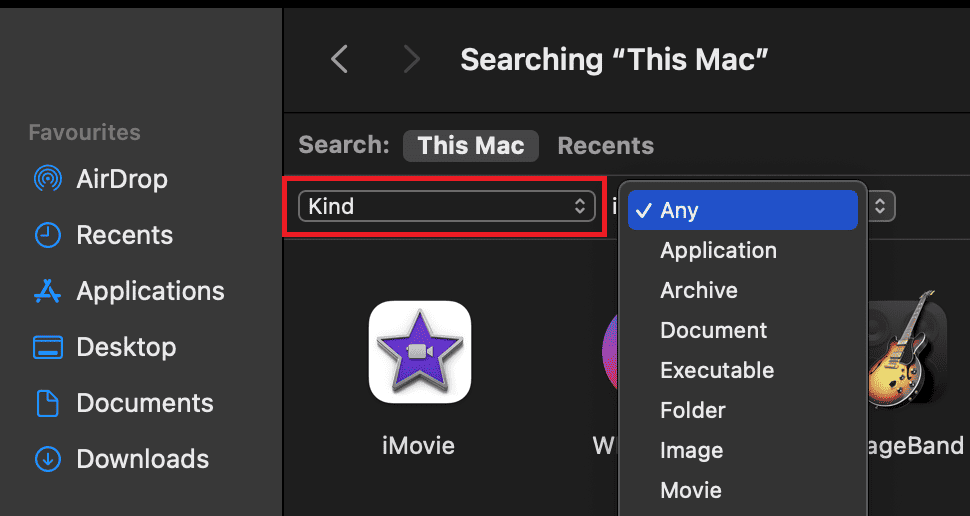
- Use the Kind feature to determine the type of files you want to delete or transfer. You can choose Any if you want all types of files in the search results.
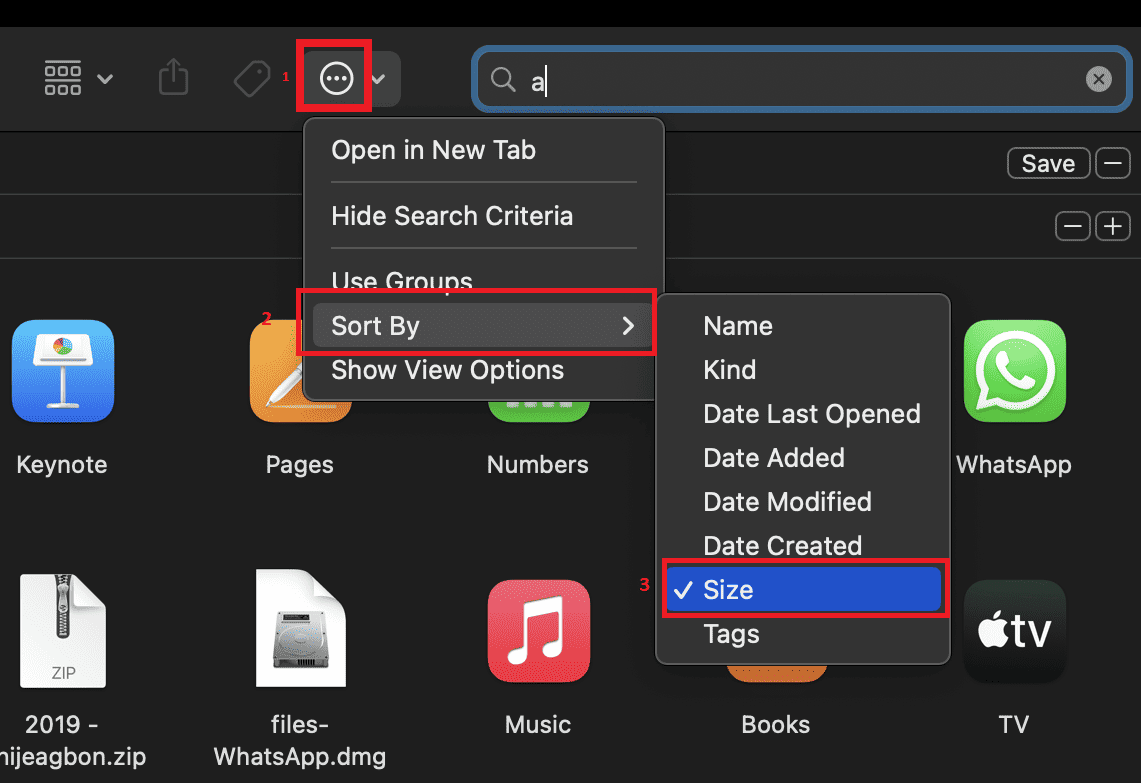
- Click the three dots at the top bar, Sort By > Size.
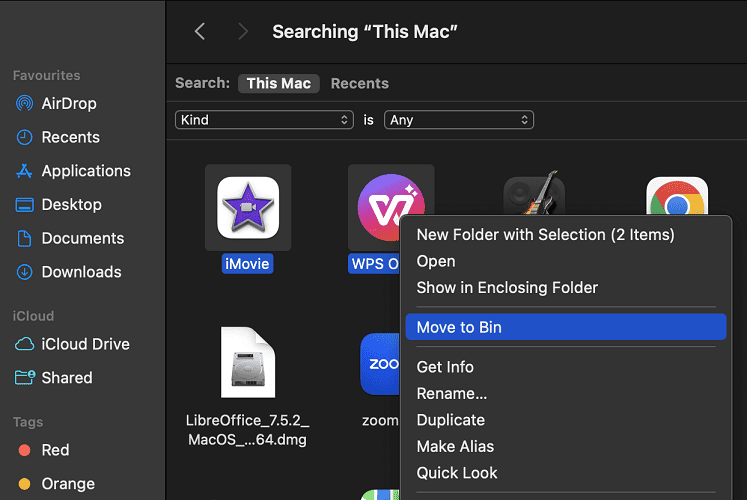
- Identify and delete any files that you no longer require. Alternatively, transfer large files you don’t need to another device.


Utilizing Finder in this manner enables you to pinpoint and eliminate large files, aiding in the efficient management of your Mac’s storage space.
4. Boot Your Mac in Safe Mode
Safe Mode boots your Mac with only the bare essentials it needs to run. That means no nonessential apps, limited internet functionality, and third-party extensions. Safe mode will clear cached files that you probably missed earlier or were unable to delete. Several Mac owners found this trick helpful in resolving their problems. The process of entering Safe Mode differs slightly between Intel Macs and Apple silicon Macs.
4.1. Boot Your Intel Mac in Safe Mode
- Start your Mac and hold the Shift key as it powers on.
- Only release the Shift key when the login page comes up.
- Sign in with your login credentials.
- If you have FileVault turned on, you may need to log in twice.
4.2. Boot Your Apple Silicon Mac in Safe Mode
- Press and hold the Power button until the startup options appear.
- Select your startup disk.
- Hold the Shift key, select Continue in Safe Mode, and release the Shift key.
Apart from clearing unnecessary cached files, you can move large files and unneeded files to Trash and empty the Trash in Safe Mode. Simply use Finder to find and select those junk files and move them to Trash. Apps you will find in the Applications folder in Finder.
5. Clear Safari Browsing History and Caches
An accumulation of Browsing history and caches can gradually pile up and occupy a significant amount of space on your Mac. You need to try to clear your cache and browsing history to free up more space on your Mac. To clear the cache in Safari on a Mac, follow these steps:
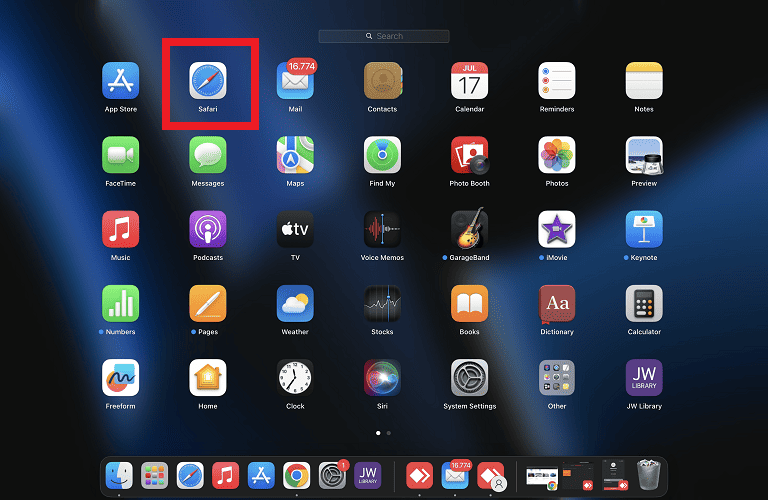
- Go to Launchpad and search for Safari.
- Open the Safari browser window.
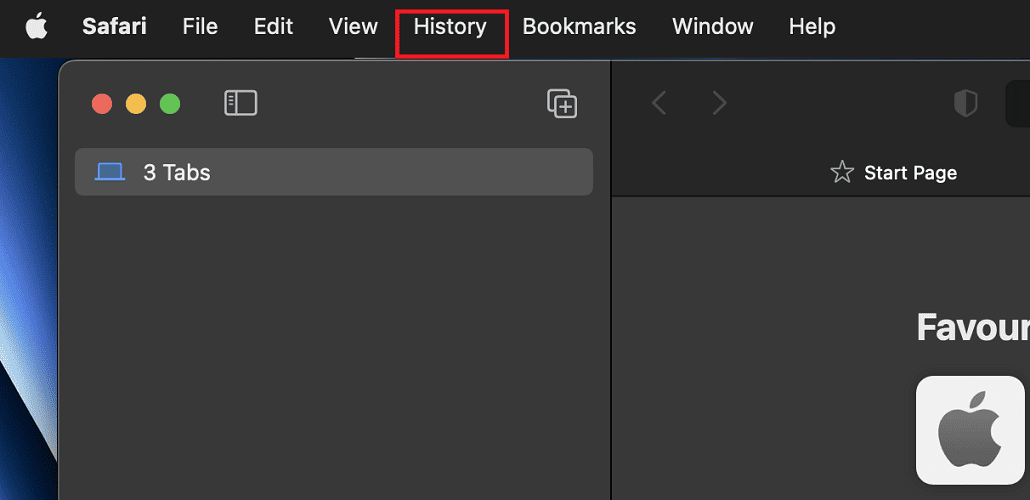
- Navigate to the menu bar at the top left corner of your screen. Click History.
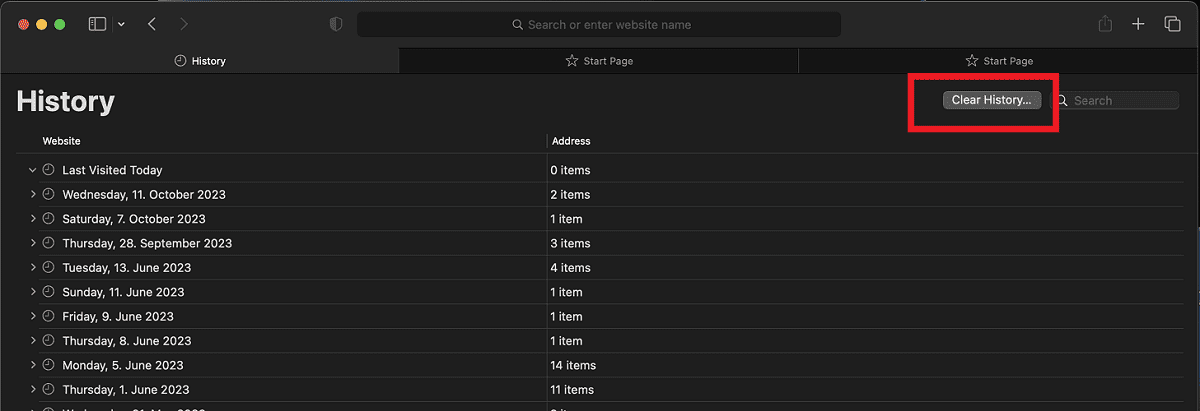
- Navigate toward the right and click Clear History.
- A window will pop up with a drop-down menu. Use this menu to choose the timeframe for which you want to clear your browsing history, cookies, and cache. Click Clear History again to confirm.
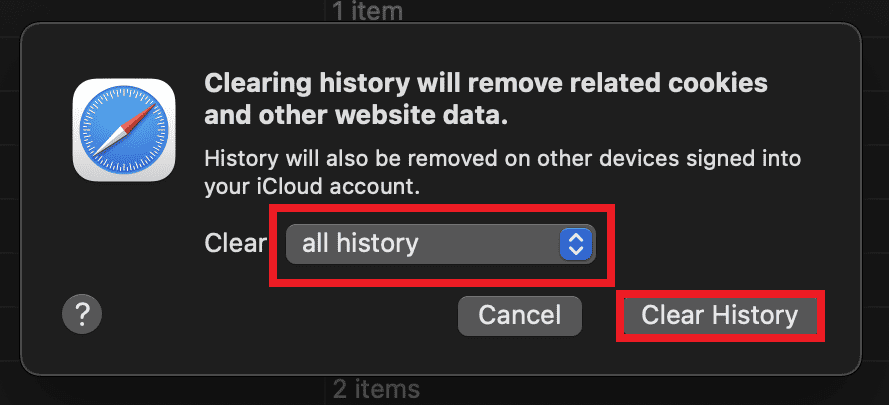


Please be aware that this process will clear your cookies and the entire cache, including cached images and your browser history. As a result, you may be logged out of some websites. To clear cache and browsing history on other browsers, Check Jeff Butts’ article on how to clear browser cache on Mac Chrome, Firefox, and Safari.
If you still can’t find any success with the aforementioned tips, try the following suggestions:
- Use Cleaning Software: Cleaning software efficiently removes unnecessary files that consume valuable disk space. For example, Intego Mac Cleaner locates and deletes these files. It can also help improve your Mac’s performance. Regular maintenance with such software can keep your Mac running smoothly.
- Move Files to an External Drive: Consider moving large or completed files to an external storage drive, such as the SanDisk Extreme Portable SSD if available. This not only frees up space but also provides a backup for your important data. An external drive is a convenient solution for expanding your storage capacity without the need to buy a new Mac.
- Consider a New Mac: If your Mac is aging and lacks storage, consider upgrading to a new MacBook with ample storage. A new Mac not only offers more space but also the latest features and improved performance. Plus, you’ll have the latest hardware and software support for years to come.
Why Does My Mac Display ‘Disk Is Full’ Error Message?
Your Mac displays “The operation cannot be completed because the disk is full” for the following reasons:
- Large Files: When your Mac houses large files, they consume a significant portion of your storage capacity, leaving less room for other essential data.
- Excessive Files: The abundance of files on your computer can also contribute to storage constraints. Some of these files might have outlived their usefulness and should be considered for deletion.
- Temporary Files: Numerous applications and programs generate temporary files on your Mac. Ideally, these files should be automatically deleted, but at times, they linger, occupying valuable hard drive space.
- System Files: Your Mac relies on system files for proper operation. While essential, these files can accumulate over time and consume substantial storage.
- Hard Drive Errors: Errors within your hard drive can accelerate your storage filling, eventually triggering error messages due to insufficient space.
Conclusion
By exploring these strategies, you’ll not only regain valuable storage space but also gain a deeper understanding of your Mac’s functionality and maintenance. Remember, technology evolves, and sometimes, considering an upgrade to a newer Mac with ample storage capacity could be an exciting step forward in your digital journey.


Discussion