
Here’s a strange (but interesting!) thing you can do with APFS under Mojave and High Sierra: You can designate a Mac as a network Time Machine destination, so in a pinch, you could back up one Mac in your house to another. Strange, huh?
I can see this being useful if, for example, you’re concerned about potentially failing hardware on a machine and want to get it backed up before you can even run to the store to get an external drive. In that scenario, this feature could really save your bacon! Or, you know, your files. Which are maybe more important than bacon.
Don’t miss the best of The Mac Observer
Set us as a preferred source and our Apple reporting ranks higher in your Google Search results and Discover feed — one tap, no account changes.
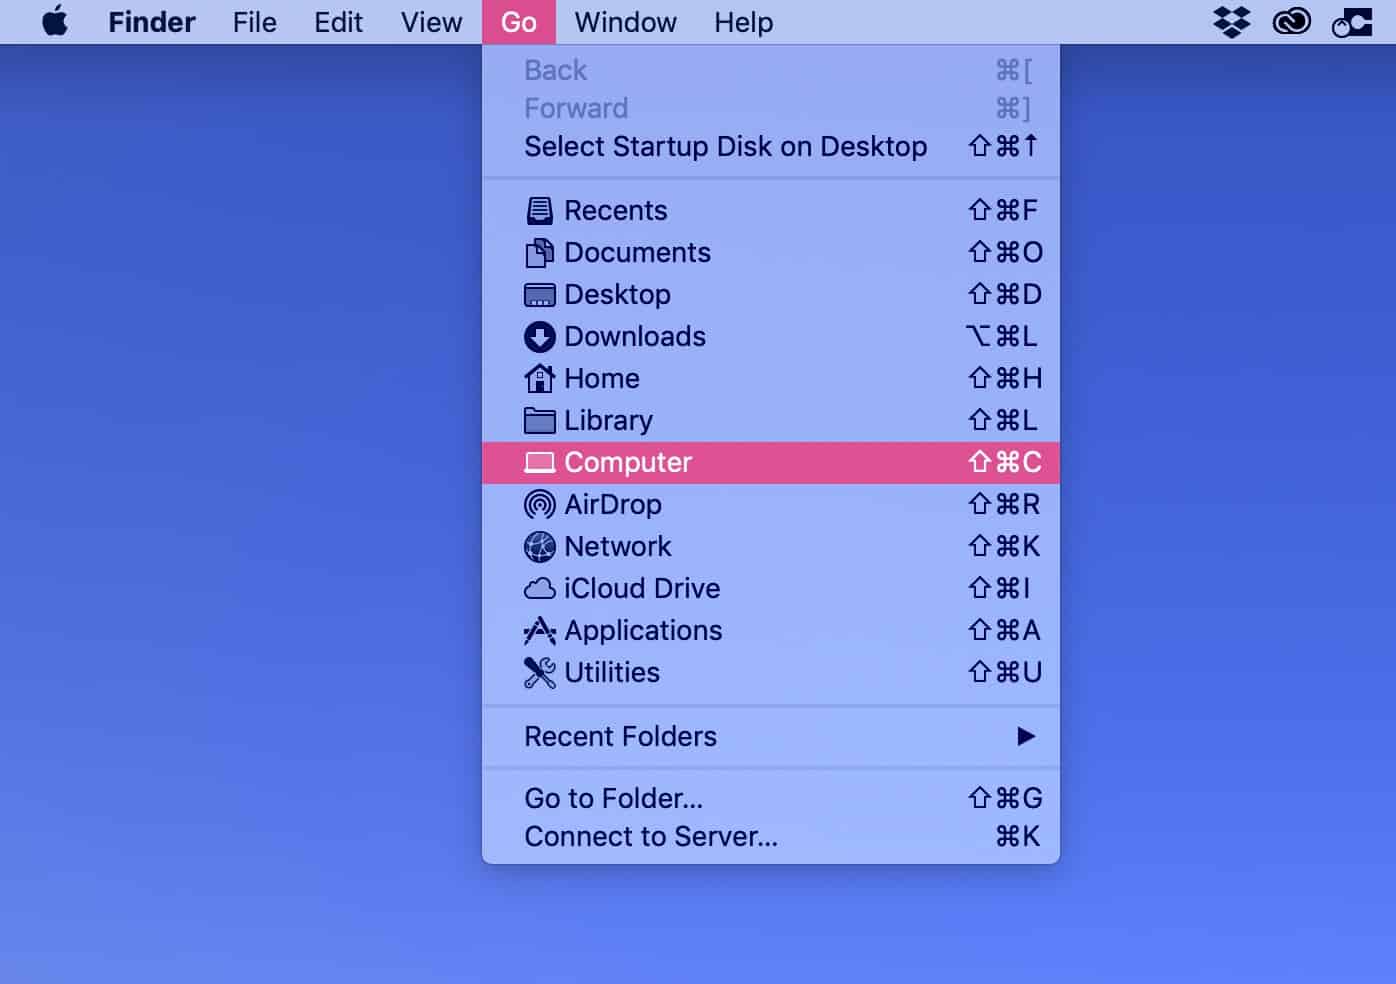
To configure this, start on the Mac you want to back up to. As I noted, this machine will need to be using APFS, so you’ll have to have High Sierra or Mojave installed. One easy way to check to see which format your disk uses is to open Finder, choose Go> Computer from the menus at the top…
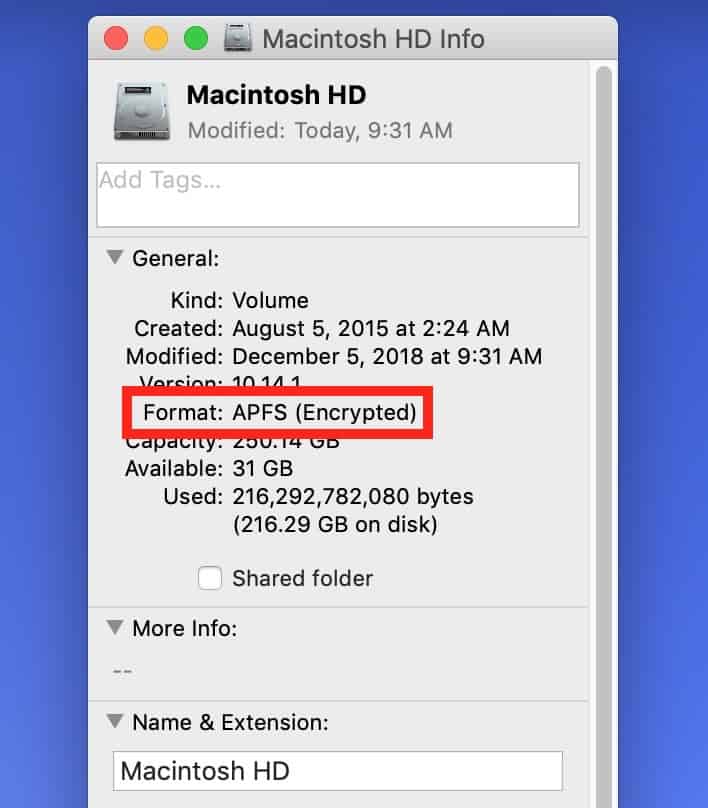
…then click your Macintosh HD (or whatever your startup disk is called) to select it. If you press Command-i or choose File> Get Info, you’ll get your answer.
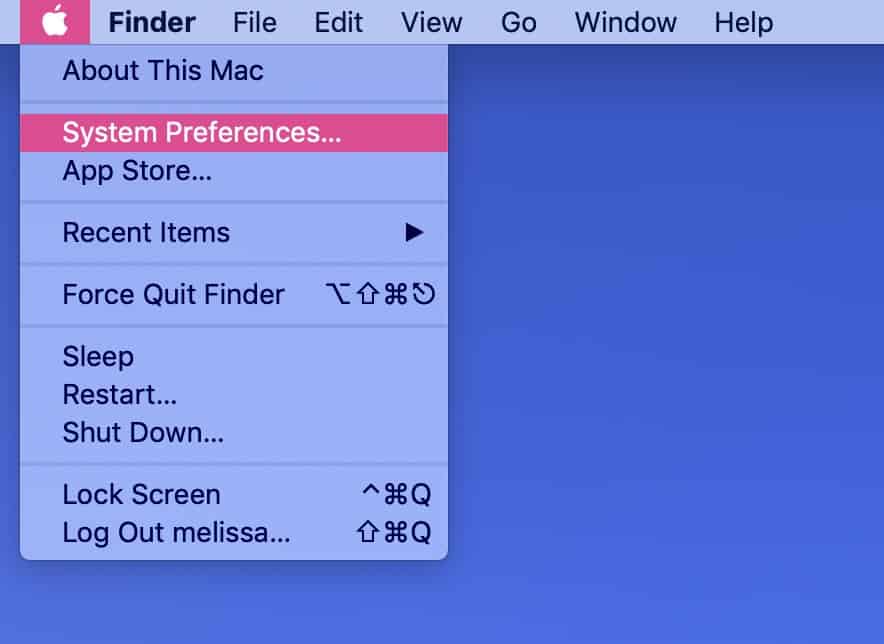
Anyway, to enable your destination’s Time Machine abilities, click on the Apple Menu first and choose “System Preferences.”
Then open the Sharing pane…
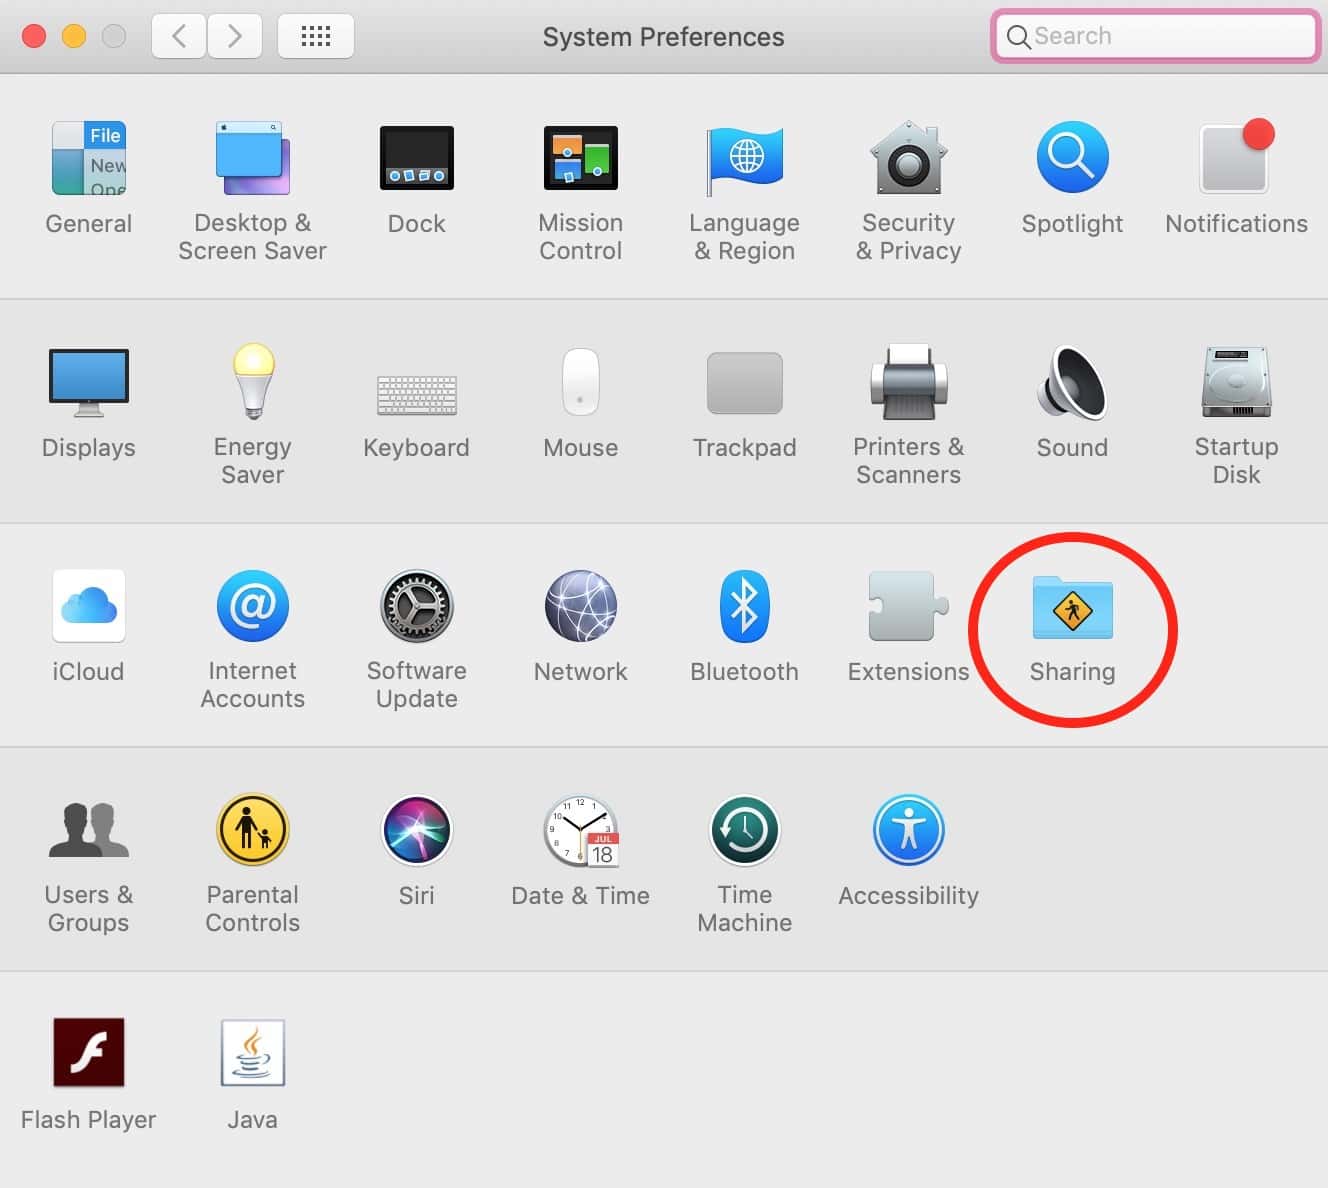
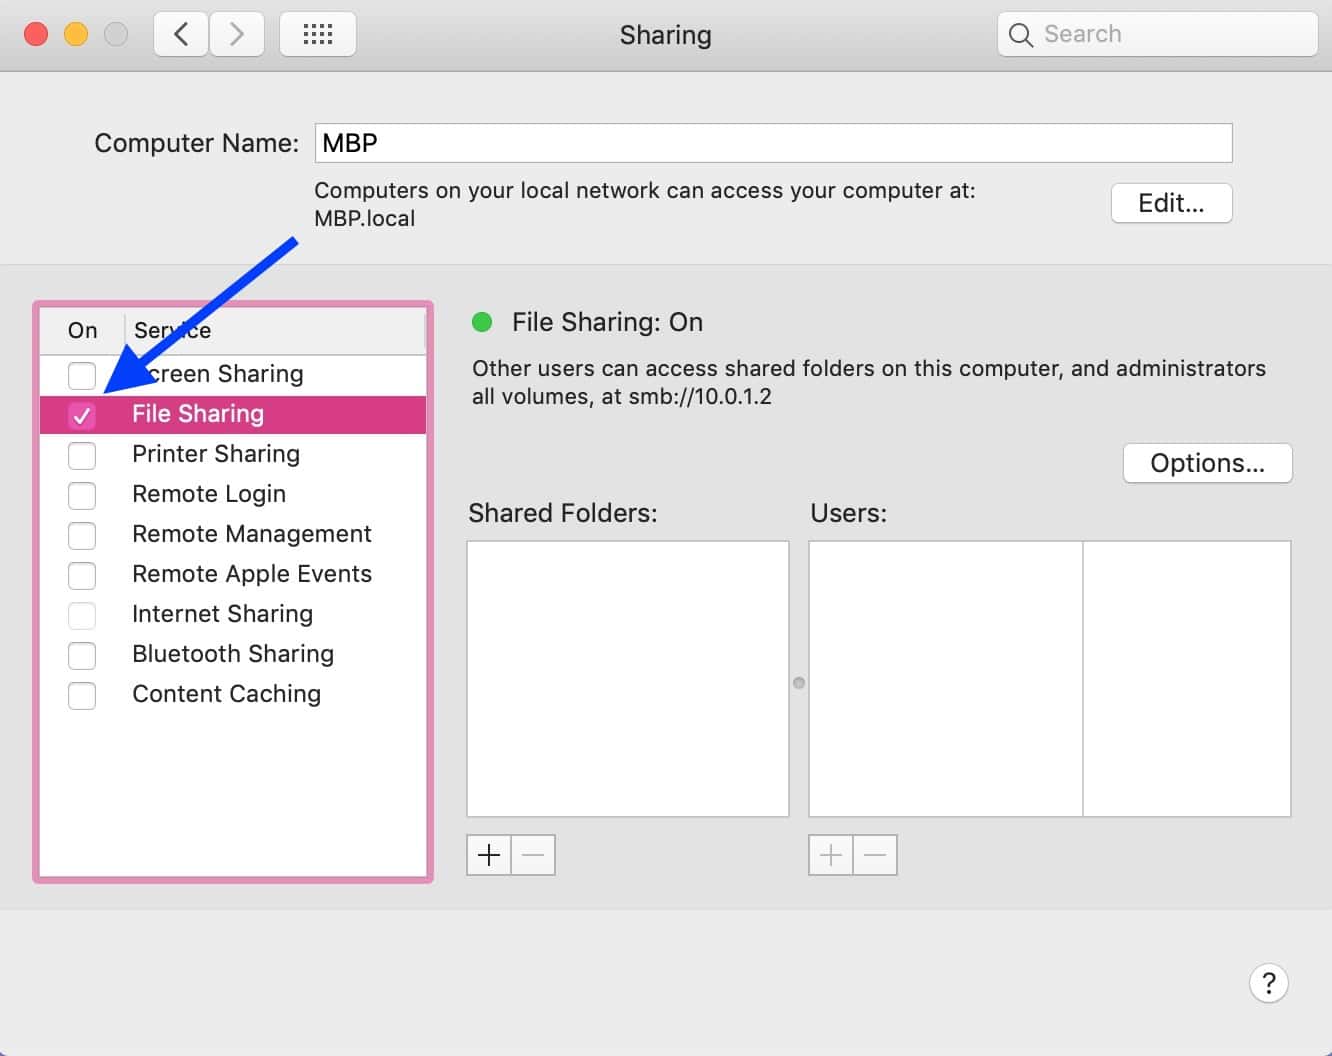
…and turn on “File Sharing” if it’s not already on.
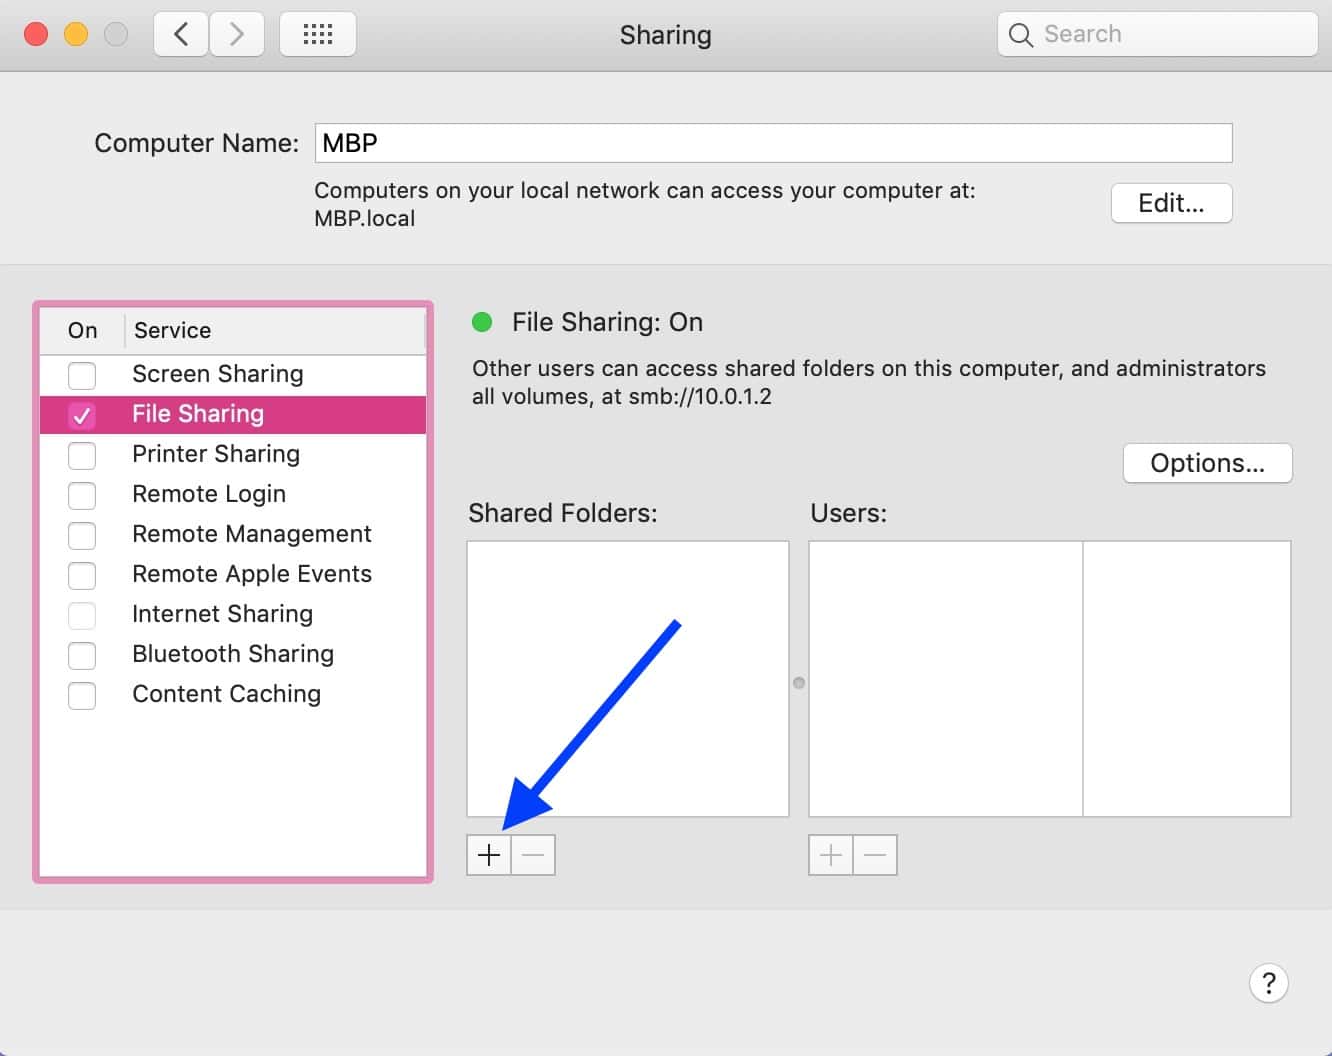
Afterward, click the plus button under the “Shared Folders” section to add whichever folder you want to store those Time Machine backups in.
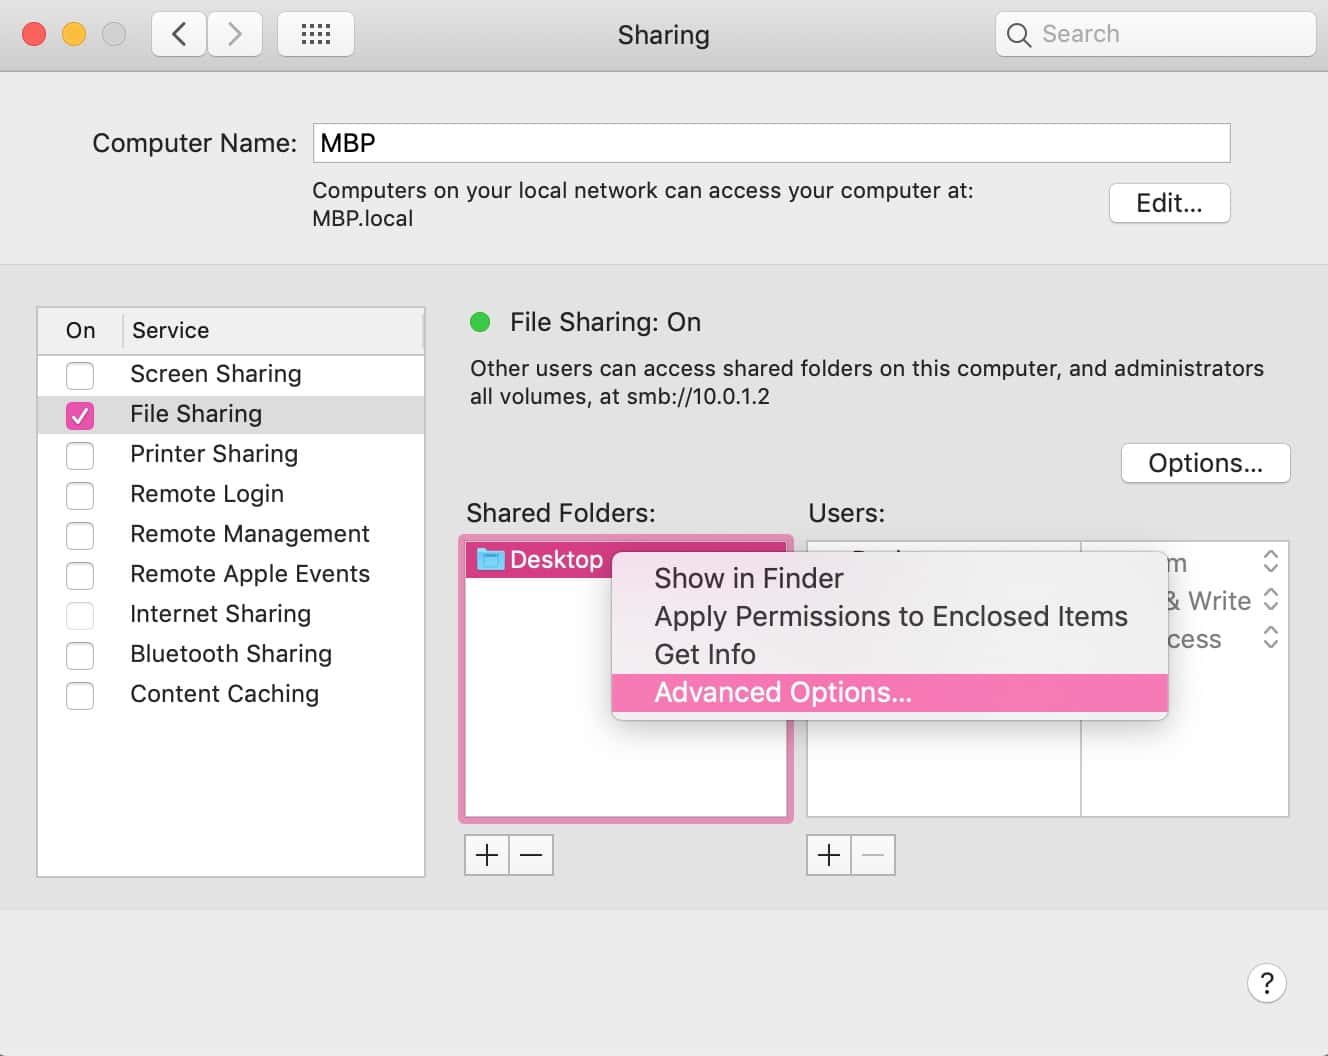
Once you’ve picked your poison there, right- or Control-click on the folder you just chose to reveal a contextual menu, from which you’ll select “Advanced Options.”
And here’s the magic setting: Turn on “Share as a Time Machine backup destination.”
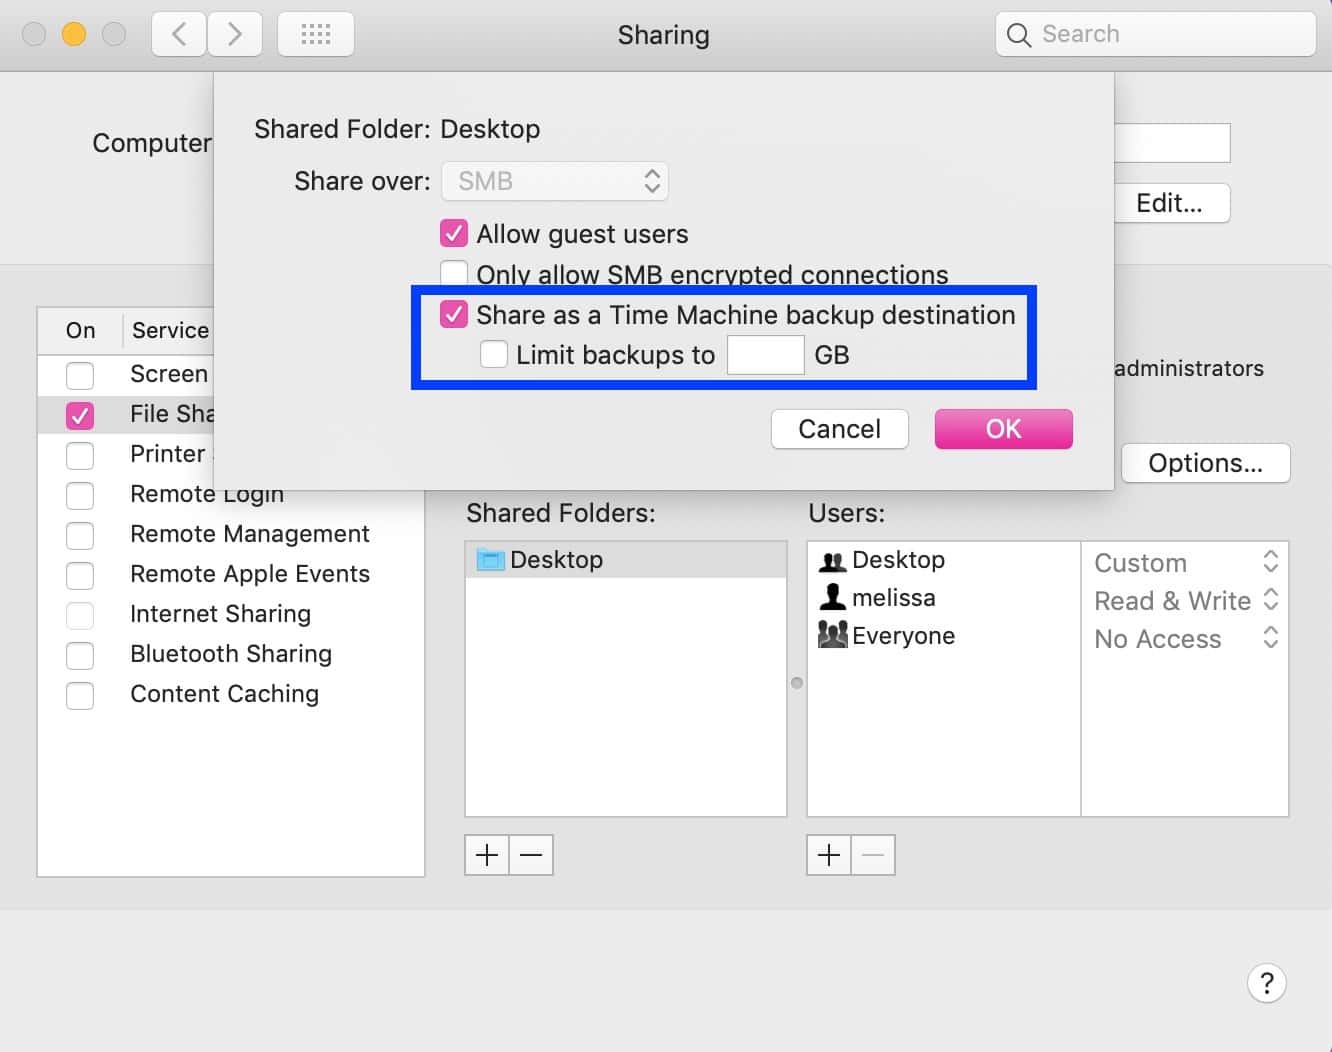
You could also turn on that “Limit backups to” checkbox to only allow a designated amount of storage to be used. But either way, the folder you chose will then appear on the other machine underneath System Preferences> Time Machine> Select Disk.
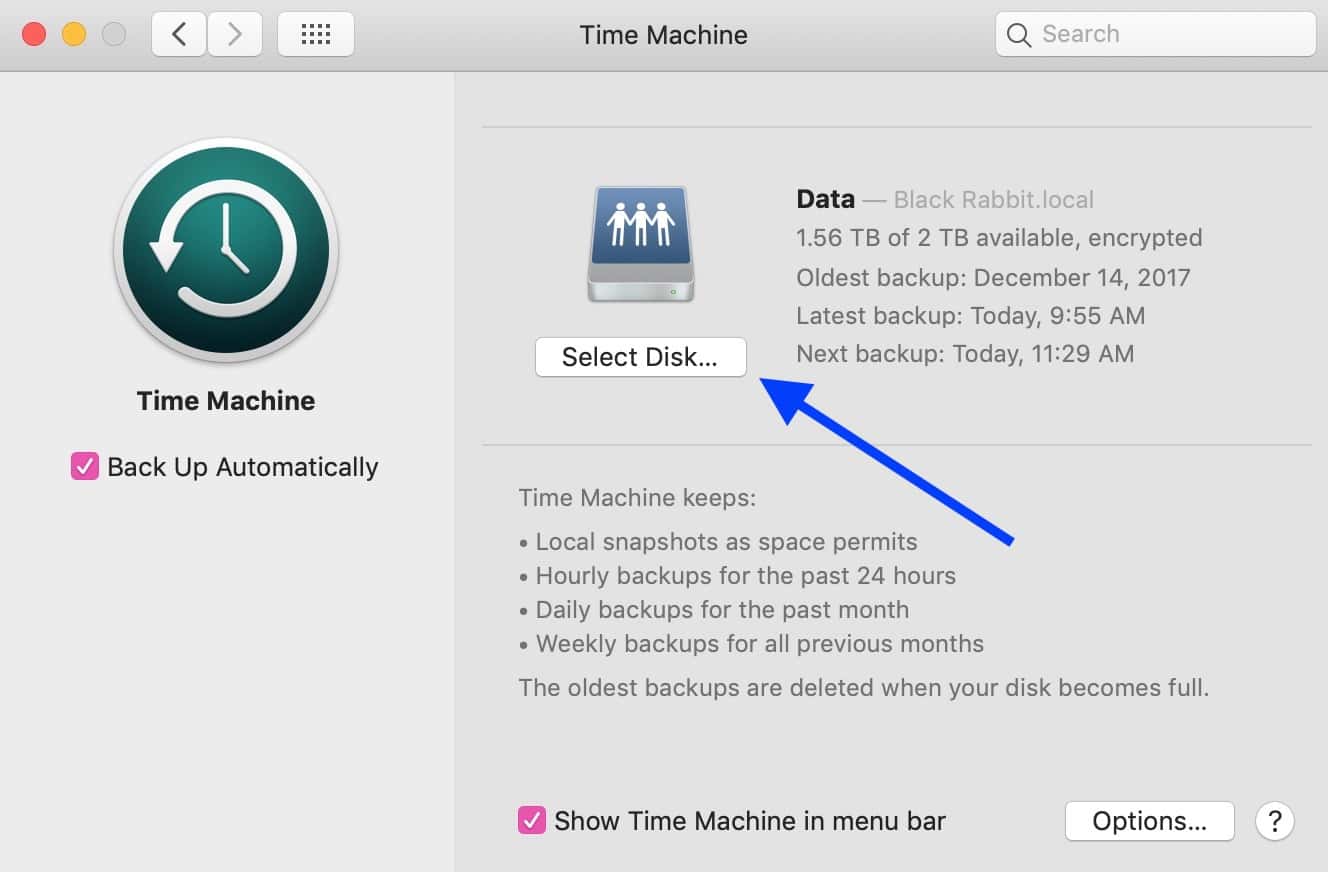
Now, know that when you use the “Select Disk” option, you’re likely going to have to authenticate with whichever user you enabled File Sharing for. As you can see above, it gave my “melissa” user read/write access when I turned it on for my Mac, so that would be one account I could use to log in with on my source computer.
It’s also important to mention here that you’ll want to be sure that your destination Mac has enough storage to accommodate however much you’re transmitting to it (if you didn’t limit the amount of space that can be used); if not, then you’ll definitely want to exclude some data from being backed up. And I’d say to err on the side of caution with this! You don’t want to leave your destination Mac with only a few gigabytes free, say. Or maybe you do. Maybe you like living on the edge because you’re a rebel.
Nah, please don’t actually do that.


While this feature was added beginning with High Sierra, APFS is not required (despite what Apple’s document says). It works just fine with HFS+ drives. I use it in Mojave with a spinning HFS+ external drive.
Hey LVChris!
That’s odd! Since Apple says on their support page that this requires APFS, I wonder if it’s something that they just don’t technically support or advise with HFS+, even if you can get it to work? Either way, weird! But thanks for pointing that out. 🙂
—Melissa
Good tip today. I didn’t know you could do this. I wonder what else I don’t know.
Good to know, I was going to ask if external drives hooked to the desinTion Mac could be used for the backup location.