
Sometimes, we break things. It’s unfortunate, but true. If you’ve somehow managed to delete or mangle your Recovery partition beyond recognition, there’s still hope. For versions of OS X and macOS from Lion 10.7 and up, there’s a script called Recovery Partition Creator that will non-destructively put a recovery partition back on your Mac without you having to reinstall macOS.

A Word of Warning
These steps are not for the faint of heart. You could damage your installation and have to reinstall your Mac from a backup after this. Make sure you have a very recent Time Machine backup before proceeding.
Getting Things Ready
First things first. For this script to function properly, you need the installation image of your particular version of OS X or macOS. Head to the Mac App Store, locate your installation file in the Purchases tab, and download it.
Next, if you run OS X El Capitan or later, you will need to disable a feature known as System Integrity Protection (SIP). SIP, sometimes referred to as rootless mode, is a security feature that protects certain system files and directories against modification. This needs to be disabled for the Recovery Partition Creator to work.
First, boot into Recovery or Internet Recovery Mode. You do this by restarting your Mac and holding Command-R (Recovery Mode) or Option-Command-R (Internet Recovery Mode) when the gray screen appears. Once you are safely within the confines of Recovery or Internet Recovery Mode, click Utilities > Terminal. When Terminal launches, type the following command:
csrutil disable
Now restart your Mac, and you’re ready to rock and roll.
Getting Started With the Recovery Partition Creator
If you haven’t already, download the Recovery Partition Creator here. Find it in your Downloads folder, or where ever you download files to, and run it. If you run OS X Lion or OS X Mountain Lion, and Gatekeeper complains, right-click the Recovery Partition Creator script and choose Open.

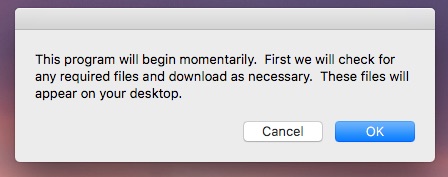
Recovery Partition Creator will let you know that it will check for required files and download them as necessary. Click OK to proceed.
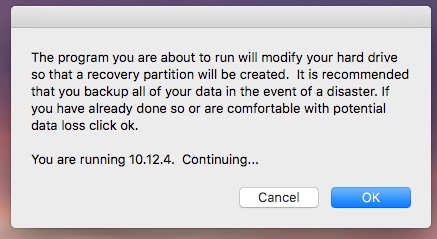
Next, you’ll see a warning that I already gave you earlier. If you disregarded my suggestion to make a current Time Machine backup, this is your last chance.
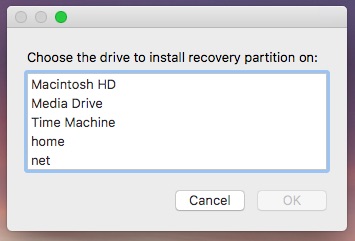
On the next screen, you should choose where to install the recovery partition. For most users, this will be Macintosh HD. Click on the correct location, then on OK.
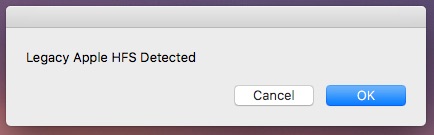
Recovery Partition Creator will now tell you what file system it detected. Click OK.
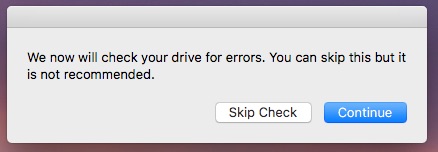
Now you’ll have an option to check your drive for errors, or skip the check. I found, on macOS Sierra 12.4, that skipping the drive check meant I didn’t get any further indication of the progress of the app. Take the time to do the disk check, for safety’s sake at least. Click Continue.
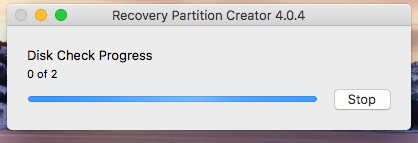
Go get a snack while your disk is scanned for errors.
Next: Installing Your New Recovery Partition and Tidying Up


Hi all!
every time I use Recovery Partition Creator 4.0.4, I get the following error message:
Error (async): The given disk is in use by a driver (leaf required) (-69695)
I’m running Sierra. Any suggestions?
Thanks
Also worth noting that, as Dave & John have mentioned in MGG, the Carbon Copy Cloner app has useful tools for creating/recreating/removing recovery partitions though I think you have to be booted from an alternate drive.
Yep, Internet Recovery works just fine for this, albeit slowly. The reason I suggested both options is because there are times when the recovery partition is there, but the Mac doesn’t see it when it’s booted up. I actually ran into this problem; I could boot into Recovery Mode (NOT Internet Recovery) just fine, but Find My Mac said I didn’t have a recovery partition. Somehow the partition type was changed from Apple_Boot to standard HFS+.
It might be a bit hard to shift into Recovery Mode to turn off SIP, since running these steps at all means you suspect your Recovery partition has problems. Luckily:
1) This will work with the Recovery partition from any other MacOS installations you have — including another Mac through Target Disk Mode — as long as they’re from El Capitan or newer.
2) The Internet Recovery boot (cmd-opt-R) will do the job, though it is likely to be very slow, since it’s coming over the Internet from Apple’s servers.